Spring Kitty Crochet Pattern – Free Amigurumi Butterfly, Ladybug & Bee
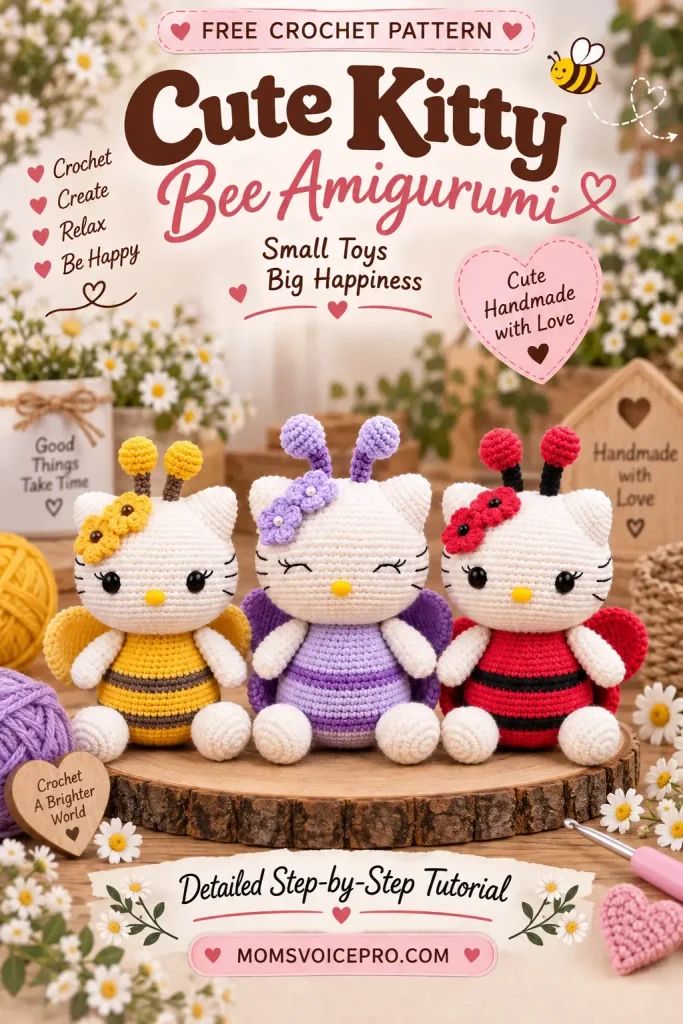
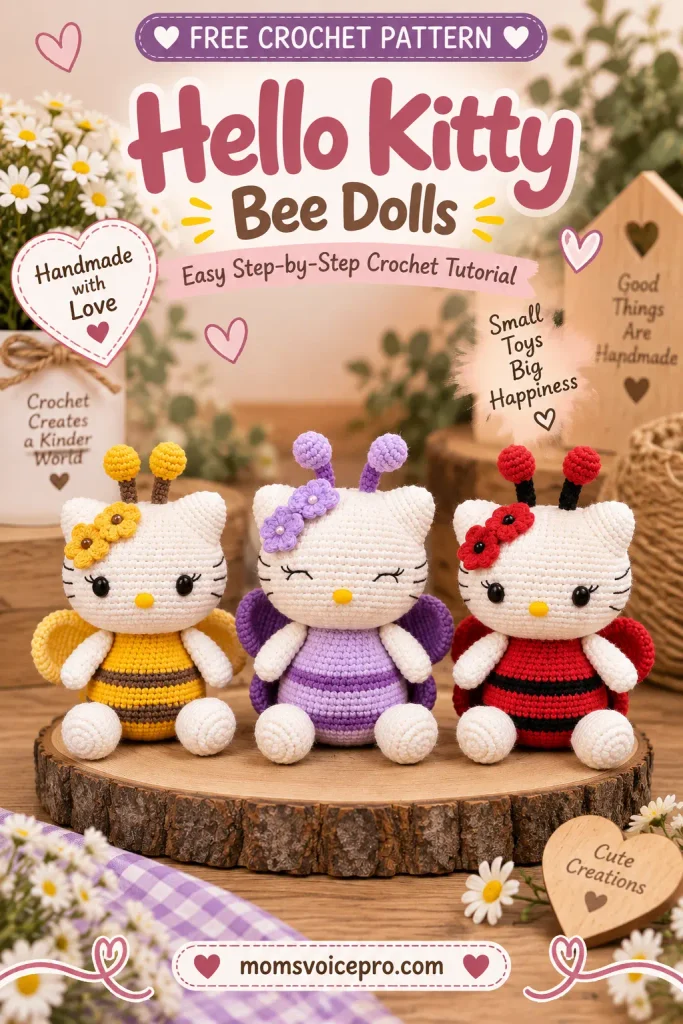
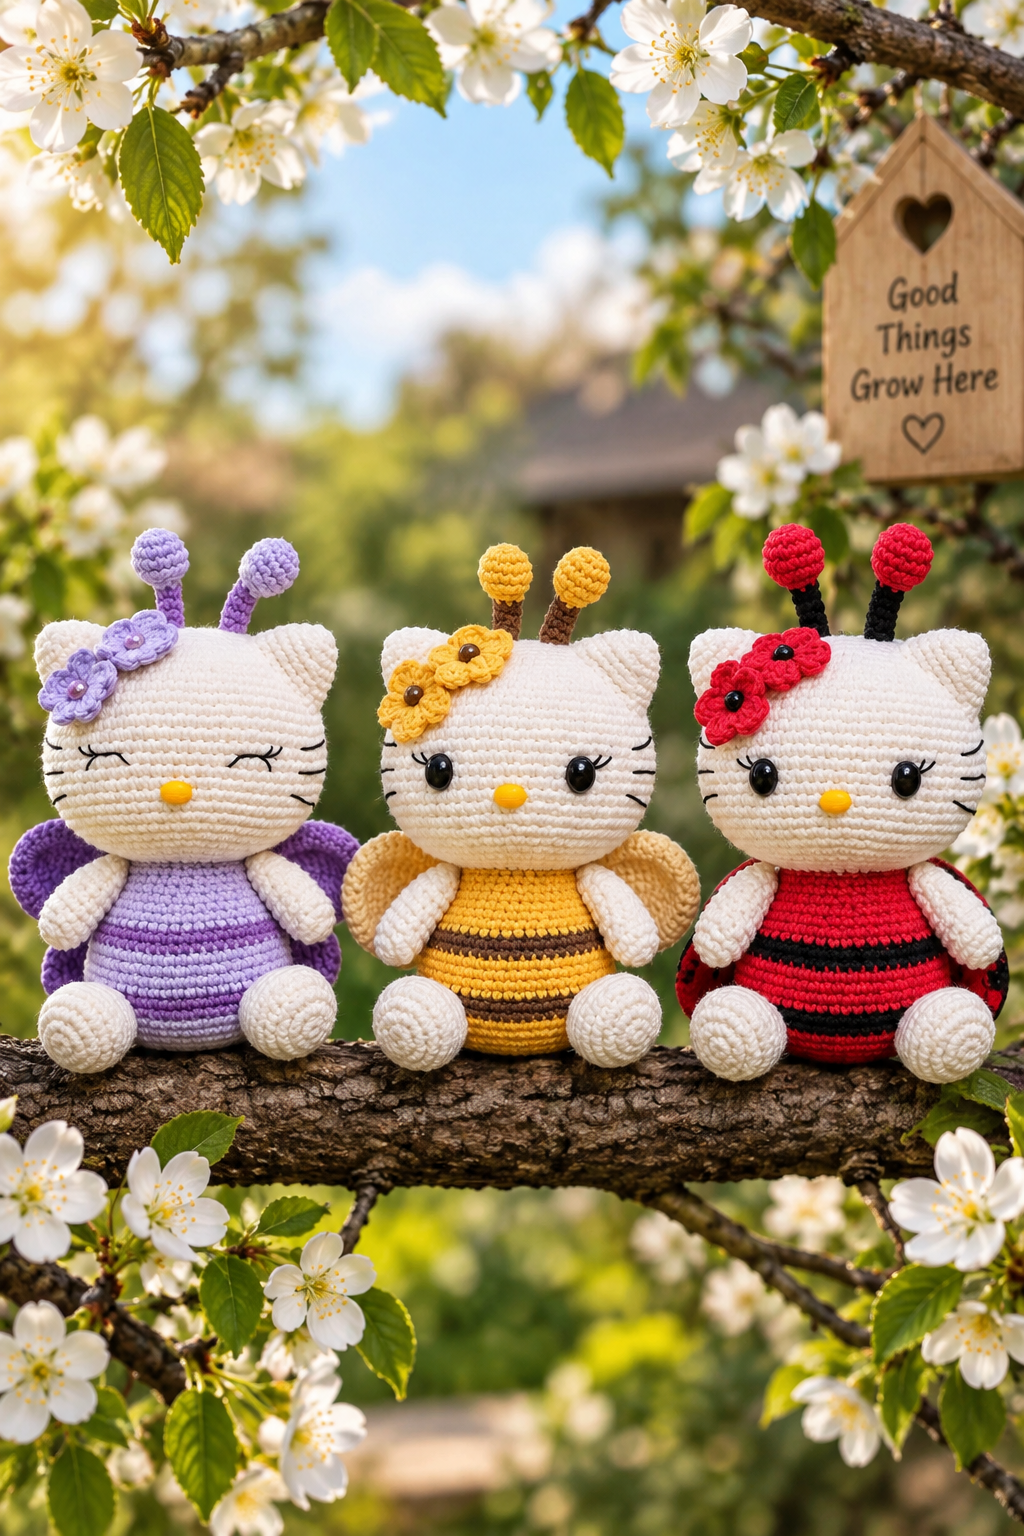
Meet the adorable Spring Kitty, a sweet amigurumi designed as three playful spring characters: a butterfly, a ladybug and a bee. The same Kitty base can be transformed into a whole spring collection by changing the colors and adding the matching accessories.
This pattern is worked in spiral rounds and the finished toy is about 12 cm tall, excluding the antennae with the recommended materials. The instructions also allow other yarns when the hook is matched to the yarn thickness and your crochet tension.
Table of Contents
Materials Needed Abbreviations Full Pattern Instructions Arms Legs Ears Tail, Flowers & Antennae Head Body Bee & Ladybug Wings Butterfly Wings Assembly & Finishing Tips for a Polished Finish FAQ You’ll Love Also This ConclusionMaterials Needed
- Yarn No. 03 – milk for Kitty.
- Butterfly: No. 89 light purple and No. 72 lilac.
- Ladybug: No. 26 red and No. 53 black.
- Bee: No. 35 yellow, No. 70 chocolate and No. 88 light yellow.
- Black floss thread for the face; strong cotton thread such as Iris for arm fastening.
- Crochet markers, fiberfill, crochet hook No. 2, sewing pins, thick assembly needle and sewing needle.
- Black oval half-beads 8×10 mm for eyes and yellow 6×8 mm for the nose, or felt/thread alternatives.
- Scissors and a small piece of wire for the antennae.
Abbreviations
- MR – magic ring
- sc – single crochet
- inc – increase
- dec – decrease
- sl st – slip stitch
- hdc – half double crochet
- dc – double crochet
- ch – chain
- ps – puff stitch
- (...) × n – repeat n times
- (...) – total stitches in the round
All parts are crocheted in a spiral without slip stitches or chains between rounds. Use a marker or contrast thread for easy round counting.
Full Pattern Instructions
Arms

- 1 round: 6 sc in MR (6)
- 2 round: 6 inc (12)
- 3 round: 12 sc (12)
- 4 round: 6 sc, 1 ps, 5 sc (12)
- 5–10 round: 12 sc (12)
- Stuff the arms, less firmly at the end.
- 11 round: 6 dec (6)
- Pull and cut the thread leaving a small tail. Close the hole through the front loops only and hide the tail.
Legs

- 1 round: 8 sc in MR (8)
- 2 round: 8 inc (16)
- 3 round: (1 sc, inc) × 8 (24)
- 4–6 round: 24 sc (24)
- 7 round: 8 sc, 4 dec, 8 sc (20)
- 8 round: 8 sc, 2 dec, 8 sc (18)
- 9 round: 18 sc (18)
- Pull and cut the thread leaving a long tail for sewing. Stuff the detail.
Ears

- 1 round: 6 sc in MR (6)
- 2 round: (1 sc, inc) × 3 (9)
- 3 round: (2 sc, inc) × 3 (12)
- 4 round: (3 sc, inc) × 3 (15)
- 5 round: (4 sc, inc) × 3 (18)
- 6 round: (5 sc, inc) × 3 (21)
- 7 round: 3 sc, inc, (6 sc, inc) × 2, 3 sc (24)
- Pull and cut the thread leaving a long tail for sewing. Stuff the ears.
Tail, Flowers & Antennae

- Tail: 1 round: 6 sc in MR (6); 2 round: 6 inc (12); 3–5 round: 12 sc (12). Pull and cut the thread leaving a tail for sewing.

- Flowers (×2): 1 round: 5 sc in MR (5). Change to contrast color. 2 round: (sl st, hdc, 3 dc, hdc) × 5 (30). Pull and cut the thread leaving a sewing tail.

- Antennae: 1 round: 6 sc in MR (6); 2 round: 6 inc (12); 3–5 round: 12 sc (12); 6 round: 6 dec (6). Insert a small piece of wire, stuff, change color, then crochet 7–10 round: 6 sc (6).
Head

- Make ch 14, beginning in the 2nd loop of the hook.
- 1 round: inc, 11 sc, 2 inc in last loop, then 11 sc, inc (30).
- 2 round: 2 inc, 11 sc, 3 inc, 13 sc, inc (36).
- 3 round: inc, 1 sc, inc, 13 sc, inc, 1 sc, inc, 1 sc, inc, 13 sc, inc, 1 sc (42).
- 4 round: 42 sc (42).
- 5 round: 1 sc, inc, 2 sc, inc, 14 sc, inc, 2 sc, inc, 2 sc, inc, 14 sc, inc, 1 sc (48).
- 6 round: 48 sc (48).
- 7 round: (7 sc, inc) × 6 (54).
- 8 round: 54 sc (54).
- 9 round: (8 sc, inc) × 6 (60).
- 10 round: 60 sc (60).
- 11 round: (9 sc, inc) × 6 (66).
- 12–20 round: 66 sc (66).
- 21 round: (9 sc, dec) × 6 (60).
- 22 round: 1 sc, dec, (8 sc, dec) × 5, 7 sc (54).
- 23 round: (7 sc, dec) × 6 (48).
- 24 round: 1 sc, dec, (6 sc, dec) × 5, 5 sc (42).
- 25 round: (5 sc, dec) × 6 (36).
- 26 round: 1 sc, dec, (4 sc, dec) × 5, 3 sc (30).
- Add stuffing evenly and close the hole. Pull the thread to the beginning of round 27 and mark it.
- 27 round: (3 sc, dec) × 6 (24).
- 28 round: 1 sc, dec, (2 sc, dec) × 5, 1 sc (18).
- 29 round: (1 sc, dec) × 6 (12).
- 30 round: 6 dec (6).
Body

- Make ch 15, beginning in the 2nd loop of the hook.
- 1 round: inc, 12 sc, 2 inc in last loop, then 12 sc, inc (32).
- 2 round: 2 inc, 12 sc, 4 inc, 12 sc, 2 inc (40).
- 3 round: (inc, 1 sc) × 2, 12 sc, (inc, 1 sc) × 4, 12 sc, (inc, 1 sc) × 2 (48).
- 4–6 round: 48 sc (48).
- 7–8 round: 48 sc in contrast color.
- 9–12 round: 48 sc in main color.
- 13 round: 48 sc in contrast color.
- 14 round: (6 sc, dec) × 6 (42).
- 15–16 round: 42 sc (42) in main color.
- 17 round: (5 sc, dec) × 6 (36).
- 18 round: 36 sc (36).
- 19 round: (4 sc, dec) × 6 (30).
- 20–21 round: 30 sc (30).
- Crochet 2 additional sc to finish at the side, cut and hide the thread, then stuff firmly.
Bee & Ladybug Wings

- 1 round: 6 sc in MR (6).
- 2 round: 6 inc (12).
- 3 round: (1 sc, inc) × 6 (18).
- 4 round: (2 sc, inc) × 6 (24).
- 5 round: (3 sc, inc) × 6 (30).
- 6–9 round: 30 sc (30).
- 10 round: (13 sc, dec) × 2 (28).
- 11 round: (12 sc, dec) × 2 (26).
- 12 round: (11 sc, dec) × 2 (24).
- 13 round: (10 sc, dec) × 2 (22).
- 14 round: (9 sc, dec) × 2 (20).
- 15 round: (8 sc, dec) × 2 (18).
- 16 round: (7 sc, dec) × 2 (16).
- Fold the edges and crochet 7 sc through both sides after 2 additional sc. Do not stuff.
- Ladybug spots ×4: 6 sc in MR, sl st (6). Sew symmetrically onto the wings.
Butterfly Wings

- Lower wing: 1 round: 6 sc in MR; 2 round: 6 inc; 3 round: (1 sc, inc) × 6; 4–7 round: 18 sc; 8 round: (7 sc, dec) × 2 (16).
- Upper wing: 1 round: 6 sc in MR; 2 round: 6 inc; 3 round: (1 sc, inc) × 6; 4 round: (2 sc, inc) × 6; 5 round: (3 sc, inc) × 6; 6–9 round: 30 sc.
- 10–15 rounds: (13 sc, dec) × 2 (28), (12 sc, dec) × 2 (26), (11 sc, dec) × 2 (24), (10 sc, dec) × 2 (22), (9 sc, dec) × 2 (20), (8 sc, dec) × 2 (18).
- Round 16: join the two details and crochet the specified stitches through both parts to reach 32 stitches.
- 17 round: 5 sc, dec, 14 sc, dec, 9 sc (30).
- 18 round: 4 sc, dec, 13 sc, dec, 9 sc (28).
- Add 6 sc to finish at the bottom, fold and crochet 14 sc through both sides. Pull and cut the thread leaving a long sewing tail.
Assembly & Finishing

- Match the last body round with the marked 27th round of the head. Pin, keep the head straight and sew while adding stuffing between neck and head.
- Fix the ears around rounds 2–10 of the head and sew them on.
- Place the nose between rounds 9 and 10 from the bottom of the head. Add eyes and lashes, then embroider 3 whisker stripes on each side.

- Attach the arms with strong doubled cotton thread, working through the body between rounds 17 and 18 and through each arm. Tie securely at the back and hide the ends inside.
- Sew the antennae to the top of the head.

- Sew the flowers under one ear, leaving petals free. Beads may be added to the centers.

- Fix the legs around rounds 3–7 of the body, about 9 stitches apart, choosing the position that lets the toy sit securely.
- Sew the wings to the back; they may be raised or folded.
- Fix the tail around rounds 5–8 of the body; it also provides support while sitting.

Tips for a Polished Finish
- Use a stitch marker or contrast thread throughout the spiral rounds.
- Stuff gradually and evenly to keep the head and body smooth.
- Align the head carefully before sewing.
- Use strong doubled cotton thread for secure arm fastening.
- Adjust facial placement to your own crochet tension.
- Close any butterfly-wing corner gap with the saved yarn tail.
- Position the legs according to how your finished Kitty sits.
FAQ
How big is the finished Spring Kitty?
Can I make the bee or ladybug instead of the butterfly?
Can I use different yarn?
Are the wings stuffed?
How do I make the Kitty sit securely?
Conclusion
This Spring Kitty is a lovely little project for welcoming the season. Start with the Kitty base, choose butterfly, bee or ladybug colors, then finish with the matching accessories. Take your time with the assembly and enjoy creating your own tiny spring collection.