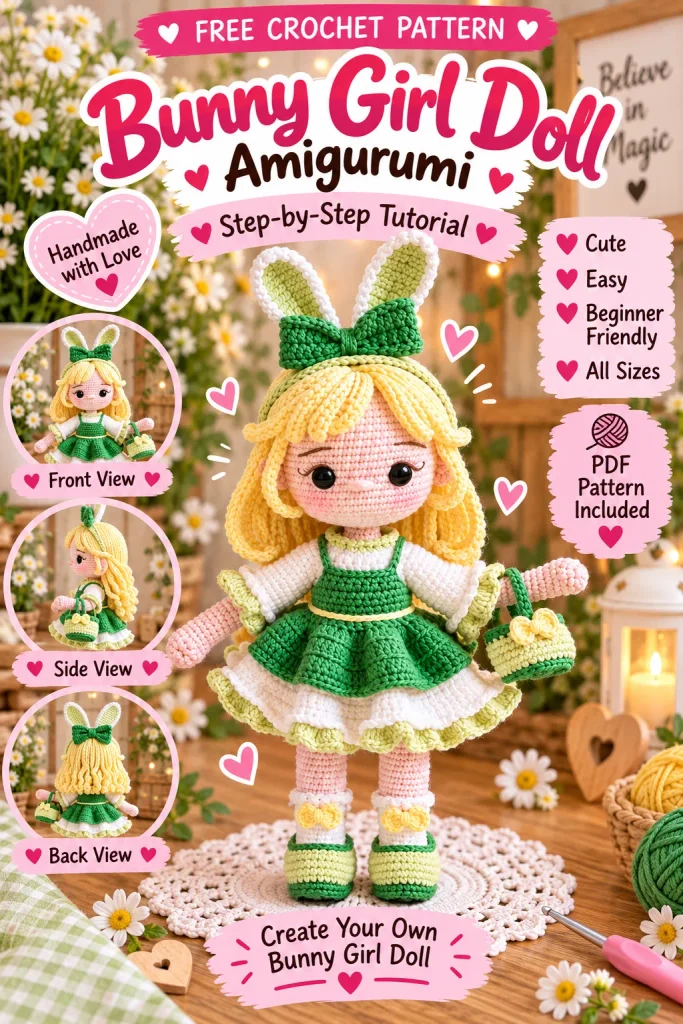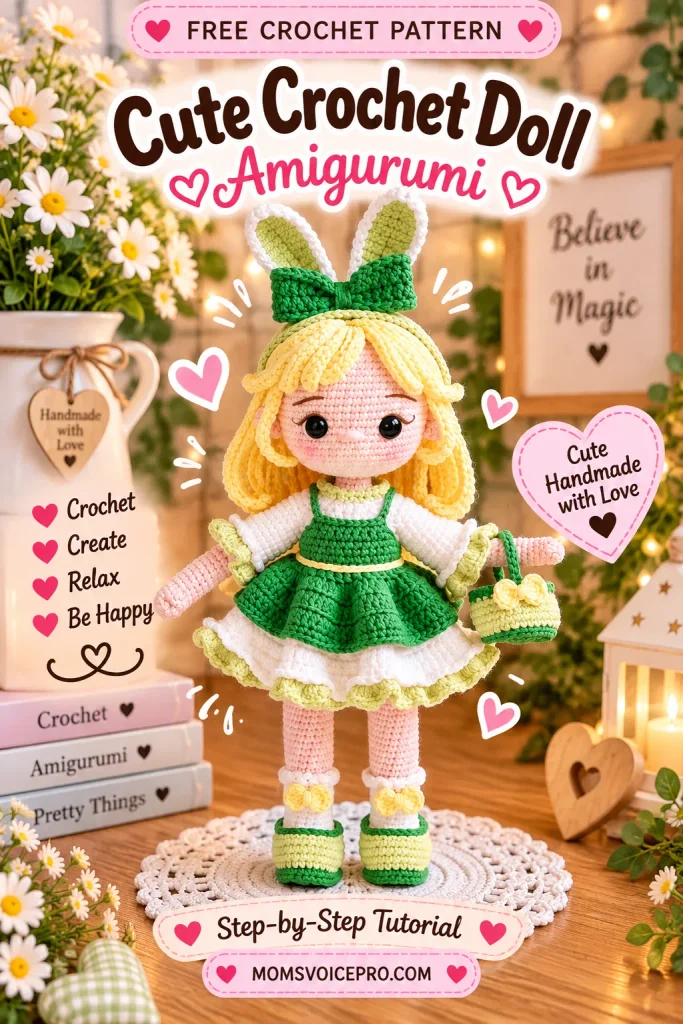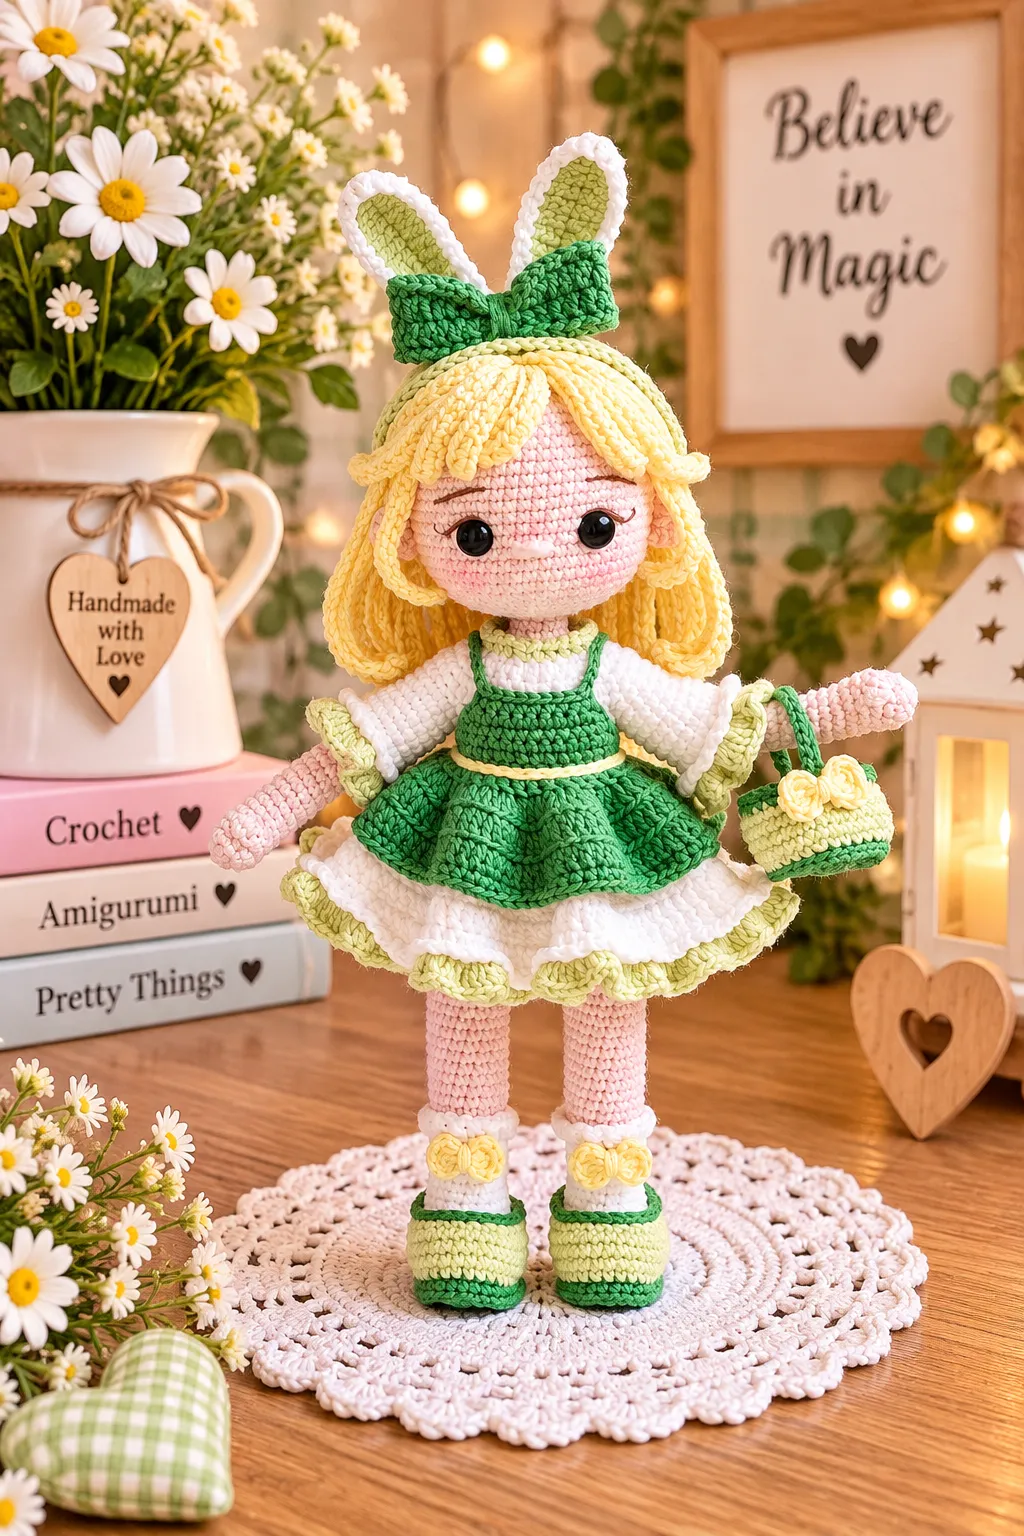
Lily is a sweet blonde amigurumi doll in a green bunny-ears headband, a white-and-lime dress with a green apron, and matching bow-topped shoes — plus her own tiny crocheted basket. At about 28cm tall with fully removable clothes and accessories, she’s a lovely doll to make for spring, Easter, or just because bunny ears never go out of style.
This is an intermediate-level pattern with a lot of lovely small details — a neck-tube for a sturdy, non-wobbly head, an optional wire armature in the arms for posing, and a two-layer hair wig assembled strand by strand. Every round is written out below with the designer’s own process photos at each step. Let’s get started!
Table of Contents
Materials Needed
- Schachenmayr Catania or Scheepjes Catona, 100% cotton, 50g/125m (or any yarn you like that suits amigurumi work)
- Hook size 2.0mm (or whatever size suits your yarn)
- Polyester fiberfill for stuffing
- 10mm safety eyes x 2
- Pins
- Yarn needle
- Scissors & stitch markers
- 4-ply scrap yarn in brown and white, for embroidering the eye details
- 8–9mm round buttons x 3
- Optional: a piece of craft wire to place inside the arms, plus hot glue gun or fabric glue
- Color palette: White (Catona No. 105), Skin (Catona No. 255), Lime (Catania No. 392), Green (Catania No. 412), Yellow (Catania No. 403)
Abbreviations
- MR — Magic Ring
- FL / FLO — Front Loop / Front Loops Only
- BL / BLO — Back Loop / Back Loops Only
- st / sts — stitch / stitches
- sc — single crochet
- inc — increase
- dec — decrease
- hdc — half double crochet
- dc — double crochet
- hdcinc / dcinc — half double / double crochet increase
- slst — slip stitch
- R — row / round
- Ch — chain
- (…) x times — repeat the instructions in brackets that many times
This pattern is written in US terms and rated Advanced Beginner / Intermediate. The doll works up to about 28cm tall (including the bunny ears) when using the yarn-under technique with the suggested yarn and hook — different yarns and hook sizes will change the finished size. All the clothes and accessories are designed to be fully removable.
Notes
A few notes from the designer worth reading before you start:
- To keep the neck sturdy and prevent a wobbly head, a separate Neck-Tube is crocheted and inserted inside the head and neck, then stuffed firmly — a hard plastic straw or craft wire inside it makes the join even more secure.
- A piece of craft wire can be placed inside both arms and crossed through the chest, letting the doll change pose. This is entirely optional — skip it if you’d rather not.
- For the hair, the designer uses fabric glue or hot glue to attach the strands to the head, which is fast but not repairable later. If you’d rather be able to adjust things afterward, sew the strands on with a yarn needle at the pinned spots instead.
Arms, Neck Tube & Ears
Arms (make 2)
With Skin yarn. Work in a spiral and do not stuff.
R1. MR, 6sc. (6)
R2. 6inc. (12)
R3-R4. 12sc. (2 rounds – 12)
R5. Sc, 4dc into 1 stitch, 10sc. (15)
R6. 3dec, 9sc. (12)
R7. 12sc. (12)
R8. 2dec, 8sc. (10)
R9-R25. 10sc. (17 rounds – 10)
Fasten off with a long tail. Place a marker at the 3rd stitch of the 1st arm, and another at the 8th stitch of the 2nd arm — these mark where the arms join the body later.
Neck – Tube
With Skin yarn, work in a spiral, do not stuff.
R1. MR, 6sc. (6)
R2. (sc, inc) x 3 times. (9)
R3-R12. 9sc. (10 rounds – 9)
R13. FLO, 9inc. (18)
R14. (2sc, inc) x 6 times. (24). Fasten off.
Ears (make 2)
With Skin color.
R1. MR, 5sc into MR. (5)
R2. Ch1, flip your work, sc, 3inc, sc, slst into the same last stitch. (8)
Pull the MR tightly to form a semi-circle. Fasten off with a long tail for sewing later.

Legs
1st Leg
Start with White yarn, make 2. Work around the foundation chain in a spiral. Stuff firmly as you go.
R1. Ch7, start into 2nd chain from hook, inc, 4sc, 4sc into last chain, work into the other side, 4sc, inc. (16)
R2. 2inc, 4sc, 4inc, 4sc, 2inc. (24)
R3. 3sc, inc, 4sc, inc, 6sc, inc, 4sc, inc, 3sc. (28)
R4-R5. 28sc. (2 rounds – 28)
R6. 8sc, 6dec, 8sc. (22)
R7. 7sc, 4dec, 7sc. (18)
R8. 2sc, dec, 4sc, dec, 4sc, dec, 2sc. (15)
R9-R14. 15sc. (6 rounds – 15)
R15. Change to Skin yarn, BLO, 15sc. (15)
R16-R33. 15sc. (18 rounds – 15)
R34. 4sc, change to White yarn, 11sc. (15)
R35. 15sc. (15)
R36. Only 2sc, slst. Fasten off.

2nd Leg
Repeat R1-R34 of the 1st Leg.
R35. 9sc, slst. Do not cut yarn.
Socks Ruffle
Join White yarn into the front-loop round left from R15 of the legs. Ch1, (hdc, ch1) x 15 times, slst to close the round. Fasten off and weave in ends. Repeat on the other leg.
Body
From R35 of the 2nd leg, chain 4, and slip stitch into the slst at the end of R36 of the 1st leg. The next single crochet worked on the 1st leg becomes the beginning of R1 of the body.
Work in a spiral and stuff as you go.
R1. 15sc on 1st leg, 4sc on the ch4, 15sc on 2nd leg, 4sc on the other side of the ch4. (38)
R2. Inc, 6sc, inc, 18sc, inc, 6sc, inc, 4sc. (42)
R3-R6. 42sc. (4 rounds – 42)
R7. (5sc, dec) x 6 times. (36)
R8. 36sc. (36)
R9. Change to Skin yarn, 36sc. (36)
R10. (2sc, dec) x 9 times. (27)
R11. Dec, 25sc. (26)
R12-R18. 26sc. (7 rounds – 26)

In the next round, you’ll assemble both arms to the body — position them using the markers placed earlier.
R19. 7sc on body, 10sc around the 2nd arm starting from its marker, 14sc on body, 10sc around the 1st arm starting from its marker, 5sc on body. (46)
R20. 5sc, dec, (10sc, dec) x 3 times, 3sc. (42)
R21. 5sc, dec, 8sc, dec, 10sc, dec, 8sc, dec, 3sc. (38)
R22. 3sc, dec, 5sc, dec, (4sc, dec) x 3 times, 5sc, dec, sc. (32)
R23. (2sc, dec) x 8 times. (24)
R24. (2sc, dec) x 6 times. (18)
R25. (sc, dec) x 6 times. (12)
R26-R29. 12sc. (4 rounds – 12). Do not cut yarn.
If any small gaps appear under the armpits after assembling, thread the long arm tail onto a needle and stitch over each gap to close it.
Head
Continue crocheting up from R29 of the body. Work in a spiral and stuff firmly as you go.
R30. 12inc. (24)
R31. (sc, inc) x 12 times. (36)
R32. (5sc, inc) x 6 times. (42)
R33. 3sc, inc, (6sc, inc) x 5 times, 3sc. (48)
R34. (7sc, inc) x 6 times. (54)
R35-R48. 54sc. (14 rounds – 54)
R49. (7sc, dec) x 6 times. (48)

Use a chopstick (or anything similar) to push the neck-tube down into the neck until its top touches the bottom of the head, then stuff it firmly — a piece of craft wire or a hard plastic straw inside the tube adds extra security.
Insert the safety eyes at R39–R40, 9 stitches apart. Split a strand of brown 4-ply yarn into thinner strands: embroider the eyeliner with 3 strands, and the eyelashes and eyebrows with 2 strands. The eyebrows sit 5 stitches wide and 1 round tall at R43, 3 rounds above the eyeliner. Embroider a small stitch of white yarn to the outside of each eye. The nose sits at R38–R39 between the eyes, over 3 stitches (a bullion stitch works well here, but is optional).
R50. 48sc. (48)
R51. (6sc, dec) x 6 times. (42)
R52. (5sc, dec) x 6 times. (36)
R53. (4sc, dec) x 6 times. (30)
R54. (3sc, dec) x 6 times. (24)
R55. (2sc, dec) x 6 times. (18)
R56. (sc, dec) x 6 times. (12)
R57. 6dec. (6)
Fasten off, leaving a long tail. Pass the tail through the 6 front loops of R57 and pull tightly to close the hole, then hide the tail inside.
Sew the ears on at R38–R41, 4 stitches out from the tip of the eyelashes.
Hair
Use Yellow yarn for the hair, working a total of 2 layers. Finish both layers completely before assembling them onto the head — the hair is attached with the wrong side facing up.
Base
R1. MR, 8sc. (8)
R2. 8inc. (16)
R3. FLO, (sc, inc) x 8 times, slst into the 1st stitch. (24)
From here, chain up and work back down into the chain to make each hair strand.
First Layer (22 strands)
S1-S6. Ch30, skip 2ch from hook, 27hdc, sc, slst to the next stitch on the base.
S7. Ch12, skip 2ch from hook, 10hdc, slst to each of the next 2 stitches on the base.
S8. Ch22, skip 2ch from hook, 19hdc, sc, slst to the next stitch on the base.
S9. Ch18, skip 2ch from hook, 15hdc, sc, slst to the next stitch on the base.
S10-S13. Ch14, skip 2ch from hook, 11hdc, sc, slst to the next stitch on the base.
S14. Ch18, skip 2ch from hook, 15hdc, sc, slst to the next stitch on the base.
S15. Ch22, skip 2ch from hook, 19hdc, sc, slst to the next stitch on the base.
S16. Ch12, skip 2ch from hook, 10hdc, slst to each of the next 2 stitches on the base.
S17-S22. Ch30, skip 2ch from hook, 27hdc, sc, slst to the next stitch on the base.
Fasten off.

Second Layer (14 strands)
Join Yellow yarn into the last back loop of the BL round left from R3 of the base. Work with the wrong side facing up.
S23-S28. Ch32, skip 2ch from hook, 29hdc, sc, slst to the next stitch on the base.
S29-S30. Ch34, skip 2ch from hook, 32hdc, slst to each of the next 2 stitches on the base.
S31-S36. Ch32, skip 2ch from hook, 29hdc, sc, slst to the next stitch on the base.
Fasten off and weave in the ends.
Assembly
Tie all the second-layer strands up out of the way so you can work with the first layer separately. Place the first layer onto the head with the wrong side facing up. Secure each strand at roughly its half-length point with a pin, then unpin one at a time, apply hot glue or fabric glue, and press it back onto the head — keep glue away from below the pinned spot so the strand stays straight. Position strands S7 and S16 directly above the ears, and S8 and S15 just in front of the ears.
Secure the bangs (S9–S14) near the base, leaving the rest of each strand unattached for a natural look. Then untie the second layer, secure each strand at its half-length point with pins the same way, and glue them down over the first layer. Style the bangs as shown in the reference photos, or however you like.

Bunny Ears Headband
Headband
Start with Lime yarn. Work around the foundation chain in a spiral.
R1. Ch31, start into 2nd chain from hook, 29sc, 3sc into the last chain, work into the other side, 28sc, inc. (62)
R2. Inc, 28sc, inc, sc, inc, 28sc, inc, sc, slst to close the round. (66)
Ch30 (adjust as needed to fit the head), then slst into the 33rd stitch of R2. Fasten off and secure the tail.
Bunny Ears (make 2)
Start with Lime yarn. Work around the foundation chain.
R1. Ch15, start into 2nd chain from hook, 3sc, 5hdc, 5dc, 6dc into the last chain, work into the other side, 5dc, 5hdc, 3sc. (32)
Fasten off and join White yarn into the 1st stitch to crochet R2.
R2. Ch1, 32sc, slst to close the round. Fasten off with a long tail. (32)
Sew the 2 bunny ears onto the headband at R2, slightly off-center toward the left-hand side.
Bow
Start with Green yarn. Make a foundation chain of 28ch, slst into the 1st chain to form a round. (The chain at the beginning of a round doesn’t count as a stitch.)
R1. Ch2, 28dc into the chain, slst to the 1st stitch. (28)
R2. Ch1, (slst, ch1) x 28 times, slst. Fasten off.
Join Green yarn again and repeat R1 and R2 on the other side of the foundation chain. Fasten off with a long tail, then wrap the tail tightly around the center to form the bow shape. Secure and weave in the ends.
Attach the bow onto the headband, right in front of the two bunny ears.

Dress
Start with White yarn. (The chain at the beginning of a round doesn’t count as a stitch.)
R1. Ch30, skip 6 chain to make a buttonhole, start in the 7th chain, 24sc. (24)
R2. Ch1, flip your work, (3sc, inc) x 6 times. (30)
R3. Ch1, flip, (4sc, inc) x 6 times. (36)
R4. Ch1, flip, (5sc, inc) x 6 times. (42)
R5. Ch1, flip, (6sc, inc) x 6 times. (48)
R6. Ch1, flip, 7sc, ch2, skip 10 stitches, 14sc, ch2, skip 10 stitches, 7sc. (32)
R7. Ch1, flip, 7sc, 2sc into the back loop of the ch2, 14sc, 2sc into the back loop of the ch2, 7sc. (32)
R8. Ch1, flip, 32sc.
R9. Ch6 to make a buttonhole, flip, 32sc. (32)
R10-R12. Ch1, flip, 32sc. (3 rows – 32)

R13. Ch2, flip, BLO, (dcinc, 3dc into 1 stitch) x 16 times, slst into the 1st stitch to form a round. (80)
R14. Ch2, 80dc, slst. (80)
R15. Ch2, (4dc, dcinc) x 16 times, slst. (96)
R16-R18. Ch2, 96dc, slst. (3 rounds – 96)
R19. Ch1, FLO, (sc, ch1) x 96 times, slst.
Fasten off and join Lime yarn into the back-loop round left from R19 to continue with R20.
R20. Ch2, BLO, (dcinc, 3dc into 1 stitch) x 48 times, slst. (240)
Fasten off and weave in all ends.

Sleeves (work the same for both)
The “corner space” (CN) is the space between the ch2 and the first or last stitch of the 10sc skipped back in R4 — each armhole has 2 corner spaces. Join White yarn into a corner space.
R1. Ch1, sc into the CN, 10sc, sc into the CN, sc into each loop of the ch2, slst. (14)
R2. Ch1, (6sc, inc) x 2 times, slst. (16)
R3. Ch1, 16sc, slst. (16)
R4. Ch1, (7sc, inc) x 2 times, slst. (18)
R5-R6. Ch1, 18sc, slst. (2 rounds – 18)
R7. Ch1, (8sc, inc) x 2 times, slst. (20)
R8-R9. Ch1, 20sc, slst. (2 rounds – 20)
R10. Ch1, FLO, (sc, ch1) x 20 times, slst. Fasten off. (20)
Join Lime yarn into the back-loop round left from R10 to continue with R11.
R11. Ch2, BLO, (dcinc, 3dc into 1 stitch) x 10 times, slst and fasten off, weave in all ends. (50)
Neck Border
Join Lime yarn into the other side of the dress’s foundation chain, working with the right side facing up. Ch1, (sc, ch1) x 23 times, slst into the last loop. Fasten off and weave in ends.
Add the buttons to the dress as shown in the designer’s reference photos.

Apron
Work with Green yarn. (The chain at the beginning of a round doesn’t count as a stitch.)
R1a. Ch35, skip 1 chain from hook, 34sc. (34)
R2a. Ch1, flip your work, 34sc. (34)
R3a. Ch2, flip, BLO, dc, (dcinc, 3dc into 1 stitch) x 16 times, dc. Fasten off and join Green yarn again into the 1st stitch to work the next row. (82)
R4a-R5a. Ch2, BLO, 82dc. Fasten off and rejoin Green yarn into the 1st stitch for the next row each time. (2 rows – 82)
R6a. Ch1, 82sc. Fasten off and weave in all ends. (82)

Go back to the other side of the ch35 foundation chain from R1a, right side facing up. Counting right to left, mark the 10th and 25th loops with markers — the next row starts and ends on those marked points.
R1b. Join Green yarn to the 10th loop, ch1, 16sc. (16)
R2b. Ch1, flip your work, dec, 12sc, dec. (14)
R3b. Ch1, flip, dec, 10sc, dec. (12)
R4b. Ch1, flip, dec, 8sc, dec. (10)
R5b. Ch1, flip, 10sc. (10)
Fasten off and weave in the end.
Still with the right side facing up, join Green yarn into the 1st loop of the foundation chain.
R6b. 5sc, ch14, slst into each of the 10 stitches of R5b above, ch14, skip 4 loops on the foundation chain, 5sc. Fasten off and weave in ends.
Use Yellow yarn to make the apron’s belt: ch30, work 34 surface slst along the line between R1a and R2a, ch30 again, fasten off.
Shoes & Basket
Shoes (make 2)
Start with Green yarn. Work around the foundation chain in a spiral.
R1. Ch8, start into the 2nd chain from hook, inc, 5sc, 4sc into the last chain, work into the other side, 5sc, inc. (18)
R2. 2inc, 5sc, 4inc, 5sc, 2inc. (26)
R3. (sc, inc) x 2 times, 5sc, (sc, inc) x 4 times, 5sc, (sc, inc) x 2 times. (34)
Change to Lime yarn.
R4. BLO, 34sc. (34)
R5-R7. 34sc. (3 rounds – 34)
R8. 8sc, 9dec, 8sc. (25)
Change to Green yarn.
R9. 7sc, 11slst, 7sc. Fasten off. (25)

Outsole — join Green yarn into the front-loop round left from R4. Ch1, 34sc, slst to close the round. Fasten off and weave in all ends. (34)
Basket
Start with Green yarn, work in a spiral.
R1. MR, 6sc. (6)
R2. 6inc. (12)
R3. (sc, inc) x 6 times. (18)
R4. (2sc, inc) x 6 times. (24)
R5. (3sc, inc) x 6 times. (30)
R6. Change to Lime yarn, BLO, (4sc, inc) x 6 times. (36)
R7-R9. 36sc. (3 rounds – 36)
R10. (4sc, dec) x 6 times. (30)
R11. Change to Green yarn, 30sc. (30)
R12. 15slst, ch20, slst to the 1st slst of this working round, 20slst backward into the chain, 15slst on the remaining stitches of R11, slst to close the round.
Join Green yarn and work 30slst into the front-loop round left from R6.
Fasten off and weave in all ends.

Mini Bow (make 3)
With Yellow yarn: MR, (ch3, 3dc into MR, ch3, slst into MR) x 2 times. Fasten off with a long tail.
Pull the MR tightly and wrap the tail around the center to form a bow shape.
Attach 2 bows to the socks and 1 bow to the front of the basket, as shown in the reference photos.

Tips for a Polished Finish
- Don’t skip the neck-tube — it’s a small extra step that makes a real difference in keeping the head from wobbling, especially once the hair and headband add extra weight.
- If you plan to pose the doll, add the optional arm wire before you close up the arms — it’s much harder to retrofit once the arm is fully stuffed and joined to the body.
- When gluing the hair strands, work in small batches (pin, unpin one, glue, repeat) rather than unpinning everything at once — it keeps the strands from tangling or slipping out of place before the glue sets.
- Keep the marker moving with the arm joining stitches in Body round 19 — losing track of the 1st vs. 2nd arm marker is the easiest way to end up with mismatched arm placement.
Frequently Asked Questions
Do I need to add the wire to the arms?
No — it’s explicitly optional in the pattern. Without it the arms will simply be soft and won’t hold a bent pose, which is perfectly fine if you’re not planning to pose the doll.
What if my finished doll comes out a different size than 28cm?
That’s expected if you use a different yarn weight or hook size than suggested — the designer notes that size will vary with your materials. As long as your gauge is consistent throughout, the doll and her clothes will still fit together correctly.
Can I sew the hair instead of gluing it?
Yes — the designer notes this directly. Gluing is faster but not repairable afterward, so if you’d like the option to adjust the hairstyle later, sew each strand on with a yarn needle at the pinned spots instead.
Are the dress, apron, and headband really removable?
Yes — all the clothes and accessories are designed to come off, which is handy for photographing the doll in different outfits or just for easy cleaning.
Conclusion
Between the neck-tube for stability, the two-layer glued hair, and all the little matching accessories, Lily is a doll made up of a lot of small, satisfying details. Take the hair and the dress’s apron slowly, and she’ll come together beautifully. If you make your own Lily Doll, I’d love to see her — share a photo or drop a comment below with how yours turned out!