
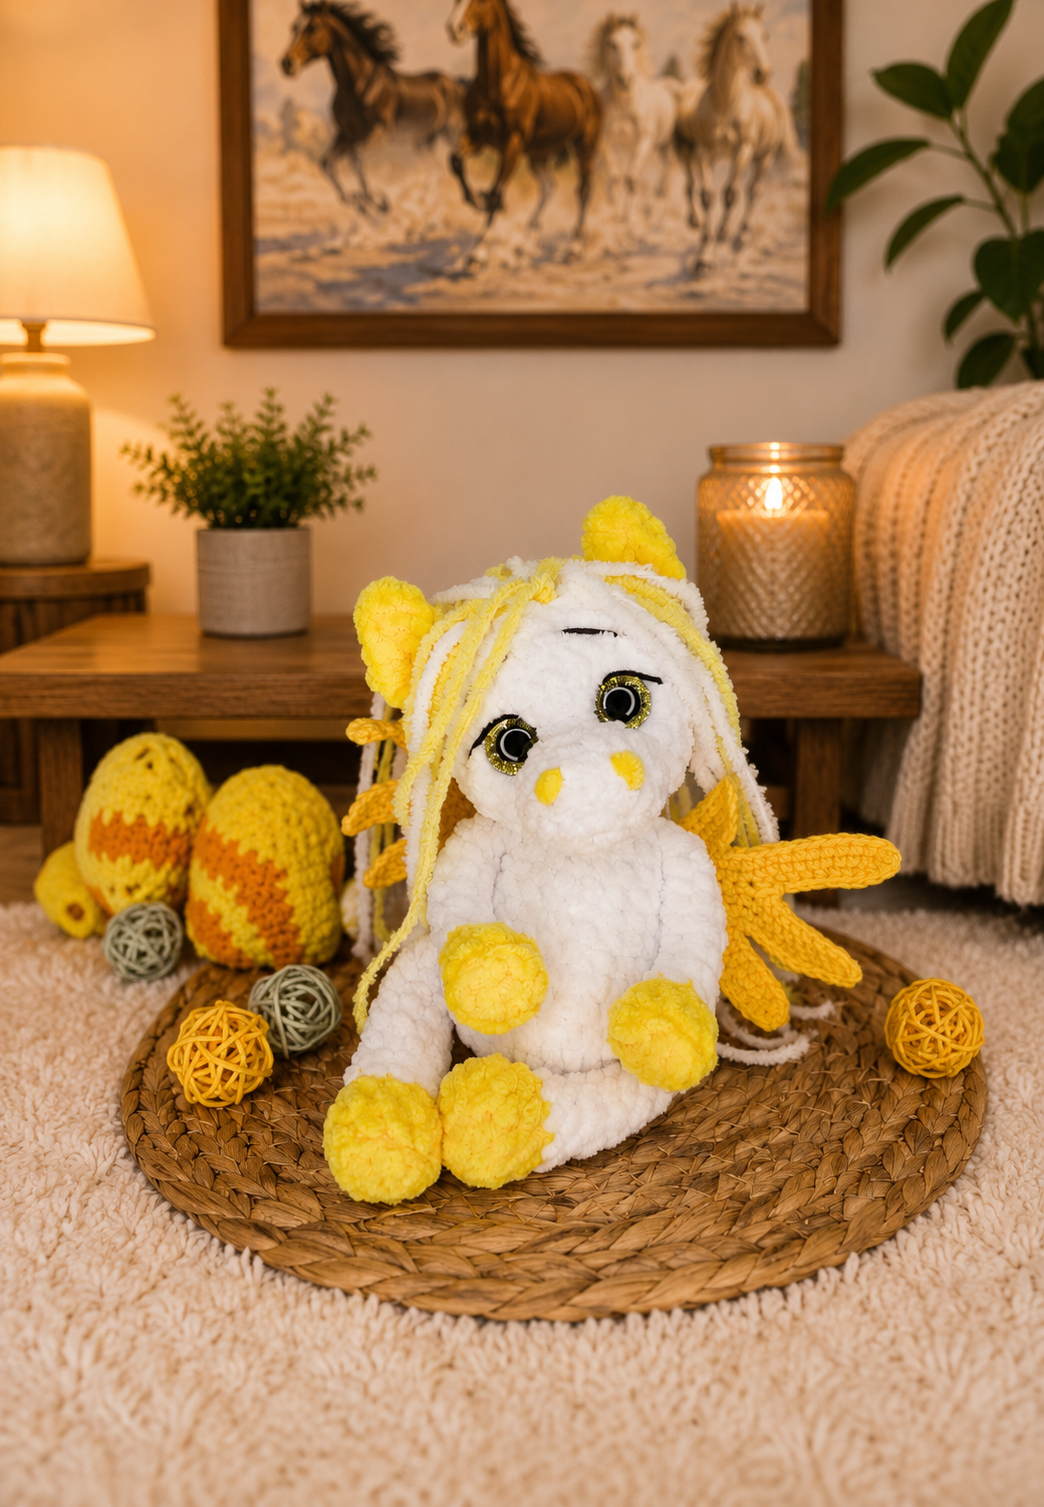
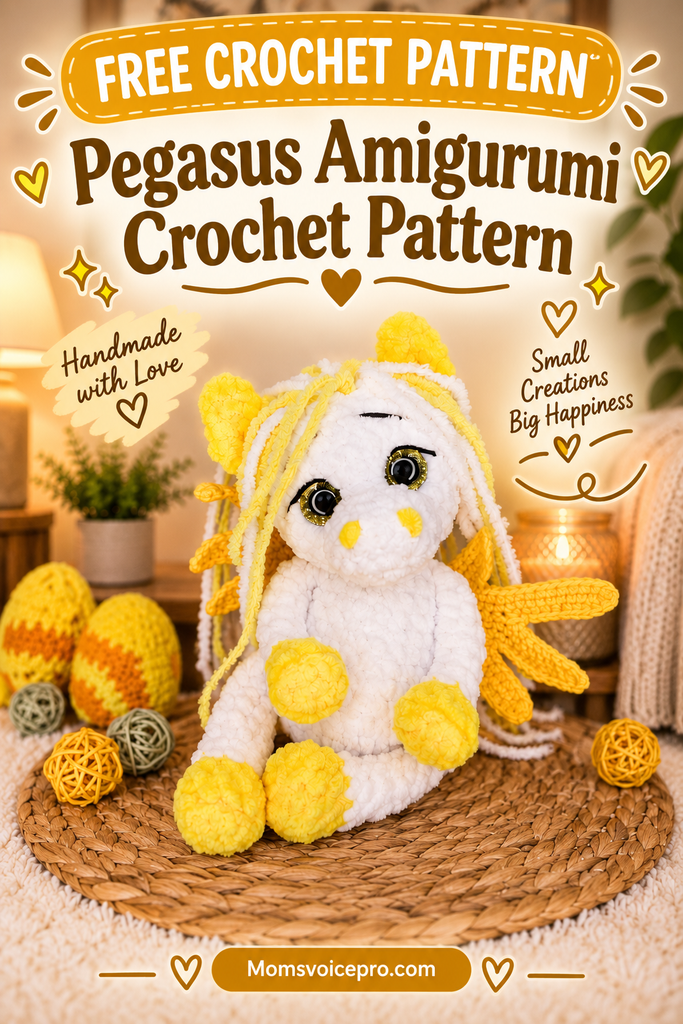
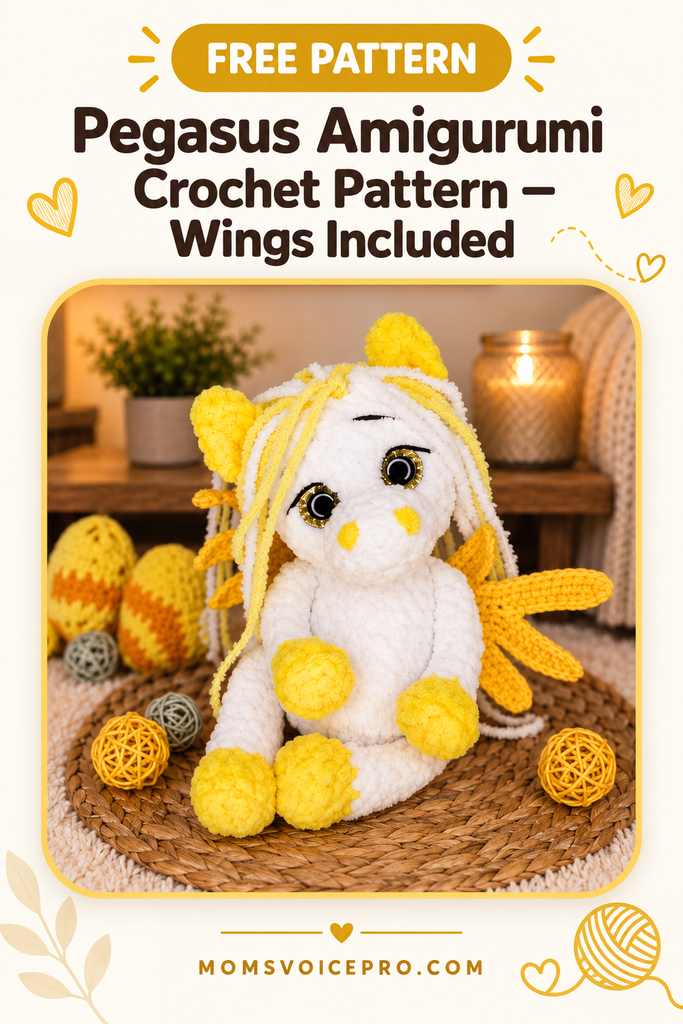
Every herd needs a little magic — meet the winged cousin of my free horse amigurumi pattern! This dreamy pegasus keeps the same soft body and sweet face, but adds a pair of gorgeous crocheted feather wings and a flowing white-and-yellow mane. It’s proof that one base pattern really can become a whole herd of different characters.
This is a bonus/companion pattern — the body, legs, arms, ears, muzzle, and head are all made exactly the same way as the horse pattern (main color white, additional color yellow, or any colors you like). Below, I’m sharing everything that’s different for the pegasus: the mane and tail styling, and the full wings pattern from start to finish.
What You’ll Need
- Everything from the base horse pattern materials list — main color white, additional color yellow (or any colors you like)
- Alize Softy yarn in white and yellow, for the mane and tail
- YarnArt Jeans yarn in yellow, for the wings
- 3.5 mm crochet hook (for the body, same as the horse)
- 2.5 mm crochet hook (for the wings)
- Sewing needle, safety pins
- Optional: PVA glue, if your wings need extra stiffness after ironing
Crochet the entire body according to the horse pattern using a 3.5 mm hook, with white as the main color and yellow as the additional color.
Mane & Tail
For the tail and mane, use Alize Softy yarn in white and yellow.
Tail
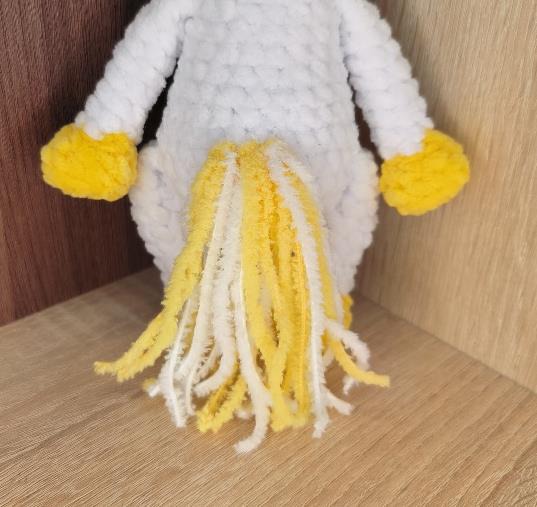
Prepare 6 strands of each color, approximately 20 cm long. Attach one white and one yellow strand simultaneously to each stitch (using the same attachment method as the horse’s tail). Trim the tail to the desired length.
Mane
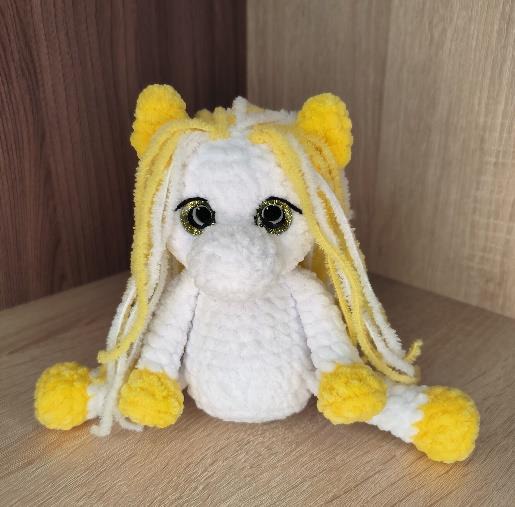
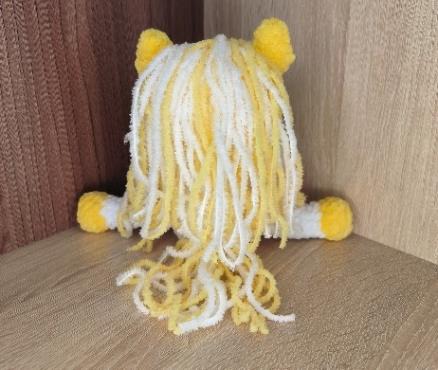
Prepare approximately 19 strands of each color, approximately 35 cm long. Attach the mane in five rows, using the same attachment method as the horse’s mane. The rows go from the eyes to the join at the back of the head — in each stitch of one round, attach: white – yellow – white – yellow, and so on:
- Row 1 (attached on Round 14 of the head) — 7 strands
- Row 2 — 6 strands
- Row 3 — 7 strands
- Row 4 — 8 strands
- Row 5 — 10 strands
You can attach as many or as few strands as you like. Trim the mane to the desired length.

The Wings
Crochet the wings using a 2.5 mm hook and yellow YarnArt Jeans yarn. You’ll make two wings, worked as flat feathered panels first, then folded and sewn into a 3D shape.
Making the Wing Panel
- Chain 11. Starting in the 2nd chain from the hook, work: 10 sc, ch, turn. (10)
- Work: 5 sc, ch 11, turn.
- Starting in the 2nd chain from the hook, work: 15 sc, ch, turn. (15)
- Work: 8 sc, ch 11, turn.
- Starting in the 2nd chain from the hook, work: 18 sc, ch, turn. (18)
- Work: 10 sc, ch 11, turn.
- Starting in the 2nd chain from the hook, work: 20 sc, ch, turn. (20)
- Work: 7 sc, ch 7, turn.
- Starting in the 2nd chain from the hook, work: 13 sc (13)
Without making chains or turning, work sc around the entire wing on all sides, including the feathers. At the corners and along the outer edges of the feathers, make an inc from sc. Return to the starting point and make a sl st. Cut the yarn, leaving a long tail for sewing the wing to the body.
Crochet the second wing the same way (Rows 1–9). Then turn the piece and only after that work sc around the entire wing on all sides, including the feathers — this makes the second wing a mirror image of the first. At the corners, make an inc from sc, return to the starting point, and make a sl st. Cut the yarn, leaving a long tail.

Shaping & Folding the Wings
Gently iron the wings so they don’t curl. Then fold each wing correctly:
- Hold the wing with the longest feather at the top.
- Fold it in half so the center is facing you, not the two ends of the wing.
- Fold each edge toward the center and secure it with a needle or safety pin.
- Using a needle and the remaining long yarn tail, sew the four sides together.
- Repeat with the second wing. Do not cut the remaining yarn — you’ll use it to sew the wing to the body.
Important! If ironing made the wings soft and they no longer hold their shape firmly, lightly coat them with PVA glue before sewing them on and let them dry completely — this will make the wings stiff and help them keep their shape.

Attaching the Wings
You can attach the wings to the back according to your preference. Here’s one approach that works well:
- Position the edge of the wing approximately level with the tail.
- When looking at the toy from the front, the four upper feathers should be visible behind the toy — the lowest feather stays hidden behind the legs.
Secure the wings with long sewing needles and carefully sew them to the back, maintaining symmetry between the two sides.

Tips for a Polished Finish
- Iron on low heat, with a cloth barrier — the goal is just to flatten curl in the crochet feathers, not to melt or scorch the yarn.
- Pin before you sew — securing each folded wing with a pin first makes it much easier to sew a neat, even seam along all four sides.
- Check symmetry from the front — step back and look at the toy face-on before finishing your stitching, so both wings sit at matching heights and angles.
- Use glue sparingly — a light PVA coat is only needed if your wings feel floppy after ironing; too much will make them stiff and glossy rather than naturally feather-like.
- Layer the mane colors as you go — attaching a consistent white-yellow-white-yellow pattern in each row is what gives the finished mane its blended, sunny look.
Frequently Asked Questions
Do I need the horse pattern to make this pegasus?
Can I make smaller or larger wings?
Why do I need to turn the piece for the second wing?
My wings keep curling — what should I do?
Can I use a different yarn color for the wings?


Ready to Make Your Own Pegasus?
I’d love to see your finished pegasus! Tag me or share your makes online — happy crocheting, and may all your stitches be easy! 🐴🪽