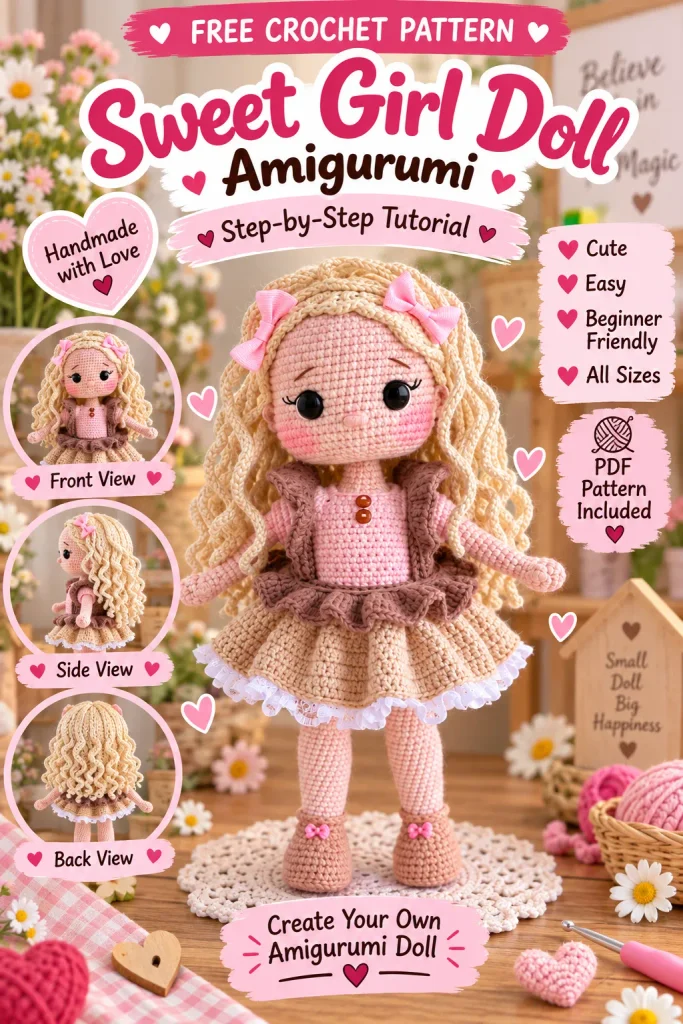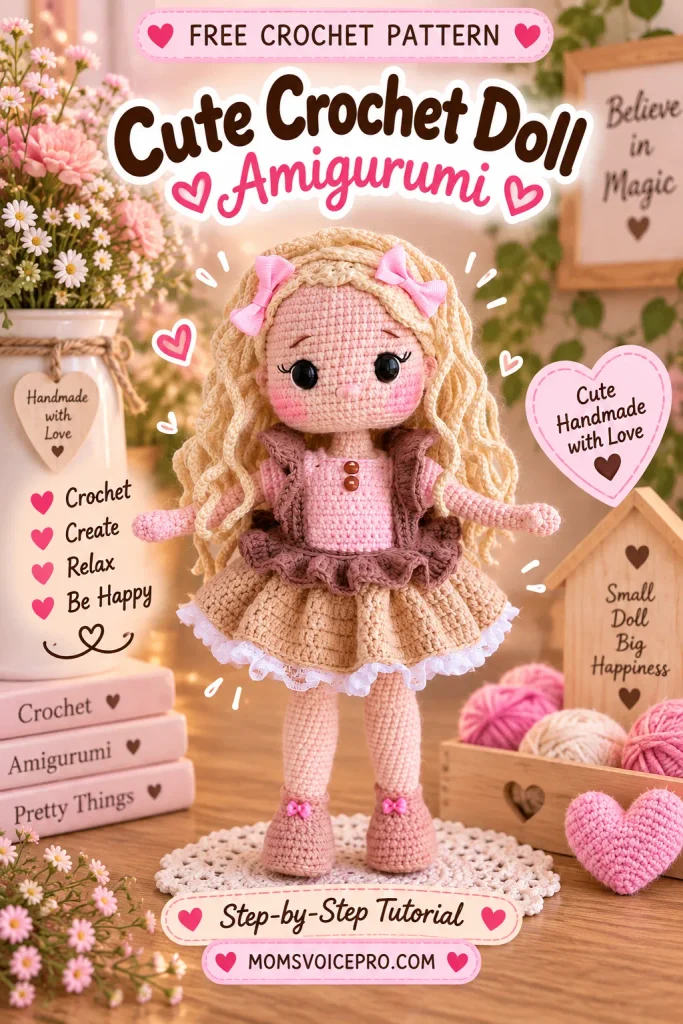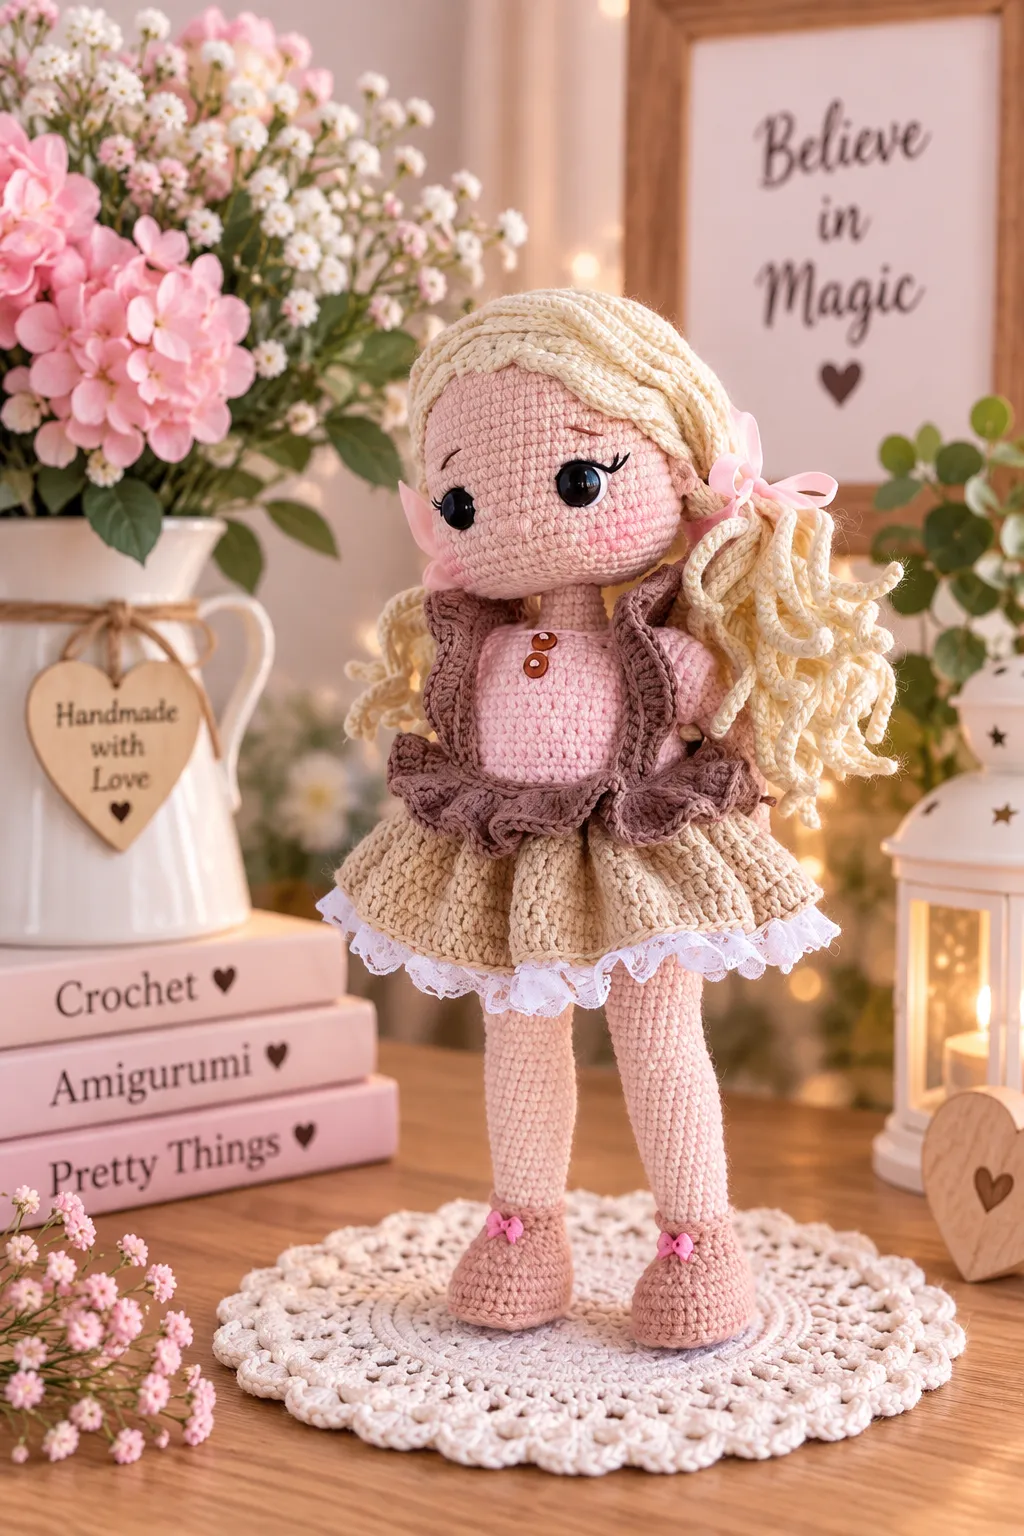
Learn how to crochet Martha, a charming 24 cm amigurumi doll with curly hair, a pink-and-honey dress, apron, shoes, and delicate embroidered facial details.
This handmade crochet doll is designed with a softly stuffed body, expressive embroidered details, a removable-looking layered outfit, and a textured wig made from long crocheted strands. The finished doll is approximately 24 cm when made with the listed materials and gauge.
The pattern uses semi-cross stitches for the doll and shoes, while the dress and apron use checkmark-style stitches. Work tightly to avoid holes, and crochet in a spiral unless the instructions say otherwise.
Table of Contents
Materials Needed
- Alize Cotton Gold 100 g / 330 m, color 401 (body color).
- Alize Cotton Gold 100 g / 330 m, color 446 (pink beige for shoes).
- Alize Cotton Gold 100 g / 330 m, color 62 (cream for panties and bra).
- YarnArt Baby Cotton 50 g / 165 m, color 402 (cream for the wig).
- YarnArt Baby Cotton 50 g / 165 m, color 410 (pink for the dress).
- YarnArt Baby Cotton 50 g / 165 m, color 404 (honey beige for the dress).
- YarnArt Baby Cotton 50 g / 165 m, color 407 (brown for the apron).
- 1.75 mm crochet hook and polyester toy filling.
- 10 mm safety eyes, thick yarn needle, sewing pins, scissors, and a stitch marker.
- Black, white, and brown embroidery thread; blush or dry pastel.
- 6 mm wire, 11 cm long; 1.5 mm wire, 25 cm long; soft plastic for shoe insoles; adhesive plaster.
- Lace, buttons, and decorative pieces of your choice.
Abbreviations
- MR: magic ring
- ch: chain
- t-ch: turning chain
- sc: single crochet
- inc: increase (2 sc in one stitch)
- dec: decrease (2 sc together)
- sl st: slip stitch
- hdc: half double crochet
- dc: double crochet
- dcinc: double crochet increase
- tr: treble crochet
- trinc: treble crochet increase
- Bobble stitch: unfinished double crochet stitches worked into one stitch with a common top
- Numbers in parentheses show the stitch count for the round or row. “*N” means repeat the bracketed sequence N times.
Arms
Make two arms in the body color. Stuff the palm firmly, but leave the arm section unstuffed.


Legs and Body
Right leg and shoe
Begin in pink beige. Stuff the legs and body firmly as you work. Prepare two sole inserts from soft plastic after the fourth round.
Use the pink-beige yarn to crochet around the shoe opening in the front loops of round 13, then add the decorative slip-stitch edging around round 4. Adjust with extra single crochets when needed so the marker sits in the correct position.


Join the legs and crochet the body


Head and Ears
Crochet the head in the body color and stuff firmly as you progress.
Make two ears: 5 sc in a magic ring. Leave a long tail for sewing. Position the ears between rounds 19–20 and 21–22 of the head, approximately 8 sc from the edge of each eye.


Face Details
Insert the 10 mm safety eyes into the openings created in round 20 and secure them from the inside with washers. Use needle sculpting to gently shape the eye area, following the photo sequence in the pattern.
- Embroider the nose between rounds 22 and 23, with approximately 3 sc between the marked points.
- Wrap the nose stitches with body-color thread to create a neat finish.
- Add white stitches at the outside edges of the eyes.
- Embroider black eyelashes above the eyes.
- Embroider brown eyebrows and hide all thread tails inside the head.
- Lightly tint the cheeks and nose with blush or dry pastel. Brown pastel can be used to soften the eyebrows.


Hair Wig and Assembly
The wig is crocheted in cream yarn using long chain strands that are slip-stitched back toward the wig base.
Insert the 11 cm wire into the body, protect the ends with adhesive plaster, and stuff the neck firmly. Position the head, secure with pins, and sew it firmly around the neck opening.
For the hairstyle, leave six strands of the bottom row at the front for bangs. Pin the remaining strands, twist two bang strands together, and arrange four strands toward one ear and two toward the other. Sew the strands to the head and close visible gaps with a few strands from the next row.


Dress
Start in pink. The top is worked in rows of single crochet. Because gauge varies, you may need to adjust your hook size.
Sleeves and finishing
Make the second sleeve in the same way. Crochet around the sides and neck with single crochet, adding three button loops from ch 6 along one edge. Sew three buttons onto the back. Add lace to the lower edge if desired.


Apron and Ruffles
Work the apron in brown yarn.
Make two ruffles:
Mark the main apron at stitches 5, 21, 31, and 48, then sew on the ruffles. For the ties, attach brown yarn and chain 50 on each side.


Tips for a Polished Finish
- Keep your tension tight and consistent so the stuffing does not show through.
- Use a stitch marker and count each round, especially around the legs, body, and head.
- Place the arms symmetrically and check that both thumbs face toward you before closing the body.
- Stuff the neck firmly before sewing on the head so it remains stable.
- Pull the face-sculpting thread gently and evenly; excessive tension can distort the head.
- Hide all yarn and embroidery ends inside the pieces for a clean, durable finish.
- Try the wig on before sewing. Arrange the bangs and side strands first, then stitch them in place.
- Use the pattern photos as a positioning guide for the ears, facial embroidery, ruffles, and buttons.
Frequently Asked Questions
What size will the finished doll be?
Which crochet stitch is used for the doll?
Can I use a different yarn brand?
Why is tight crocheting important?
Can I change the dress colors or decorations?
Conclusion
Martha is a lovely project for crocheters who enjoy detailed amigurumi, tiny clothing, and expressive finishing touches. Take your time with the shaping, facial embroidery, wig placement, and layered outfit, and you’ll have a charming handmade doll ready for gifting or display.