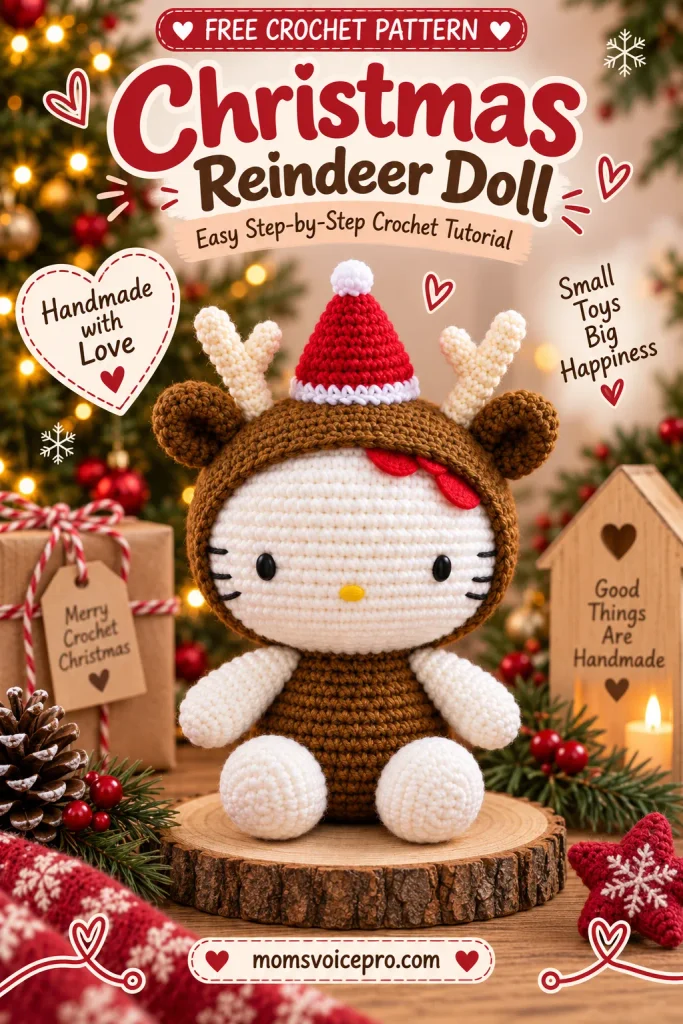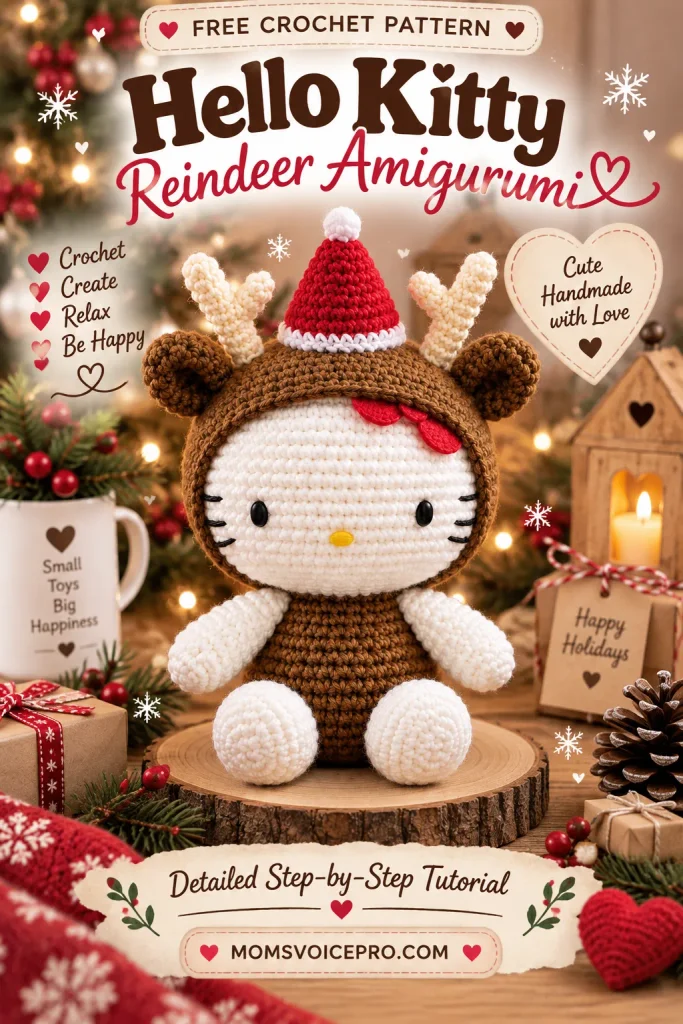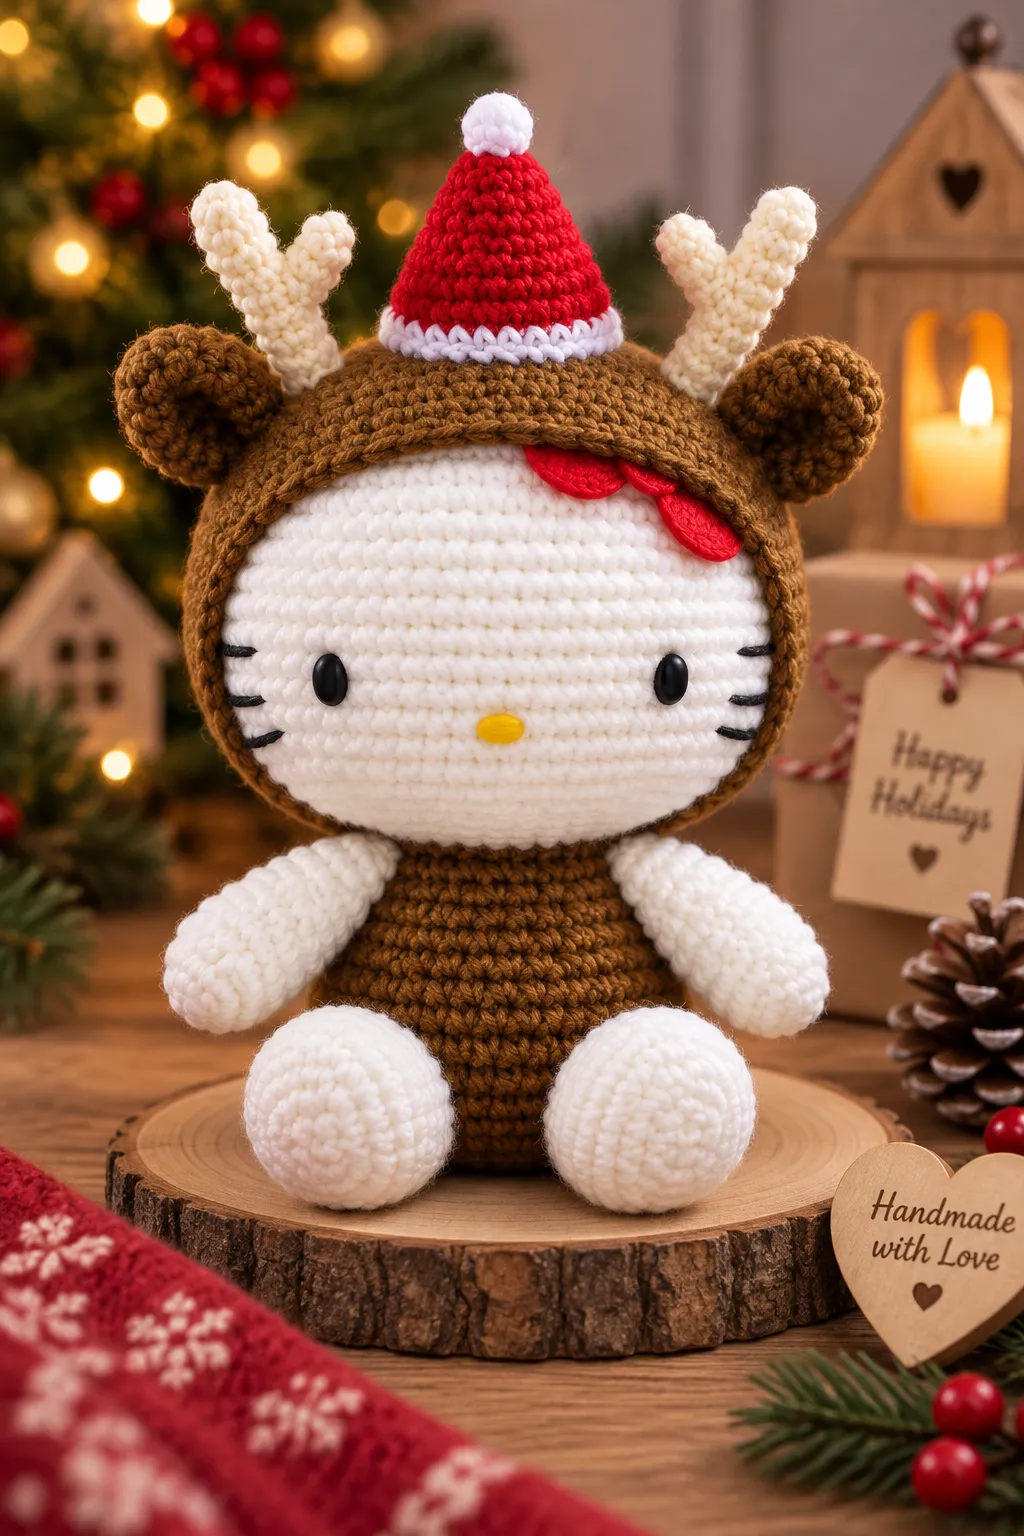
Meet the newest member of the holiday crochet family: Kitty dressed up as the coziest little reindeer, complete with a fuzzy brown hood, a pom-pom Santa cap, curled antlers, and a tiny red ribbon. This free amigurumi pattern turns basic single crochet into an adorable 7.5-inch doll that’s just as sweet on a mantel as it is under the tree.
The whole project is worked in continuous rounds with US single crochet terms, using a 3.00 mm hook and 4-ply yarn in brown, white, cream and black. If you can sc, sc2tog, and work a magic ring, you have everything you need to make this one from start to finish — no complicated shaping, just a lot of cozy holiday charm.
Table of Contents
Materials
This pattern can be made with any yarn you like — just pick a hook size that matches your yarn weight. Made with a 3.00 mm hook and 4-ply yarn, the finished doll stands about 7.5 inches (19 cm) tall and 4 inches (10 cm) wide; your finished size will vary depending on your yarn and gauge.
- 3.00 mm crochet hook
- 4-ply yarn in brown, white, cream and black
- Polyester fiberfill for stuffing
- Felt in black, yellow and red (for the eyes, nose and ribbon)
- Yarn needle
- Craft glue
Eyes, Nose and Ribbon (felt pieces)
The eyes, nose and ribbon are all cut from felt rather than crocheted. Cut the felt into the shapes below.


For the ribbon, glue the two large circles together side by side, then glue the small circle in the center where they overlap.
Abbreviations and Stitches
- ch(s) – chain(s)
- yo – yarn over
- sc – single crochet
- sl st – slip stitch
- sc2tog – single crochet decrease (work 2 sc together)
- st(s) – stitch(es)
- rnd(s) – round(s)
- lp(s) – loop(s)
Stitches and techniques used
- Slip stitch (sl st): insert hook in the next stitch, yarn over and draw through all loops.
- Single crochet (sc): insert hook in the next stitch and draw up a loop (2 loops on hook), yarn over, draw through both loops. Worked with the right side facing you.
- Single crochet decrease (sc2tog): insert hook in the next stitch and draw up a loop (2 loops on hook), insert hook in the following stitch and draw up a loop (3 loops on hook), yarn over and draw through all 3 loops.
- Changing color: insert the hook in the next stitch and draw up a loop (2 loops on hook). Drop the first color, yarn over with the new color and draw through both loops. Continue with the new color.
- Magic adjustable ring: make a loop with your yarn, leaving a 3″ tail. Insert hook in the center of the loop, yarn over and draw up a loop. Yarn over and pull through to make your first chain (this doesn’t count as your first sc). Continue crocheting over the loop and tail until you have the number of sc needed for round 1.
The pieces below are worked in continuous rounds — unless noted otherwise, don’t join or turn between rounds. Use a stitch marker to keep track of where each round begins.
Head
Starting at the top of the head, with white:
- Round 1: Chain 10, 3 sc in 2nd ch from hook, sc in next 7 chs, 3 sc in last ch; working in free loops of the beginning chain, sc in next 7 ch, do not join, work in rounds. (20)
- Round 2: (2 sc in each of next 3 sts, sc in next 7 sts) twice. (26)
- Round 3: (2 sc in next st, sc in next st, 2 sc in next st, sc in next st, 2 sc in next st, sc in next 8 sts) twice. (32)
- Round 4: Sc in next st, 2 sc in next st, (sc in next 2 sts, 2 sc in next st) twice, sc in next 9 sts, 2 sc in next st, (sc in next 2 sts, 2 sc in next st) twice, sc in next 8 sts. (38)
- Round 5: Sc in next 3 sts, 2 sc in next st, (sc in next 2 sts, 2 sc in next st) twice, sc in next 12 sts, 2 sc in next st, (sc in next 2 sts, 2 sc in next st) twice, sc in next 9 sts. (44)
- Round 6: Sc in next 3 sts, 2 sc in next st, (sc in next 3 sts, 2 sc in next st) twice, sc in next 13 sts, 2 sc in next st, (sc in next 3 sts, 2 sc in next st) twice, sc in next 10 sts. (50)
- Round 7: Sc in next 4 sts, 2 sc in next st, (sc in next 4 sts, 2 sc in next st) twice, sc in next 14 sts, 2 sc in next st, (sc in next 4 sts, 2 sc in next st) twice, sc in next 10 sts. (56)
- Round 8: Sc in next 4 sts, 2 sc in next st, (sc in next 5 sts, 2 sc in next st) twice, sc in next 15 sts, 2 sc in next st, (sc in next 5 sts, 2 sc in next st) twice, sc in next 11 sts. (62)
- Rounds 9–18: Sc around. (62)
- Round 19: (Sc in next 6 sts, sc2tog) 3 times, sc in next 13 sts, sc2tog, (sc in next 6 sts, sc2tog) twice, sc in next 7 sts. (56)
- Round 20: (Sc in next 5 sts, sc2tog) 3 times, sc in next 12 sts, sc2tog, (sc in next 5 sts, sc2tog) twice, sc in next 7 sts. (50)
- Round 21: Sc in next 6 sts, sc2tog, (sc in next 4 sts, sc2tog) twice, sc in next 11 sts, sc2tog, (sc in next 4 sts, sc2tog) twice, sc in next 5 sts. (44)
- Round 22: Sc in next 5 sts, sc2tog, (sc in next 3 sts, sc2tog) twice, sc in next 10 sts, sc2tog, (sc in next 3 sts, sc2tog) twice, sc in next 5 sts. (38)
- Round 23: Sc in next 6 sts, sc2tog, (sc in next 2 sts, sc2tog) twice, sc in next 9 sts, sc2tog, (sc in next 2 sts, sc2tog) twice, sc in next 3 sts. (32)
- Round 24: Sc in next 5 sts, sc2tog, (sc in next st, sc2tog) twice, sc in next 8 sts, sc2tog, (sc in next st, sc2tog) twice, sc in next 3 sts. (26)
- Round 25: Sc in next 7 sts, sc2tog, sc in next 11 sts, sc2tog, sc in next 4 sts. (24)
Fasten off, stuff the head!


Face
Whiskers: use black yarn and a yarn needle to embroider 3 straight stitches on each side of the face, in the 8th row from the front edge.


Glue the 2 black felt eyes and the yellow felt nose onto the face, using the whisker rows as your placement guide.
Hood
With brown:
- Round 1: Chain 6, 3 sc in 2nd ch from hook, sc in next 3 chs, 3 sc in last ch; working in free loops of the beginning chain, sc in next 3 ch, do not join, work in rounds. (12)
- Round 2: (2 sc in each of next 3 sts, sc in next 3 sts) twice. (18)
- Round 3: (2 sc in next st, sc in next st, 2 sc in next st, sc in next st, 2 sc in next st, sc in next 4 sts) twice. (24)
- Round 4: Sc in next st, 2 sc in next st, (sc in next 2 sts, 2 sc in next st) twice, sc in next 5 sts, 2 sc in next st, (sc in next 2 sts, 2 sc in next st) twice, sc in next 4 sts. (30)
- Round 5: Sc in next st, 2 sc in next st, (sc in next 3 sts, 2 sc in next st) twice, sc in next 6 sts, 2 sc in next st, (sc in next 3 sts, 2 sc in next st) twice, sc in next 5 sts. (36)
- Round 6: Sc in next 2 sts, 2 sc in next st, (sc in next 4 sts, 2 sc in next st) twice, sc in next 7 sts, 2 sc in next st, (sc in next 4 sts, 2 sc in next st) twice, sc in next 5 sts. (42)
- Round 7: Sc in next 2 sts, 2 sc in next st, (sc in next 5 sts, 2 sc in next st) twice, sc in next 8 sts, 2 sc in next st, (sc in next 5 sts, 2 sc in next st) twice, sc in next 6 sts. (48)
- Round 8: Sc in next 4 sts, 2 sc in next st, (sc in next 6 sts, 2 sc in next st) twice, sc in next 9 sts, 2 sc in next st, (sc in next 6 sts, 2 sc in next st) twice, sc in next 5 sts. (54)
- Round 9: Sc in next 4 sts, 2 sc in next st, (sc in next 7 sts, 2 sc in next st) twice, sc in next 10 sts, 2 sc in next st, (sc in next 7 sts, 2 sc in next st) twice, sc in next 6 sts. (60)
- Rounds 10–14: Sc around. (60)
- Round 15: Sc in next 24 sts, sc2tog, sc in next 9 sts, sc2tog, sc in next 23 sts. (58)
- Rounds 16–17: Sc around. (58)
- Round 18: Sc in next 24 sts, sc2tog, sc in next 8 sts, sc2tog, sc in next 22 sts. (56)
- Rounds 19–20: Sc around. (56)
- Round 21: Sc2tog, sc in next 17 sts, sc2tog, (sc in next 7 sts, sc2tog) twice, sc in next 17 sts. (52)
Fasten off, leaving a long tail for sewing to the body. Put the head inside the hood, then glue the felt ribbon under the edge of the hood.


Body
With a magic adjustable ring and brown yarn:
- Round 1: 6 sc into the center of the ring, do not join, work in rounds. (6)
- Round 2: 2 sc in each st around. (12)
- Round 3: (Sc in next st, 2 sc in next st) around. (18)
- Round 4: (Sc in next 2 sts, 2 sc in next st) around. (24)
- Round 5: (Sc in next 3 sts, 2 sc in next st) around. (30)
- Round 6: (Sc in next 4 sts, 2 sc in next st) around. (36)
- Round 7: (Sc in next 5 sts, 2 sc in next st) around. (42)
- Rounds 8–11: Sc around. (42)
- Round 12: (Sc in next 5 sts, sc2tog) around. (36)
- Round 13: Sc around. (36)
- Round 14: (Sc in next 4 sts, sc2tog) around. (30)
- Round 15: Sc around. (30)
- Round 16: (Sc in next 3 sts, sc2tog) around. (24)
- Rounds 17–18: Sc around. (24)
Fasten off, stuff, and sew to the head.

Arms (make 2)
With a magic adjustable ring and white yarn:
- Round 1: 6 sc into the center of the ring, do not join, work in rounds. (6)
- Round 2: 2 sc in each st around. (12)
- Rounds 3–7: Sc around. (12)
- Round 8: sc2tog twice, sc in next 8 sts. (10)
- Round 9: sc2tog twice, sc in next 6 sts. (8)
- Round 10: sc2tog, sc in next 6 sts. (7)
Fasten off, leaving a long tail. Stuff a little bit and sew to the body.

Leg (make 2)
Start at the foot, with white:
- Round 1: Chain 5, sc in 2nd ch from hook, sc in next 2 chs, 3 sc in last ch; working in free loops of the beginning chain, sc in next 2 chs, 2 sc in last ch, do not join, work in rounds. (10)
- Round 2: 2 sc in next st, sc in next 2 sts, 2 sc in each of next 3 sts, sc in next 2 sts, 2 sc in each of next 2 sts. (16)
- Round 3: (2 sc in next st, sc in next 3 sts, 2 sc in next st, sc in next st, 2 sc in next st, sc in next st) twice. (22)
- Rounds 4–6: Sc around. (22)
- Round 7: Sc in next 7 sts, sc2tog 3 times, sc in next 9 sts. (19)
Fasten off, leaving a long tail. Stuff and sew both legs to the body.


Tail
With a magic adjustable ring and brown yarn:
- Round 1: 6 sc into the center of the ring, do not join, work in rounds. (6)
- Round 2: (Sc in next st, 2 sc in next st) around. (9)
- Rounds 3–4: Sc around. (9)
Fasten off, leaving a long tail. Stuff a little bit and sew to the body.

Santa Cap
With a magic adjustable ring and red yarn:
- Round 1: 6 sc into the center of the ring, do not join, work in rounds. (6)
- Round 2: 2 sc in each st around. (12)
- Round 3: Sc around. (12)
- Round 4: (Sc in next st, 2 sc in next st) around. (18)
- Round 5: Sc around. (18)
- Round 6: (Sc in next 2 sts, 2 sc in next st) around. (24)
- Round 7: Sc around. (24)
- Round 8: (Sc in next 3 sts, 2 sc in next st) around. (30)
- Round 9: Sc around, change to white yarn. (30)
- Round 10: Sc around. (30)
Fasten off, leaving a long tail.
Small white ball for the tip of the cap — with a magic adjustable ring and white yarn:
- Round 1: 4 sc into the center of the ring, do not join, work in rounds. (4)
- Round 2: Sc around. (4)
Fasten off, leaving a long tail, and attach the white ball to the tip of the cap. Stuff the cap a little bit and sew it to the top of the head.


Reindeer Horn (make 2)
Part 1 (make 2)
With a magic adjustable ring and cream/red yarn:
- Round 1: 6 sc into the center of the ring, do not join, work in rounds. (6)
- Rounds 2–9: Sc around. (6)
Fasten off, leaving a long tail for sewing to the head.
Part 2 (make 2)
- Round 1: 5 sc into the center of the ring, do not join, work in rounds. (5)
- Rounds 2–3: Sc around. (5)
Fasten off, leaving a long tail, and sew Part 2 to Part 1 to form the branched antler shape. Sew the finished horns to the head.


Reindeer Ears (make 2)
With a magic adjustable ring and brown yarn:
- Round 1: 6 sc into the center of the ring, do not join, work in rounds. (6)
- Round 2: (Sc in next st, 2 sc in next st) around. (9)
- Round 3: (Sc in next 2 sts, 2 sc in next st) around. (12)
- Round 4: (Sc in next 3 sts, 2 sc in next st) around. (15)
- Round 5: (Sc in next 4 sts, 2 sc in next st) around. (18)
- Round 6: Sc2tog twice, sc in next 14 sts. (16)
- Round 7: Sc around. (16)
Fasten off, leaving a long tail. Fold the base of the ear in half and sew to close the opening, then sew the ears to the head.


Finishing
And that’s Kitty ready for the holidays! Here’s the finished reindeer doll from every angle.


Tips for a Polished Finish
- Keep your gauge snug. A tight, even single crochet fabric keeps the polyester fiberfill from peeking through between stitches.
- Use the row-counting guide for the whiskers. Counting to the 8th row from the front edge on both sides keeps them symmetrical — it’s easy to eyeball it wrong on a rounded head.
- Let the glue set before handling. The felt eyes, nose and ribbon need real drying time, so glue those pieces on and set the doll aside for a bit before you start posing it for photos.
- Fit the hood before you commit to sewing. Since the head goes inside the hood rather than the hood being sewn directly onto the head, try the fit and adjust the angle before gluing the ribbon in place.
- Stuff the horns and ears lightly. These small pieces hold their shape from the stitches alone — overstuffing them can distort the branch shape of the antlers.
Frequently Asked Questions
Can I use safety eyes instead of felt eyes?
Yes, though you’d need to insert them before the head is fully stuffed and closed, unlike the glued felt eyes used here which go on at the very end. If the doll is for a young child, felt or embroidered eyes glued on securely (or safety eyes with locking washers) are both safer than loose beads.
What size yarn and hook does this pattern use?
It’s written for 4-ply (fingering/sport-weight) yarn with a 3.00 mm hook, giving a finished doll about 7.5 inches tall. You can use a heavier yarn and larger hook for a bigger doll — just expect the finished size to scale up accordingly.
Do I sew the hood onto the head, or is the head crocheted separately?
They’re two separate pieces. The head is crocheted and stuffed on its own first, and the hood is a second piece that the stuffed head sits inside, with the ribbon glued on to hold the look together.
Can I skip the felt pieces and embroider the face instead?
Absolutely. Felt is used here for the eyes, nose and ribbon because it gives clean, crisp shapes, but you can embroider or use safety eyes/noses in the same spots if you prefer an all-yarn finish.
How long does this pattern take to make?
Between the head, hood, body, arms, legs, tail, cap, horns and ears, most crocheters spend around 5–7 hours on this one, spread across a couple of sessions. It’s a satisfying weekend project to have ready before the holidays.
Conclusion
From the little pom on the Santa cap to the branched antlers and that sweet red ribbon, this reindeer Kitty is a proper holiday keepsake. Make one for the tree, one for a gift, or a whole herd to line up on the mantel — however many you make, I hope it brings some extra cozy to your season. Happy crocheting, and happy holidays!