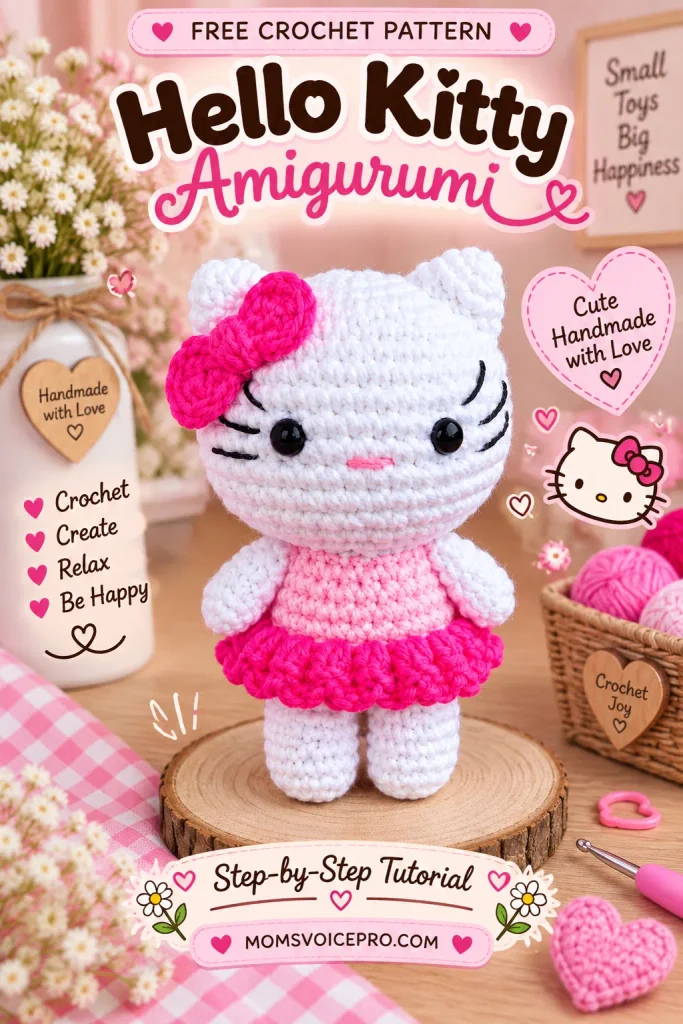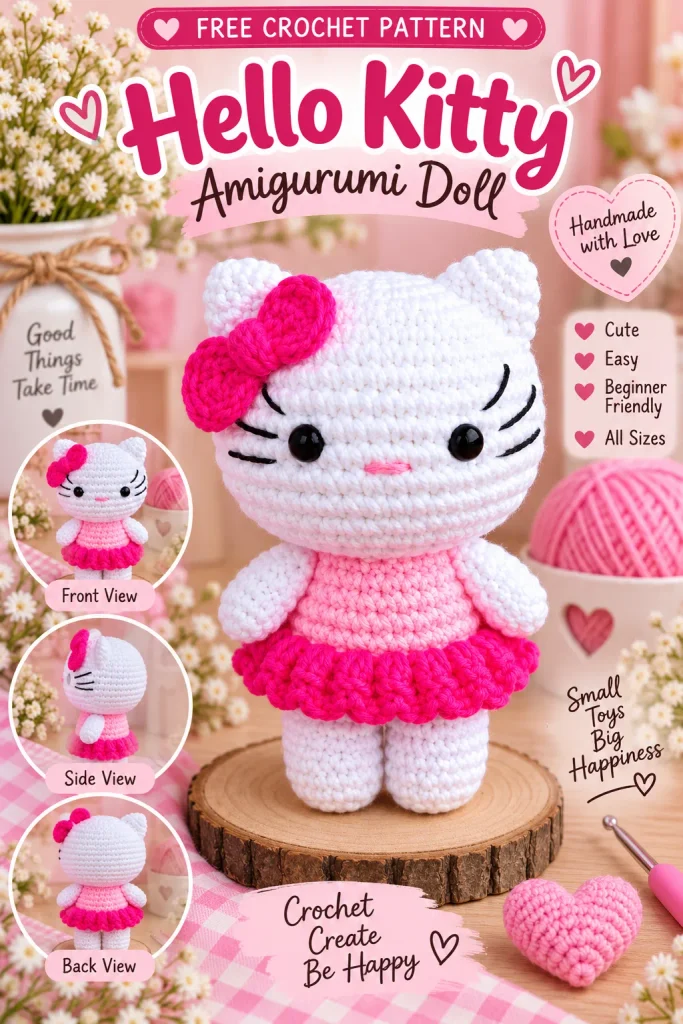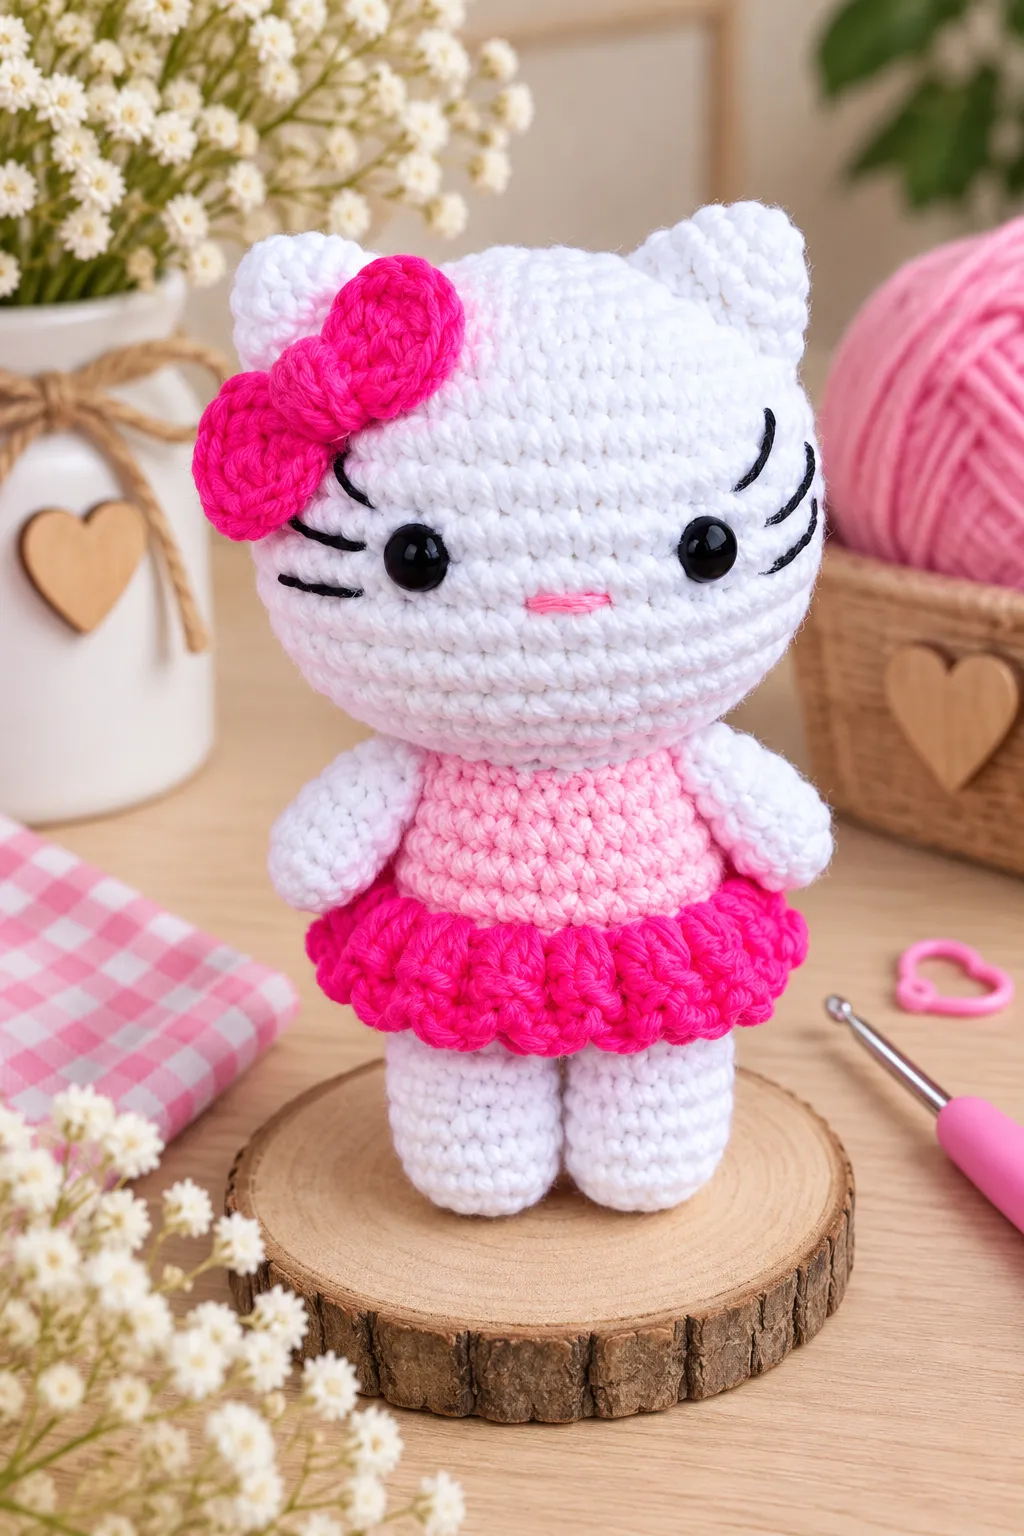
This little Kitty is designed with new amigurumi crocheters in mind — a small, single-strand doll in a two-tone pink dress, safety eyes instead of fussy embroidery, and a seamless legs-into-body construction that skips a lot of the sewing other patterns need. She’s a great first amigurumi project if you already know single crochet, increases and decreases, and want to try your hand at a complete little doll.
This pattern was originally written in French; the translation below keeps every round and stitch count exactly as written. A handful of round numbers in the body section repeat or skip in the original chart — where that happens, the photos are the best guide, and the instructions below follow the stitch counts given.
Table of Contents
Materials
- 8/4-weight, 100% cotton yarn (50g/170m, superfine) in three colors: white for the main body, plus light pink and dark pink
- 2 mm crochet hook
- 6 mm safety eyes
- Scissors
- Sewing needle
- Pins
- Polyester fiberfill for stuffing
Abbreviations
- sc – single crochet
- puff – puff stitch
- ch – chain
- MR – magic ring
- dec – decrease
- inc – increase
- st – stitch
- FLO – work in front loops only
- BLO – work in back loops only
- tr – treble crochet
- dc – double crochet
- hdc – half double crochet
- sl st – slip stitch
- dtr – double treble crochet
- tch – turning chain
- sc3tog – 3 sc worked together into the same stitch
- F.O. – fasten off
- dc3tog – 3 dc worked together
Work in continuous rounds throughout unless a step tells you to join or turn. Keep a stitch marker in your work to track where each round starts.
Head
- Rnd 1: 6 sc in MR (6)
- Rnd 2: inc x6 (12)
- Rnd 3: (1 sc, inc) x6 (18)
- Rnd 4: (2 sc, inc) x6 (24)
- Rnd 5: (3 sc, inc) x6 (30)
- Rnd 6: (4 sc, inc) x6 (36)
- Rnd 7: (5 sc, inc) x6 (42)
- Rnds 8–13: sc around (42)
Attach the safety eyes between rounds 9 and 10, spaced 6 stitches apart.
- Rnd 14: (5 sc, dec) x6 (36)
- Rnd 15: (4 sc, dec) x6 (30)
- Rnd 16: (3 sc, dec) x6 (24)
Start stuffing the head firmly.
- Rnd 17: (2 sc, dec) x6 (18)
Add a little more stuffing as needed as you close up the last rounds.
- Rnd 18: 1 sc, dec (12)
Finish with a sl st and fasten off. Leave a long tail for sewing the head to the body.

Ears (make 2)
- Rnd 1: 6 sc in MR
- Rnd 2: (1 sc, inc) x3 (9)
- Rnd 3: (1 sc, inc) x3 (12)
Finish with a sl st and leave a long yarn tail for sewing to the head later.

Arms (make 2)
- Rnd 1: 6 sc in MR (6)
- Rnds 2–5: sc around, working 4 rounds total (6)
At the end of the last round, work 1 sl st and 1 ch, then cut the yarn and weave the tail inside the piece.
Legs (make 2)
- Rnd 1: 6 sc in MR (6)
- Rnd 2: inc x6 (12)
- Rnds 3–8: sc around, working 6 rounds total (12)
First leg: at the end of the last round, work 1 sl st and 1 ch, cut the yarn, and pass the tail inside the piece.
Second leg: don’t cut the yarn — keep crocheting, work 6 sc, then join with the first leg piece to begin the body.

Body
- Rnd 9: 12 sc across the second leg, then join with the first leg by working 6 sc (24)


Switch to pink yarn and cut the white yarn.

- Rnds 10–11: sc around, working 2 rounds total (24)

- Rnds 13–14: sc around, working 2 rounds total (24)

- Rnd 15: (2 sc, dec) x6 (18)
- Rnd 16: (1 sc, dec) x6 (12)

Skirt
- Rnd 1: ch 2, dc in each stitch all the way around, finish with a sl st
- Rnd 2: 2 ch, sl st, and repeat all the way around with a slip stitch; weave in the ends

Bow for the Head
- 3 ch, 2 double treble crochets (dtr), 3 sl st into the chain, 3 ch again — then repeat the same sequence to form the second loop of the bow

Face Details
Now embroider the lips: insert the needle one stitch below the eyes and embroider the lips with two small stitches.


Take the bow and glue it onto the head with a hot glue gun.

Embroider 3 lines on each side of the face for the whiskers.

Assembling the Pieces
The head
Pin the ears at 3 points on the head and sew them in place.


The arms
Pin the arms right where you sewed the head on, and sew them in place.

Tips for a Polished Finish
- Space the safety eyes carefully. Attaching them between rounds 9 and 10 with 6 stitches between them, before you stuff the head, is much easier than trying to reposition them afterward.
- Use the photos alongside the round numbers. A couple of round numbers in the body section skip or repeat in the original pattern — if a count ever feels off, match your piece to the reference photo rather than the round number alone.
- Join the legs snugly. Since the body grows directly out of the two joined legs with no separate seam, keeping an even tension where they meet keeps the finished doll from looking pinched at the hips.
- Fine yarn rewards a consistent gauge. With superfine 8/4-weight cotton and a small 2 mm hook, small tension changes show up more than they would in a bulkier yarn — try to keep your stitches even throughout.
- Let the glue set before handling the bow. Since it’s attached with a hot glue gun rather than sewn, give it a minute to cool and set before you pose the finished doll.
Frequently Asked Questions
Is this pattern really beginner-friendly?
Yes — it only uses single crochet, increases, decreases, and a magic ring, plus one small section of taller stitches for the bow. If you’ve made one round amigurumi piece before, you have the skills for this whole doll.
Can I embroider the eyes instead of using safety eyes?
Yes, though you’d embroider them after stuffing rather than before, unlike safety eyes which need to go in while the head is still open. If the doll is for a young child, embroidered or securely glued felt eyes are the safer choice over safety eyes with backs that could work loose.
Why do the legs and body have no seam between them?
The second leg is left unfastened at the end of its last round, then the body is crocheted directly across both legs starting at round 9. It’s a common amigurumi technique that skips a separate sewing step and gives a smoother transition at the hips.
What size yarn and hook does this pattern use?
It’s written for superfine 8/4-weight, 100% cotton yarn with a 2 mm hook, which is quite fine and gives a small, detailed doll. A heavier yarn and larger hook will work too, just producing a bigger finished piece.
How long does this pattern take to make?
Since it’s designed as a beginner project with a small finished size, most crocheters finish the whole doll — head, ears, arms, legs, body, skirt and bow — in around 3–4 hours.
Conclusion

With her simple stitches, safety eyes, and seamless leg-to-body join, this Kitty is a lovely, low-fuss project to build your amigurumi confidence on — and the finished doll is every bit as sweet as a more advanced pattern. Happy crocheting!