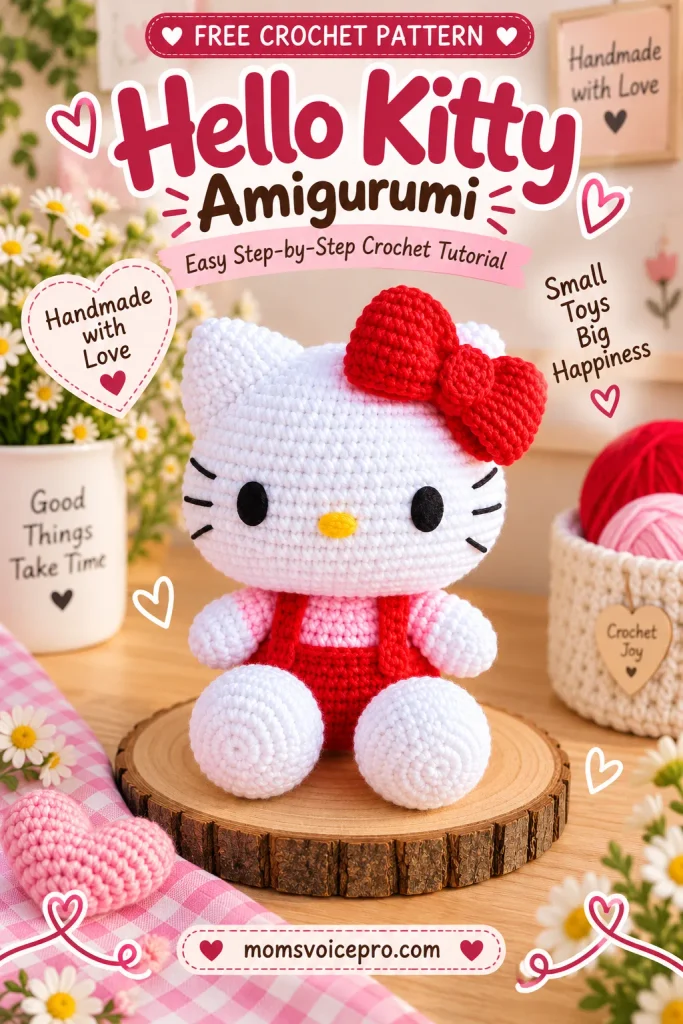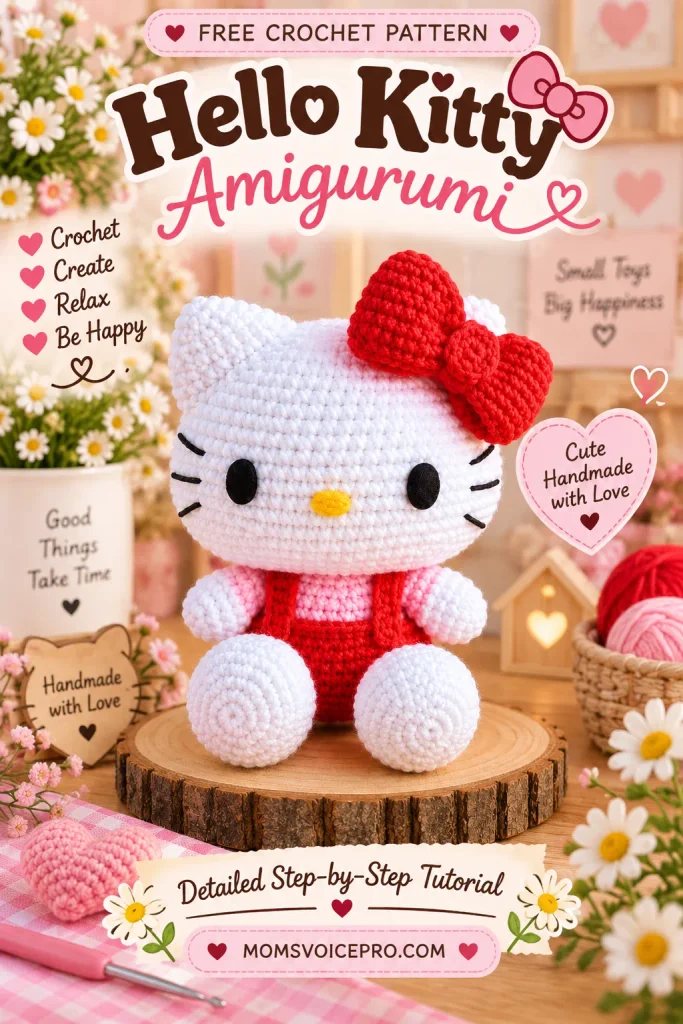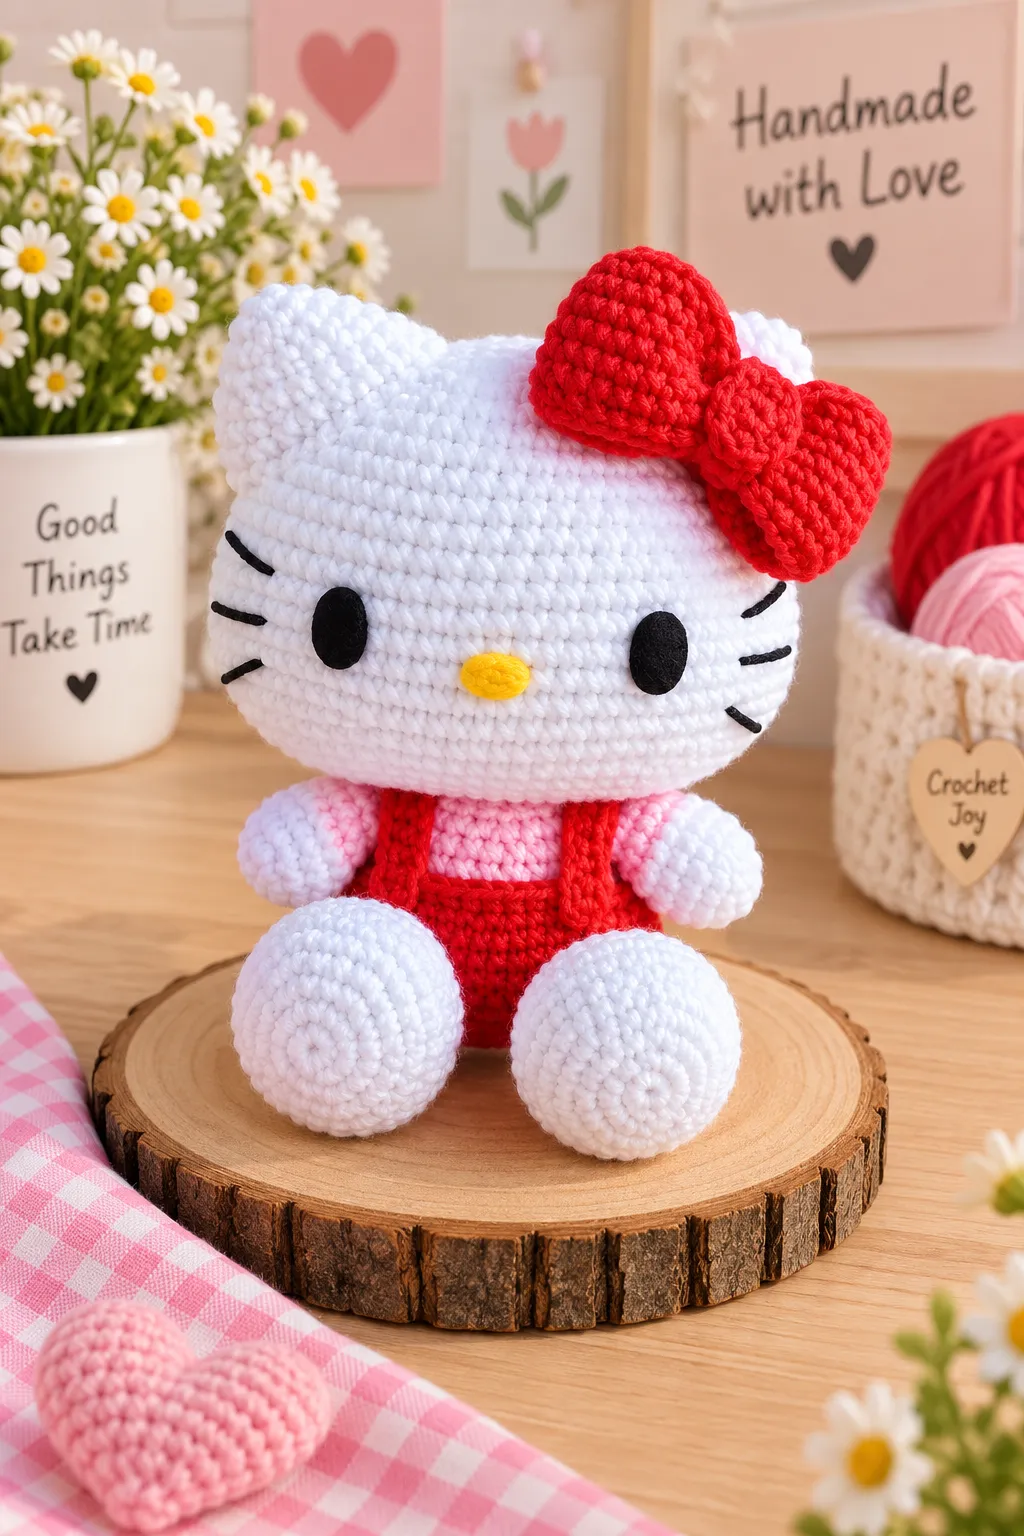
This sweet Kitty amigurumi comes dressed in red overalls with a pink top and a big red bow perched on her ear — a classic, giftable little doll that works up quickly with a fine 2.0 mm hook. She’s built the way a lot of modern amigurumi patterns are: felt facial features instead of embroidery for a clean finish, and a body worked flat-bottomed onto a starting chain rather than a magic ring, which keeps her sitting nice and steady.
This pattern was originally written in Spanish; the instructions below are translated into English while keeping every round and stitch count exactly as written, so if you’ve made other amigurumi from Spanish-language patterns, the abbreviations below will look familiar.
Table of Contents
Materials
- 2.0 mm crochet hook
- 2 mm-weight yarn in white, red, pink and black
- Tapestry/yarn needle
- Black and yellow felt (for the eyes and nose)
- Polyester fiberfill for stuffing
- Liquid glue (a hot glue pen or fabric glue works well)
- Scissors, stitch markers, sewing pins
Stitches and Abbreviations
- MR – magic ring
- ch – chain
- sc – single crochet (the pattern recommends working your sc in the “X” method — inserting the hook so the stitch crosses like an X — for a neater, more braided-looking fabric)
- sl st – slip stitch
- dec – decrease
- inc – increase
- BLO – back loop only
- FLO – front loop only
- hdc – half double crochet
Work every piece in a continuous spiral unless a step tells you to join or turn. Use a stitch marker to keep track of where each round starts.
Head
With white yarn:
- Round 1: Chain 14. Starting from the 2nd chain from the hook: 1 inc, 11 sc, 1 inc
- Round 2: Repeat the same along the other side of the chain: 1 inc, 11 sc, 1 inc — 30 sc total around
- Round 3: 2 inc, 11 sc, 4 inc, 11 sc, 2 inc (38 sc)
- Round 4: 2 sc, 1 inc, 13 sc, 1 inc, 2 sc, 2 sc, 1 inc, 13 sc, 1 inc, 2 sc (42 sc)
- Round 5: (6 sc, 1 inc) × 6 (48 sc)
- Round 6: 2 inc, 20 sc, 3 inc, 22 sc, 1 inc (54 sc)
- Round 7: (8 sc, 1 inc) × 6 (60 sc)
- Round 8: 2 inc, 26 sc, 3 inc, 28 sc, 1 inc (66 sc)
- Round 9: (10 sc, 1 inc) × 6 (72 sc)
- Rounds 10–20: 72 sc
- Round 21: (10 sc, 1 dec) × 6 (66 sc)
- Round 22: 2 dec, 28 sc, 3 dec, 26 sc, 1 dec (60 sc)
- Round 23: (8 sc, 1 dec) × 6 (54 sc)
- Round 24: 2 dec, 22 sc, 3 dec, 20 sc, 1 dec (48 sc)
- Round 25: 48 sc
- Round 26: (6 sc, 1 dec) × 6 (42 sc)
- Round 27: (5 sc, 1 dec) × 6 (36 sc)
- Round 28: (4 sc, 1 dec) × 6 (30 sc)
Stuff the head now, shaping it carefully as you go — the closing point should end up at the top of the head.
- Round 29: (3 sc, 1 dec) × 6 (24 sc)
- Round 30: (2 sc, 1 dec) × 6 (18 sc)
- Round 31: (1 sc, 1 dec) × 6 (12 sc)
- Round 32: 6 dec
Close on the last stitch and leave a long tail for closing up with the tapestry needle.
Ears (make 2)
- Round 1: MR, 6 sc
- Round 2: 6 inc (12 sc)
- Round 3: (1 sc, 1 inc) × 6 (18 sc)
- Round 4: (5 sc, 1 inc) × 3 (21 sc)
- Round 5: (6 sc, 1 inc) × 3 (24 sc)
- Round 6: (5 sc, 1 inc) × 4 (28 sc)
- Round 7: (1 inc, 13 sc) × 2 (30 sc)
Fasten off, leaving a long tail for sewing. Sew the ears onto the head in this position, and stuff them a little bit so they don’t go flat.

Face
Next, make the face details with felt. The eyes measure 13 mm tall by 10 mm wide, and the nose measures 11 mm wide by 8 mm tall.
Glue the eyes and nose onto the face on round 13, counting from the bottom, spaced 11 stitches apart with the nose glued in the middle.

Then embroider the 3 whiskers on each side using black yarn and a tapestry needle.

Body
Start with red yarn:
- Round 1: Chain 14
- Round 2: Starting from the 2nd chain, work 1 inc, 11 sc, 1 inc
- Round 3: Repeat the same on the other side of the chain: 1 inc, 11 sc, 1 inc — 30 sc total around
- Round 4: 2 inc, 11 sc, 4 inc, 11 sc, 2 inc (38 sc)
- Round 5: 2 inc, 17 sc, 2 inc, 17 sc (42 sc)
- Rounds 6–11: 42 sc
- Round 12: (5 sc, 1 dec) × 6 (36 sc)
Before closing the last stitch, switch to pink.
- Round 13: work this round in BLO — (4 sc, 1 dec) × 6 (30 sc)
- Round 14: (3 sc, 1 dec) × 6 (24 sc)
- Round 15: 24 sc
- Round 16: (4 sc, 1 dec) × 4 (20 sc)
Fasten off and leave a long tail for sewing to the head.
Pick the red yarn back up. At the back of the body, attach with a single stitch, then work one round of sc through the front loops only (FLO) with the red yarn.


Stuff the body, then sew the head on, making sure it’s centered.

Arms (make 2)
- Round 1: MR, 6 sc
- Round 2: 6 inc (12 sc)
- Round 3: (1 sc, 1 inc) × 6 (18 sc)
- Rounds 4–5: 18 sc
On the last stitch, switch to pink.
- Round 6: (4 sc, 1 dec) × 3 (15 sc)
- Round 7: (3 sc, 1 dec) × 3 (12 sc)
- Round 8: (1 sc, 1 dec) × 4 (8 sc)
Stuff only a little bit (just the white part).
- Round 9: fold the piece in half and close by working 4 sc through both layers
Cut a long tail for sewing to the body.


Sew both arms to the sides of the body, just above the red part.
Straps (make 2)
- Round 1: Chain 17
- Round 2: Starting from the 3rd chain from the hook, work 15 hdc
Fasten off and cut the thread. Attach with hot glue, or sew on with red thread.

Legs (make 2)
- Round 1: MR, 6 sc
- Round 2: 6 inc (12 sc)
- Round 3: (1 sc, 1 inc) × 6 (18 sc)
- Round 4: (2 sc, 1 inc) × 6 (24 sc)
- Round 5: (3 sc, 1 inc) × 6 (30 sc)
- Rounds 6–9: 30 sc
- Round 10: (3 sc, 1 dec) × 6 (24 sc)
- Round 11: (2 sc, 1 dec) × 6 (18 sc)
- Round 12: (1 sc, 1 dec) × 6 (12 sc)
Fasten off, leaving a long tail for sewing to the body.


Tail
- Round 1: MR, 6 sc
- Round 2: 6 inc (12 sc)
- Round 3: (1 sc, 1 inc) × 6 (18 sc)
- Rounds 4–6: 18 sc
- Round 7: (1 sc, 1 dec) × 6 (12 sc)
- Round 8: (1 sc, 1 dec) × 4 (8 sc)
Fasten off, leaving a tail for sewing, and sew to the back of the body.
Bow
- Round 1: Chain 38, join the ends of the chain with a slip stitch to work in a spiral
- Round 2: Chain 1, work 38 sc, close the round over the first stitch of the previous round with a sc
- Round 3: Chain 1, work 38 sc
Repeat round 3 five more times, then close with a sc. Cut a long tail.


With the long tail, wrap it around the middle of the crocheted strip several times and pull tight to gather it into a bow shape.

Position the bow on the head and glue it in place.
Bow center
- Round 1: MR, 6 sc
- Round 2: 6 inc (12 sc)
Close the magic ring and glue the small circle over the center of the bow.

Tips for a Polished Finish
- Try the “X” single crochet. Since this pattern is worked with fine 2 mm yarn and a small hook, working your sc in the “X” method (as noted in the abbreviations) gives a tighter, more even fabric that holds stuffing well.
- Measure your felt pieces before cutting. Getting the eyes and nose to the stated millimeter sizes keeps Kitty’s expression looking right — a felt piece that’s even a couple millimeters off can change her whole expression.
- Count rounds carefully when placing the face. “Round 13 from the bottom” is much easier to get right with a stitch marker placed every few rounds as you go, rather than counting after the fact.
- Keep the FLO/BLO switches in mind. The back-loop and front-loop-only rounds on the body create a visible ridge that gives the overalls their tailored look — don’t skip working into just one loop on those rounds.
- Let the glue cure before posing. The straps, bow, and felt face all rely on glue rather than stitching, so give everything time to set before you start arranging the finished doll for photos.
Frequently Asked Questions
What does “sc in the X method” mean?
It refers to a way of inserting your hook so the resulting stitch has a slight cross or “X” texture rather than the usual V-shaped single crochet. It’s a common technique in Spanish-language amigurumi patterns for a denser, neater fabric — regular single crochet will still work fine if you’re not familiar with the method.
Can I embroider the face instead of using felt?
Yes. Felt gives clean, crisp shapes for the eyes and nose, but you can embroider both in the same positions (round 13 from the bottom, spaced 11 stitches apart) if you’d rather have an all-yarn finish.
What size yarn and hook does this pattern use?
It’s written for 2 mm-weight yarn with a 2.0 mm hook, which gives a fairly small, detailed doll. You can size up to a heavier yarn and larger hook for a bigger finished piece — just expect the proportions and finished size to scale up together.
Why does the body start with a chain instead of a magic ring?
Starting the body (and the head) from a chain rather than a magic ring gives an oval base instead of a round one, which is what lets the finished doll sit flat and stable rather than tipping forward.
How do I attach the straps neatly?
Position them over the shoulders before gluing or sewing so you can check the length and placement first — the pattern glues them in place with liquid glue, but a few small stitches in matching red thread work just as well if you’d rather not use glue near the yarn.
Conclusion

With her felt face, tidy red overalls and oversized bow, this Kitty amigurumi is a lovely quick gift or a sweet addition to any collection. The fine yarn and small hook take a little patience, but the finished doll’s crisp detail is well worth it. Happy crocheting!