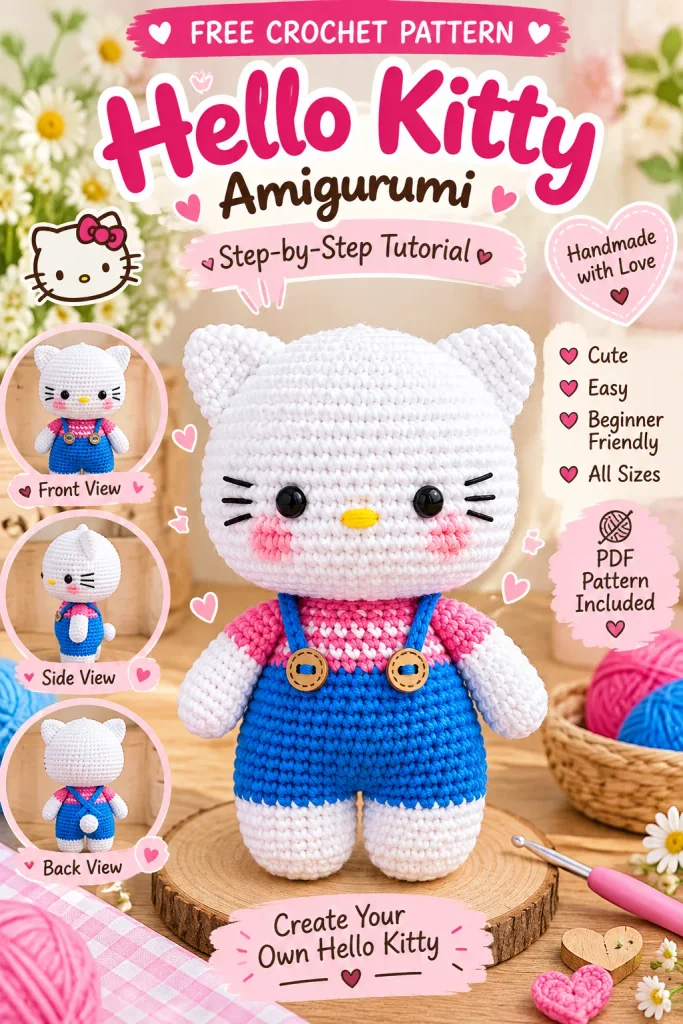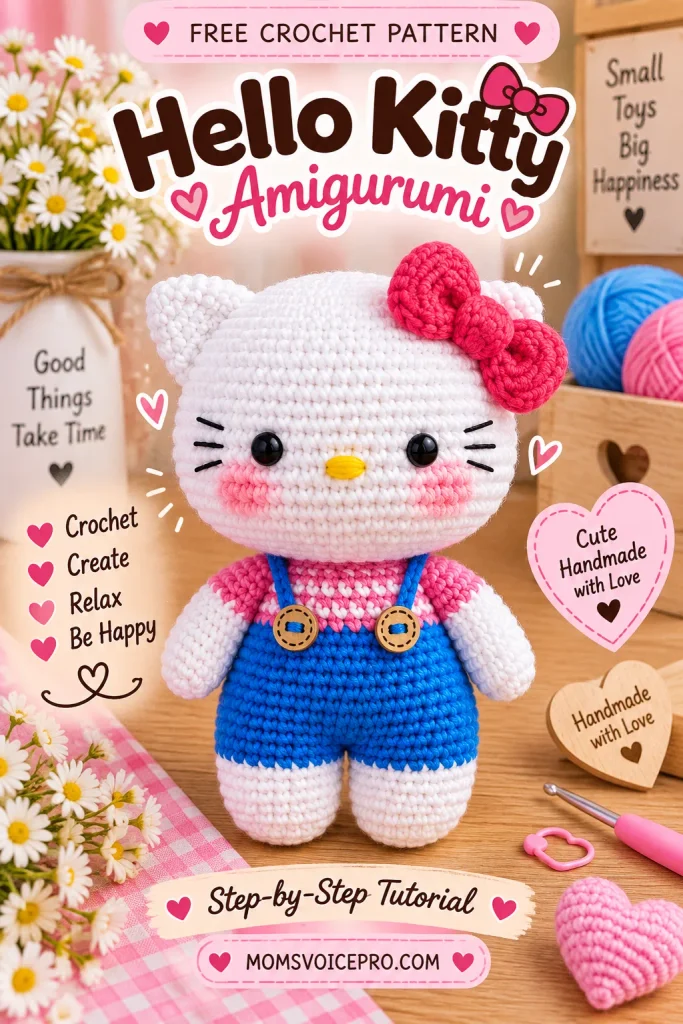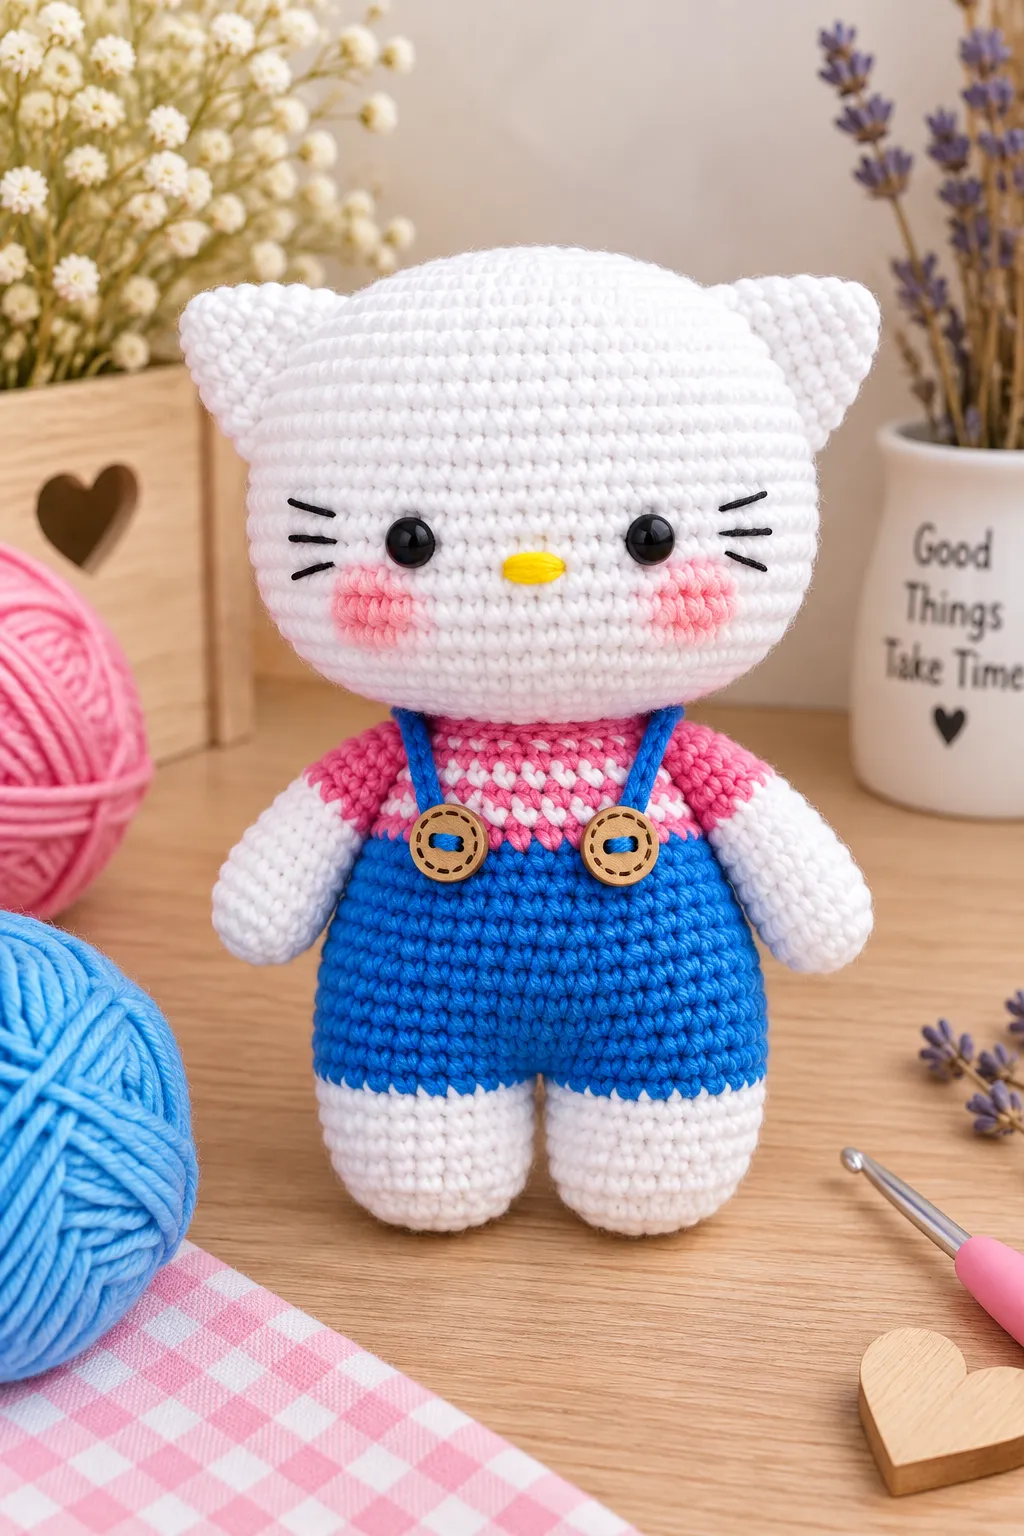
This Kitty trades the usual dress for a pair of blue overalls with little wooden buttons, worn over a pink-and-white striped top — a sweet, slightly different take on the classic amigurumi cat. She’s built the way a lot of modern no-sew-seam patterns are: the legs crochet straight into the body, the head closes with a back-loop-only round that becomes the seam line, and safety eyes and a bit of embroidery finish the face.
This is also a fairly compact, text-only pattern — the original comes with just the one photo of the finished doll rather than in-progress step photos, so the round-by-round instructions below are your main guide. If you’ve made an amigurumi head and body before, you’ll find the shaping very familiar.
Table of Contents
Materials
- Sport or DK light-weight yarn, in white, blue, pink, and a small amount of yellow and black
- 2 mm or 2.5 mm crochet hook
- Black embroidery thread
- Fiberfill for stuffing
- Yarn needles
- Safety eyes, 5–6 mm
- Two small wooden or plastic buttons, for the overall straps
Abbreviations
- MR – magic ring
- sc – single crochet
- inc – increase (2 single crochet in 1 stitch)
- dec – decrease (invisible decrease)
- BLO – back loop only
- sl st – slip stitch
Work in continuous rounds throughout — don’t join or turn unless a step says to. Keep a stitch marker in your work so you always know where a round starts.
Leg (make 2)
Start with white:
- Rnd 1: 8 sc in MR (8)
- Rnd 2: 8 inc (16)
- Rnd 3: (sc, inc) x8 (24)
- Rnds 4–8: sc around, 5 rounds total (24)
Crochet the second leg the same way through round 8. Don’t cut the yarn — join it to the first leg and continue straight into the body.
Body
Continue with blue:
- Rnd 1: 24 sc across the first leg, 24 sc across the second leg (48)
- Rnds 2–6: sc around, 5 rounds total (48)
- Rnd 7: (6 sc, dec) x6 (42)
- Rnds 8–10: sc around, 3 rounds total (42)
- Rnd 11: (5 sc, dec) x6 (36)
- Rnd 12 (pink): 36 sc (36)
- Rnd 13 (white): 36 sc (36)
- Rnd 14 (pink): (4 sc, dec) x6 (30)
- Rnd 15 (white): 30 sc (30)
- Rnd 16 (pink): 30 sc (30)
- Rnd 17 (white): (3 sc, dec) x6 (24)
- Rnd 18 (pink): 24 sc (24)
Cut the yarn, leaving a long tail for sewing.
The pink/white alternating rounds from round 12 on are what create the striped sweater under the overalls — switch colors exactly as marked, carrying the unused color loosely up the inside of the work so it’s ready for the next round.
Head
- Rnd 1: 8 sc in MR (8)
- Rnd 2: 8 inc (16)
- Rnd 3: BLO (sc, inc) x8 (24)
- Rnd 4: (2 sc, inc) x8 (32)
- Rnd 5: (3 sc, inc) x8 (40)
- Rnd 6: (4 sc, inc) x8 (48)
- Rnd 7: (2 sc, inc) x16 (64)
- Rnd 8: (7 sc, inc) x8 (72)
- Rnds 9–20: sc around, 12 rounds total (72)
Insert the safety eyes between rounds 13 and 14, spaced 9 stitches apart.
- Rnd 21: (7 sc, dec) x8 (64)
- Rnd 22: 64 sc (64)
- Rnd 23: (6 sc, dec) x8 (56)
- Rnd 24: (5 sc, dec) x8 (48)
- Rnd 25: (4 sc, dec) x8 (40)
- Rnd 26: (3 sc, dec) x8 (32)
- Rnd 27: (2 sc, dec) x8 (24)
- Rnd 28: (sc, dec) x8 (16)
- Rnd 29: 8 dec (8)
Cut the yarn and weave in the end. Sew the body to the head at round 3 of the head — the BLO round — which forms a natural seam line to attach along.
Ear (make 2)
- Rnd 1: 4 sc in MR (4)
- Rnd 2: 4 inc (8)
- Rnd 3: (3 sc, inc) x2 (10)
- Rnd 4: (4 sc, inc) x2 (12)
- Rnd 5: (5 sc, inc) x2 (14)
- Rnd 6: (6 sc, inc) x2 (16)
Cut the yarn, leaving a long tail for sewing.
Arm (make 2)
- Rnd 1: 7 sc in MR (7)
- Rnd 2: 7 inc (14)
- Rnds 3–9: sc around, 7 rounds total (14)
- Rnds 10–15 (pink): sc around, 6 rounds total (14)
Cut the yarn, leaving a long tail for sewing.
Straps
Make a chain of 36–40 stitches. Leave a long tail and sew the strap to the body, securing each end with a button to look like the overall clasps.
Face Details
Embroider the nose and whiskers with black thread, and add pink cheeks with a bit of blush or pink embroidery for the finishing touch.
Tips for a Polished Finish
- Insert the safety eyes before you stuff. Getting them placed and locked at rounds 13–14 while the head is still open is far easier than trying to work through a stuffed head afterward.
- Watch your color changes on the body. Rounds 12–18 alternate pink and white every round or two to build the striped sweater — a stitch marker or a quick note of which round you’re on helps you keep track of the sequence.
- Sew the head on at the BLO round. Round 3 of the head was worked in back loops only specifically to leave a clean edge for attaching to the body — look for that visible ridge when you’re lining things up.
- Stuff firmly but evenly. With no photos to check your shaping against, firm, even stuffing added gradually as you close each piece is the best way to keep the proportions looking right.
- Pick buttons that suit the scale. Small wooden buttons (around 10–12 mm) tend to look proportional on a doll this size without overwhelming the straps.
Frequently Asked Questions
This pattern doesn’t have step photos — is it still beginner-friendly?
It’s best suited to someone who’s already made at least one amigurumi piece and is comfortable reading round-by-round instructions without photos. The stitches themselves (sc, inc, dec, BLO) are all basic, but you’ll be relying on the written counts rather than checking your progress against pictures.
Why are the legs crocheted before the body instead of separately?
Leaving the second leg’s yarn uncut and crocheting the body directly across both legs at round 1 of the Body section avoids a separate seam and gives a smoother, more seamless transition at the hips.
Can I skip the safety eyes and embroider the eyes instead?
Yes, though you’d embroider them after stuffing rather than inserting them at rounds 13–14 as written. If the doll is for a young child, securely embroidered eyes are the safer choice over safety eyes with backs that could eventually work loose.
What does “sew at round 3, the BLO round” mean exactly?
Round 3 of the head was worked into the back loops only, which leaves the front loops of that round free and forms a visible ridge around the head. That ridge is the line the pattern intends you to sew the body to, rather than the very top or bottom edge.
How long does this pattern take to make?
Between the legs, body, head, ears, arms, and straps, most crocheters spend around 4–6 hours on this one, plus a bit more time for the embroidery and button details at the end.
Conclusion

With her striped sweater, denim-blue overalls, and rosy cheeks, this Kitty makes a lovely little gift for anyone who wants a change from the usual dress-and-bow look. The construction is straightforward once you’re used to reading amigurumi shorthand, and the button-strap detail gives her a lot of personality for very little extra work. Happy crocheting!