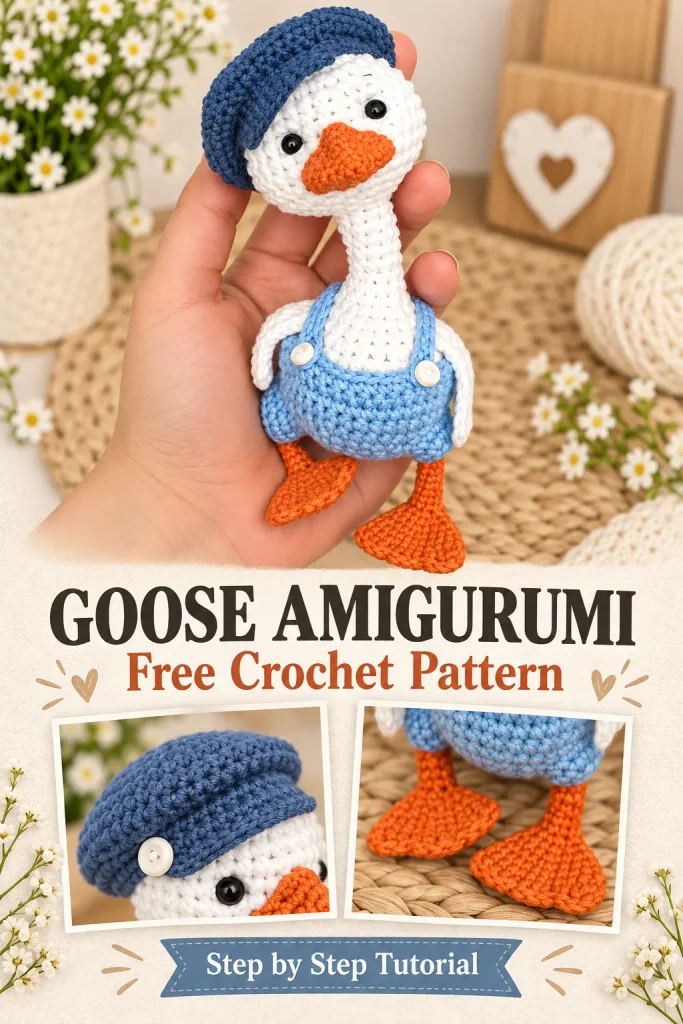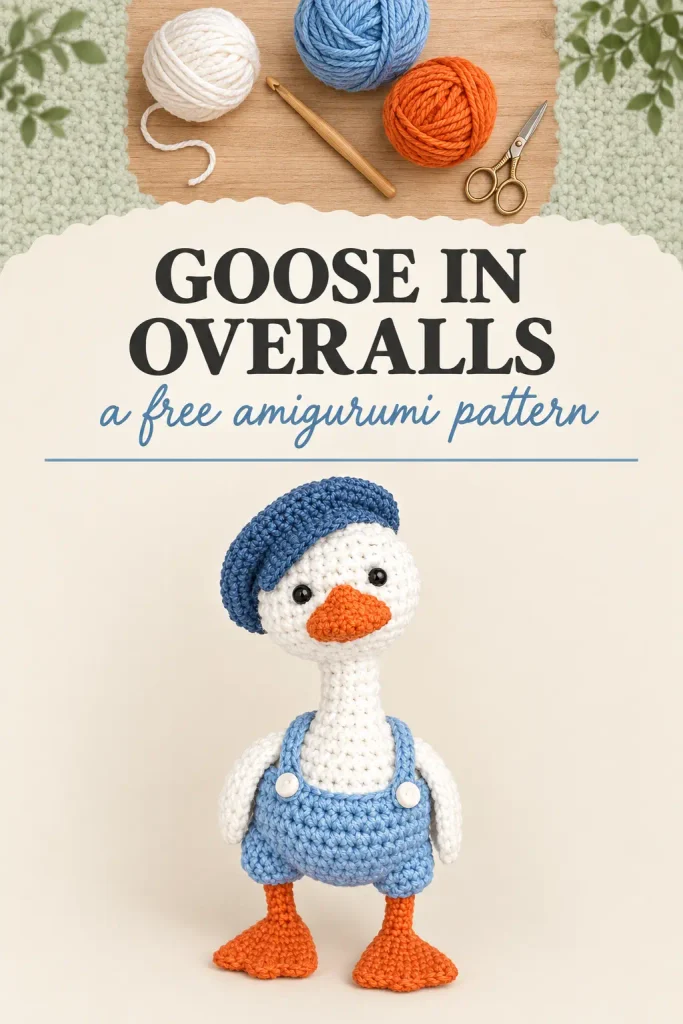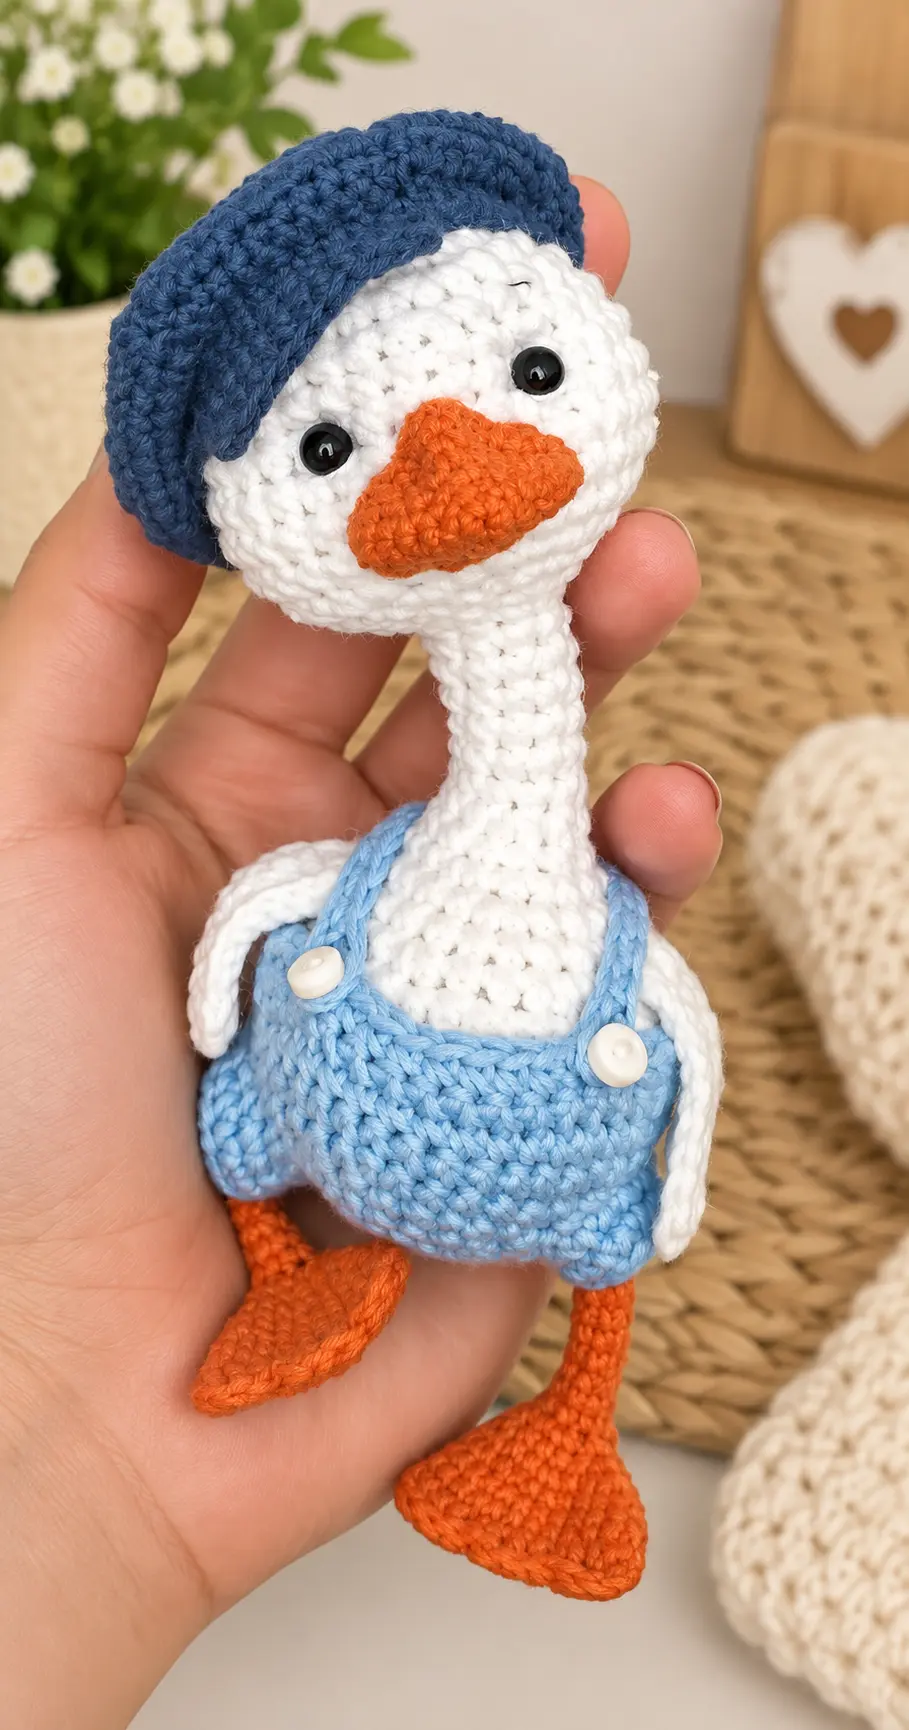
This adorable Goose Amigurumi is a fun little crochet project with a big personality. The finished goose combines a white body, bright orange beak and feet, blue pants, and a cute grey cap for a playful handmade look.
The pattern is worked in separate pieces and then assembled, making it easy to focus on one part at a time. Below you’ll find the materials, abbreviations, complete round-by-round instructions, assembly notes, and finishing tips gathered from the supplied pattern PDF.
Table of Contents
Materials Needed
- White YARN ART Jeans yarn for the body and wings (55% cotton / 45% acrylic; 50 g / 160 m).
- Orange and grey YARN ART Cotton Soft (55% cotton / 45% acrylic; 100 g / 600 m) or Alize Miss (100% cotton; 50 g / 280 m) for the beak, legs and cap.
- Blue Alize Bella (100% cotton; 50 g / 180 m) or Gazzal Baby Cotton (60% cotton / 40% acrylic; 50 g / 165 m) for the pants.
- Fiberfill for stuffing.
- 1.25 mm and 2.25 mm crochet hooks.
- 4 mm diameter bead eyes.
- 5 mm diameter buttons for the pants.
Abbreviations
- ch — chain
- st(s) — stitch(es)
- slst — slip stitch
- sc — single crochet
- sk — skip
- hdc — half double crochet
- dc — double crochet
- inc — increase
- dec — decrease
- dechdc — decrease of hdc
- MR — magic ring
- rd(s) — round(s)
- turn — turn
- BLO — back loop only
- FLO — front loop only
- FO — fasten off
Head + Body
Use white yarn and a 2.25 mm crochet hook. The head and body are worked as one continuous piece.
- Round 1: 6 sc in MR.
- Round 2: 6 inc [12].
- Round 3: (1 sc, inc) × 6 [18].
- Round 4: (2 sc, inc) × 6 [24].
- Round 5: 24 sc [24].
- Round 6: (9 sc, 3 inc) × 2 [30].
- Round 7: 30 sc [30].
- Round 8: (1 sc, inc) × 3, 9 sc, (1 sc, inc) × 3, 9 sc [36].
- Rounds 9–11: 36 sc [36] (3 rounds).
- Round 12: (4 sc, dec) × 6 [30].
- Round 13: (3 sc, dec) × 6 [24].
- Round 14: (2 sc, dec) × 6 [18].
- Round 15: (1 sc, dec) × 6 [12].
- Round 16: (4 sc, dec) × 2 [10].
- Rounds 17–22: 10 sc [10] (6 rounds).
- Round 23: (4 sc, inc) × 2 [12].
- Round 24: 12 sc [12].
- Round 25: (1 sc, inc) × 6 [18].
- Round 26: (2 sc, inc) × 6 [24].
- Round 27: 24 sc [24].
- Round 28: (3 sc, inc) × 6 [30].
- Round 29: (4 sc, inc) × 6 [36].
- Rounds 30–33: 36 sc [36] (4 rounds).
- Round 34: (4 sc, dec) × 6 [30].
- Round 35: (3 sc, dec) × 6 [24].
- Round 36: (2 sc, dec) × 6 [18].
- Round 37: (1 sc, dec) × 6 [12].
- Round 38: 6 dec [6].
Stuff with fiberfill, cut the thread, and close the hole.
Wings
Use white yarn and a 2.25 mm hook. Make two wings.
- Row 1: 9 ch + 1 ch.
- Row 2: 9 sc, 1 ch, turn.
- Row 3: 6 hdc, 3 sc, 9 slst [18].
- At the top of the wing, work 1 dechdc.
- Cut the thread and leave a tail for sewing. Crochet the second wing in the same way.

Beak
Use orange yarn and a 1.25 mm hook.
- Round 1: 6 sc in MR.
- Round 2: (1 sc, inc) × 3 [9].
- Round 3: 1 sc, 2 inc, 1 sc, 1 inc, 1 sc, 2 inc, 1 sc [14].
- Round 4: 3 sc, 2 inc, 2 sc, inc, 2 sc, 2 inc, 2 sc [19].
- Round 5: 5 sc, 2 inc, 3 sc, inc, 3 sc, 2 inc, 3 sc [24].
- Round 6: 7 sc, 2 inc, 4 sc, inc, 4 sc, 2 inc, 4 sc [29].
- Round 7: 29 sc [29].
Cut the thread, leaving a tail for sewing. The increases form a triangle: the first and last increase create the sides of the nose, while the second increase forms the top of the beak. Shape the beak with your fingers, creating slight depressions at the sides, then sew it on.

Legs
Use orange yarn and a 1.25 mm hook for the orange portion.
- Round 1: 6 sc in MR.
- Round 2: (1 sc, inc) × 3 [9].
- Round 3: 9 sc [9].
- Round 4: 4 ch, sk 2 ch, 1 sc, inc, 1 sc, 2 inc, 1 sc, inc [15].
- Round 5: 15 sc [15].
- Round 6: (4 sc, inc) × 3 [18].
- Round 7: (2 sc, inc) × 6 [24].
- Rounds 8–9: 24 sc [24] (2 rounds).
- Through both sides of the detail, work (3 dc, 1 slst) × 3.
- Cut the thread and do not stuff.
- Round 10: Attach the thread in the hole, 1 ch, 7 sc.
- Rounds 11–19: 7 sc [7] (9 rounds). Do not fill.
- Change to white yarn, using the same yarn as the body.
- Rounds 20–21: 7 sc with the 1.25 mm hook, or switch to a 2.25 mm hook if the stitches are too tight for comfortable sewing.
Cut the thread, close the hole, and leave the remaining thread at the side of the foot for sewing. Make the second foot the same way.

Tail
Use white yarn and a 2.25 mm hook.
- Round 1: 6 sc in MR.
- Round 2: 6 inc [12].
- Round 3: 12 sc [12].
- Round 4: (1 sc, inc) × 6 [18].
- Round 5: 18 sc [18].
- Round 6: (2 sc, inc) × 6 [24].
Cut the thread, leaving a tail for sewing onto the body.

Assembly and Face Details
- Sew the beak to the head starting at the 9th row from the beginning of the crochet; the beak width takes 7 stitches.
- Do not stuff the beak. Embroider the nostrils with sewing thread along the sides of the beak.
- Sew the eyes on the 8th row, making strong contractions that pull the eyes into the head.
- Embroider the whites of the eyes in a semicircle underneath, using yarn that is whiter than the main body yarn.
- Embroider the eyebrows.
- Sew the legs to the body on the 33rd row from the beginning of crochet.
- Sew the tail starting from the 29th row; do not fill the tail.
- Sew the wings on the 26th row from the beginning of crochet.

Cap
Use grey yarn and a 1.25 mm hook. The cap is made from six matching sections sewn together from the inside.
- Round 1: 48 ch, connect in a circle: 48 sc.
- Round 2: 48 sc.
- Round 3: 8 sc, ch, turn.
- Round 4: inc, 6 sc, inc, ch, turn [10].
- Round 5: 10 sc, ch, turn.
- Round 6: inc, 8 sc, inc, ch, turn [12].
- Rounds 7–9: 12 sc, ch, turn (3 rounds).
- Round 10: dec, 8 sc, dec, ch, turn [10].
- Round 11: 10 sc, ch, turn.
- Round 12: dec, 6 sc, dec, ch, turn [8].
- Round 13: 8 sc, ch, turn.
- Round 14: dec, 4 sc, dec, ch, turn [6].
- Round 15: 6 sc, ch, turn.
- Round 16: dec, 2 sc, dec, ch, turn [4].
- Round 17: 4 sc, ch, turn.
- Round 18: 2 dec, ch, turn [2].
- Round 19: 2 sc, ch, turn.
- Round 20: 1 dec.
- Cut the thread, leaving a little for sewing.
- Attach the thread for the next section and crochet it in the same way. Make 6 sections total and sew them together from the inside.
Cap Visor
Attach grey yarn to the first row of the cap anywhere.
- Rows 1–4: 12 sc, ch, turn (4 rounds).
- Row 5: dec, 8 sc, dec, ch, then crochet the side of the visor down to the base of the cap with 4 slst.
- Row 6: 36 sc and 4 slst on the other side of the visor.
- Cut the thread.

Button for Cap
Use grey yarn and a 1.25 mm hook.
- Round 1: 6 sc in MR.
- Round 2: (1 sc, inc) × 3 [9].
- Round 3: 9 sc [9].
- Cut the thread, leaving a little for sewing, and sew the button to the center of the cap.

Pants
Use blue yarn and a 2.25 mm hook. Do not crochet tightly.
- Round 1: BLO: 6 sc in MR.
- Round 2: BLO: 6 inc [12].
- Round 3: BLO: (1 sc, inc) × 6 [18].
- Round 4: BLO: (2 sc, inc) × 6 [24].
- Round 5: BLO: (3 sc, inc) × 6 [30].
- Round 6: BLO: 4 sc, inc, 6 ch (skip 5 sts), 4 sc, inc, 4 sc, inc, 6 ch (skip 5 sts), 4 sc, inc [36].
- Round 7: BLO: 5 sc, inc, 6 sc, inc, 10 sc, inc, 6 sc, inc, 1 sc, skip 4 sts, 1 ch, turn.
- Round 8: FLO: 32 sc [32], 1 ch, turn (skip 4 sts).
- Round 9: BLO: 32 sc [32], 1 ch, turn.
- Round 10: FLO: 32 sc [32], 1 ch, turn.
Turn the pants on the inside; the supplied pattern notes that the inside-facing version is preferred for the pattern effect.

Pants Straps and Legs
- Without cutting the thread, make the first strap: 16 ch, skip 4 ch to form the button loop, then 12 sc.
- Cut the thread, fasten, and hide it.
- Attach the thread at the other end of the pants and crochet the second strap in the same way.
- Sew on the buttons.
- For each pants leg, attach the thread to the hole and crochet in a circle around the 13 stitches.
- Rounds 1–2: 13 sc (2 rounds).
- Cut the thread, fasten, and hide it. Make the second pants leg the same way.

Tips for a Polished Finish
- Keep the head slightly flattened front-to-back instead of overstuffing it into a round shape.
- Position the increases in rounds 6 and 8 on the sides of the head.
- Do not stuff the beak, legs, or tail where the pattern specifically says not to fill.
- For the legs, switch to the 2.25 mm hook for rounds 20–21 if the 1.25 mm stitches become too tight for sewing.
- When making the pants, avoid tight tension so the piece remains workable and comfortable to assemble.
- Use firm eye contractions so the eyes sit naturally into the head, then add the embroidered eye whites and eyebrows for the finished expression.
- Leave sufficient yarn tails on pieces that need to be sewn onto the body.
FAQ
What crochet hook sizes does this goose pattern use?
Does the goose need to be stuffed?
How do I make the head shape look right?
Can I make the cap larger?
What should I do if the leg stitches are too tight to sew?
Conclusion
This little goose is full of handmade charm, from its expressive face and orange feet to its blue pants and jaunty cap. Take your time with the shaping, stuffing, and final embroidery, and you’ll have a sweet amigurumi companion ready to display or gift.