
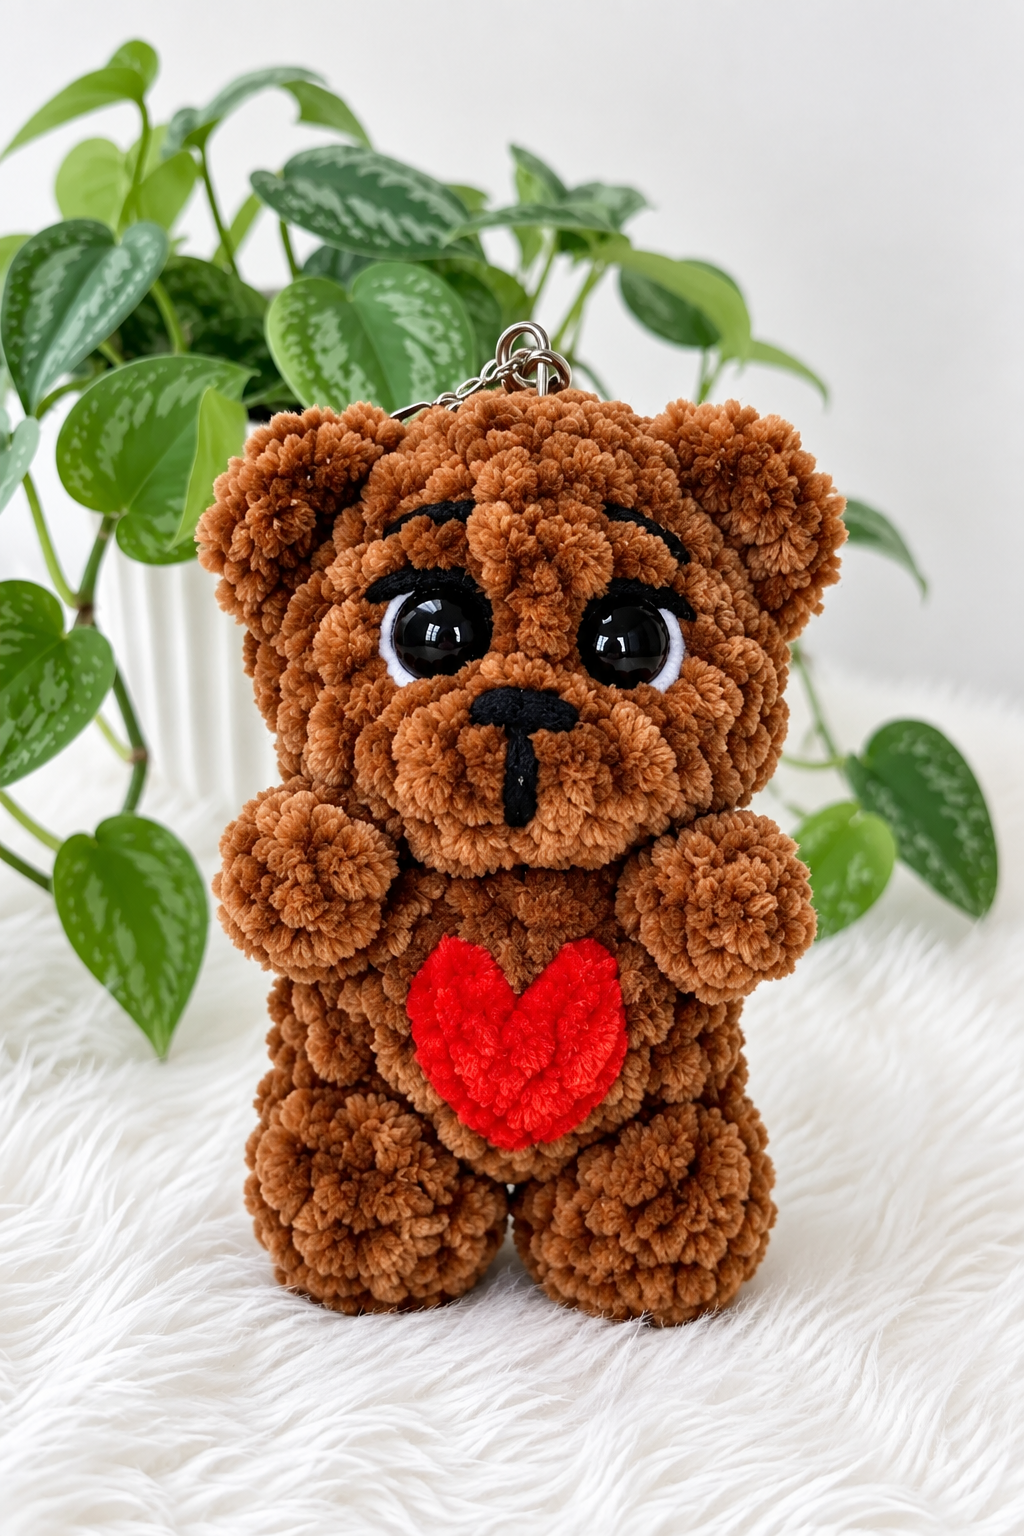
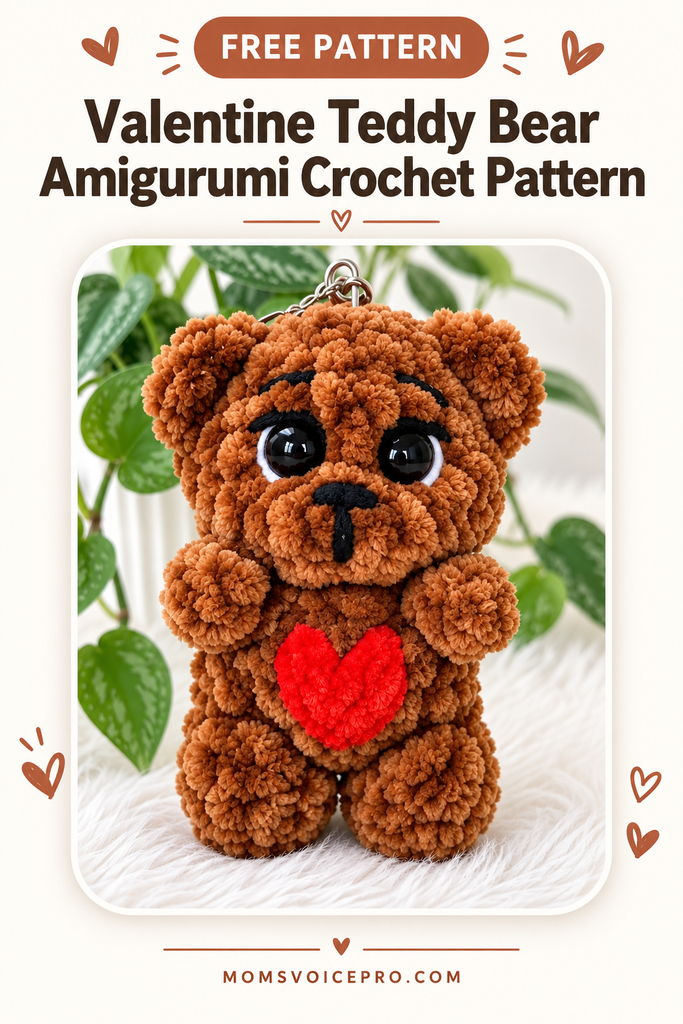
There’s something extra special about a tiny crocheted bear holding a heart — it’s soft, it’s sweet, and it makes the perfect handmade Valentine’s gift, keychain, or bag charm. In this post I’m sharing my free Valentine Teddy Bear amigurumi pattern, worked in soft velvet/chenille yarn for that irresistible fuzzy finish.
This little bear is worked as one continuous piece — legs, body, and head are all crocheted together, so there’s minimal sewing at the end! It’s rated intermediate, so if you’ve made a few amigurumi before, you’ll pick this up quickly.
What You’ll Need for This Bear
- Velvet/chenille yarn (I used Himalaya Velvet, color of your choice — brown for the classic teddy look)
- Cotton embroidery thread — white and black (for the face)
- 9 mm safety eyes
- 3.5 mm crochet hook
- Polyester fiberfill stuffing
- Stitch marker
- Yarn/tapestry needle
- Small scrap of red or pink yarn/felt for the heart
- Optional: keychain hardware or a small jump ring, if you’d like to turn your bear into a charm
Stitches You’ll Use
- MR = magic ring
- ch = chain
- sc = single crochet
- dc = double crochet
- inc = increase (2 sc in the same stitch)
- dec = decrease (work 2 sc together)
- ( )* = repeat the instructions in parentheses the indicated number of times
Before You Begin: Pattern Notes
- This bear is worked in continuous rounds (no joining, no turning) unless noted otherwise — use a stitch marker to track the start of each round.
- The legs and body are made as one single piece — no sewing needed to attach them!
- This pattern is intended for personal use — feel free to sell finished bears you make from it, but please don’t republish, resell, or redistribute the written pattern itself. If you share your makes online, a credit and link back to this post is always appreciated. 💛
Pattern Instructions
Legs & Body

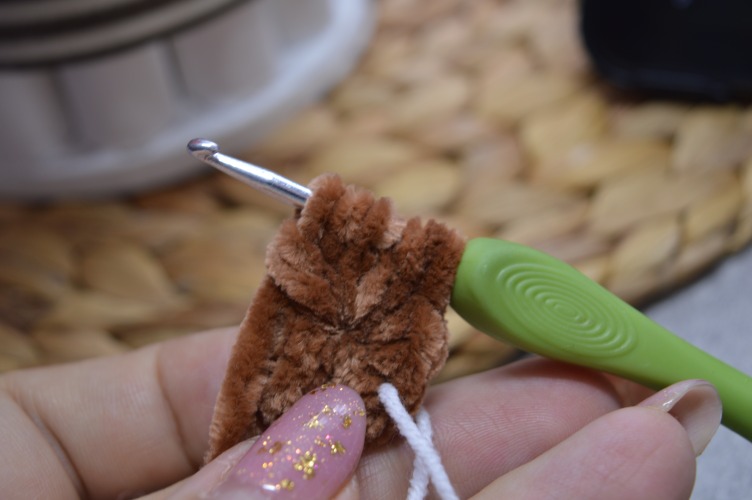
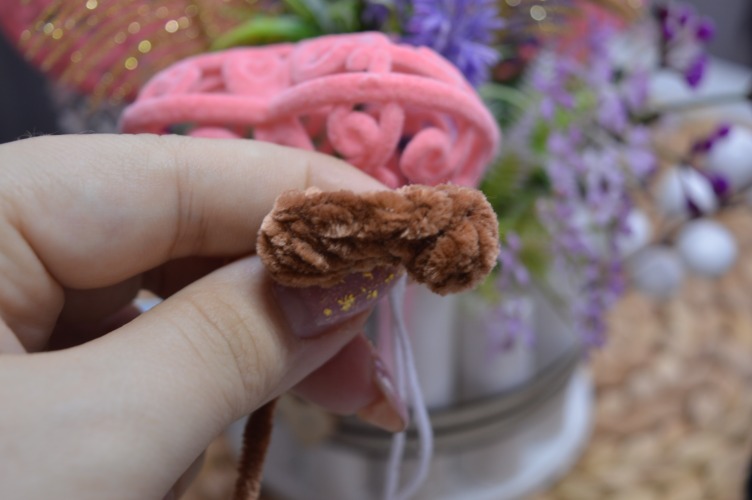
- Round 1: 6 sc in MR (6)
- Round 2: inc, LEG: 5 dc in one stitch with a shared top, inc *2, LEG, inc (10)
Tip: the two “LEG” bumps are made by working 5 dc into a single stitch and closing them off with a shared top — this creates the two little legs without any extra pieces to sew on.
- Round 3: (1 sc, inc) *5 (15)
- Round 4: 15 sc
- Round 5: 3 sc, dec *5, 2 sc (10)
- Round 6: 4 sc, ch 3, work 3 dc in one stitch with a shared top, 1 sc (this forms a PAW), 4 sc, PAW, 2 sc (10)
— OR, alternatively —
Round 6: 5 sc, ch 3, work 3 dc in one stitch with a shared top, 1 sc (PAW), 2 sc, PAW, 3 sc (10)
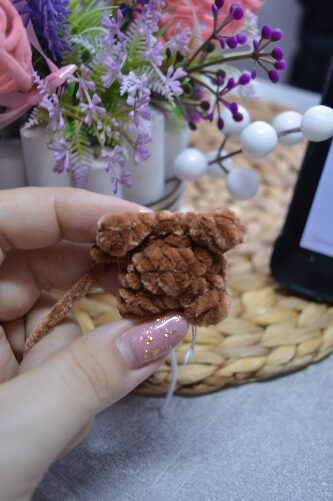
Fill the body with stuffing before continuing on to the head.
Head
Continue working directly from the body — the head is shaped in the same continuous piece, no need to fasten off.
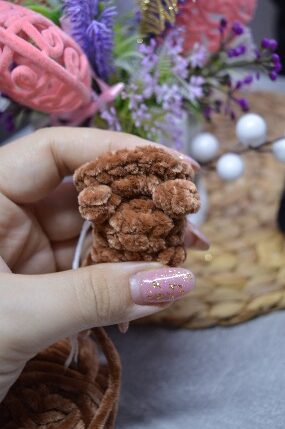
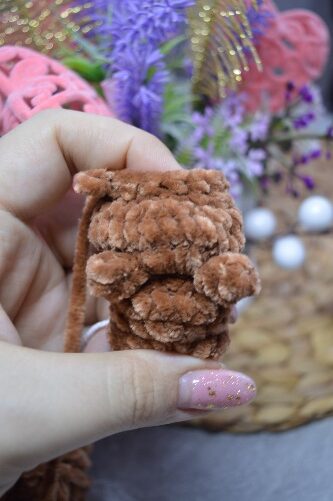
- Round 7: inc *5, (3 sc in one stitch) *2, inc *3 (22)
- Round 8: 22 sc
- Round 9: 10 sc, dec, 2 sc, dec, 6 sc (20)
- Round 10: 7 sc, dec *6, 1 sc (14)
- Round 11: 14 sc
Insert the safety eyes now, placed between rounds 9–10, spaced 2 sc apart. Stuff the head firmly.
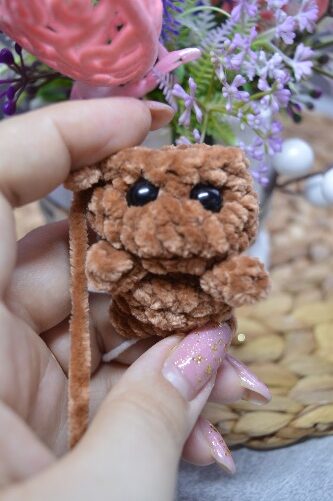
- Round 12: dec *7 (7)
Cut the yarn, leaving a long tail for sewing the head closed.
Finishing the Face
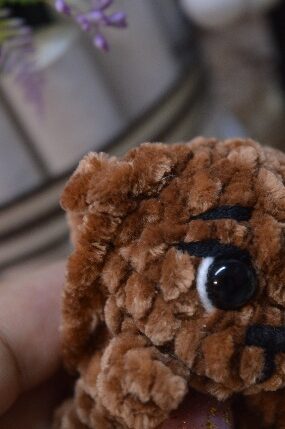
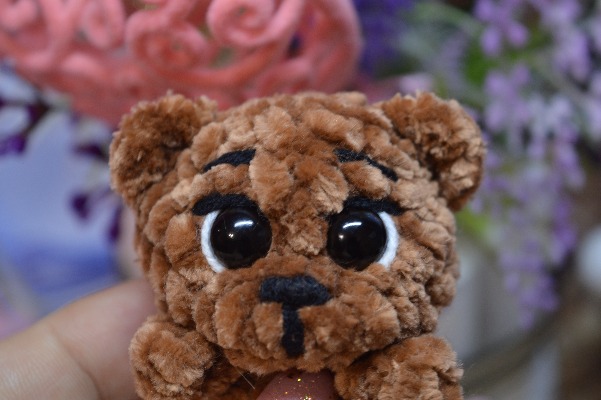
Muzzle shaping: insert your needle exactly in the middle at point 1, bring it out at point 2, skip 2 sc, insert the needle at point 3, and bring it out at point 4. Pull tight to shape the muzzle indent, then cut the yarn.
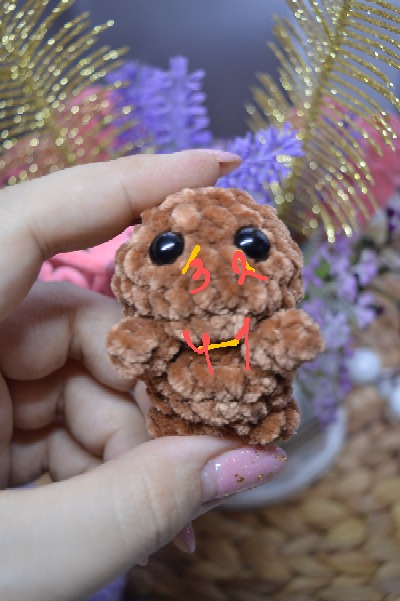
Using black embroidery thread, embroider the nose and mouth over the shaped muzzle.
Ears
Work 3 sc directly around the head where you’d like the ear placed, turn your work, and work another 3 sc back across. Cut the yarn and weave in the tail.
Crochet the second ear the same way, placing it symmetrically to the first.
The Heart
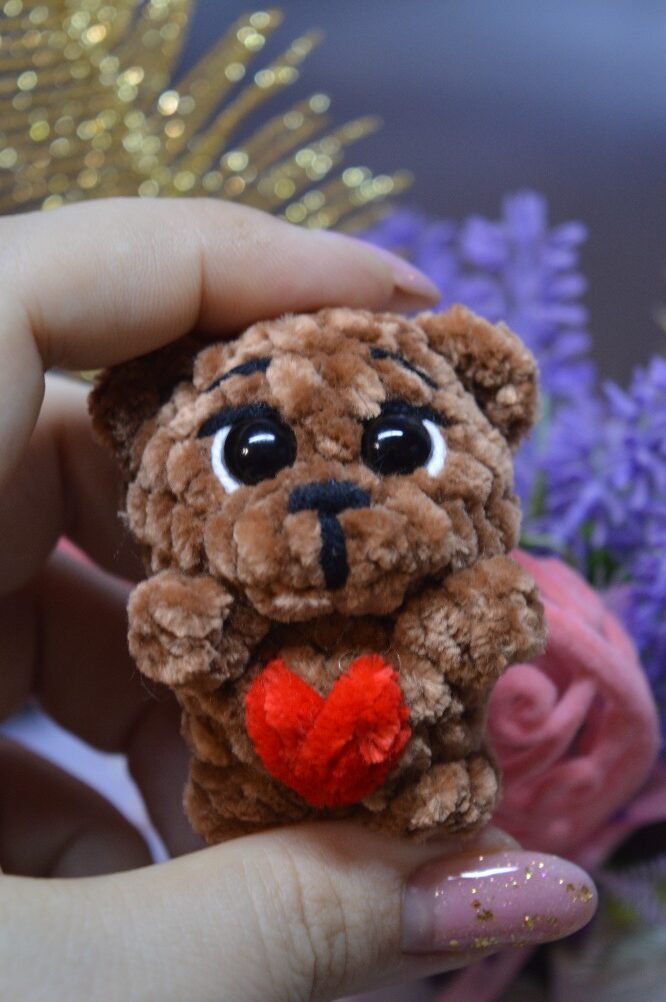
Finish your Valentine bear off by embroidering or gluing a small heart onto the tummy — red for a classic look, or swap in pink, cream, or any color you like to match your own style.
Tips for a Polished Finish
- Keep even tension — velvet/chenille yarn hides small stitch differences well, but consistent tension still gives the cleanest shape.
- Trim stray fuzz — a small pair of scissors can tidy up any loose chenille fibers around the face and ears for a crisper finished look.
- Secure the safety eyes well before stuffing — once the backing is on, it can’t be removed, so double-check placement first.
- Stuff firmly but evenly — avoid lumps by adding stuffing in small pieces and shaping as you go, especially in the legs and muzzle.
- Check symmetry — hold the bear at arm’s length before attaching the second ear to make sure both sides match.
Frequently Asked Questions
What yarn can I use instead of Himalaya Velvet?
Any velvet/chenille-style yarn works well for this pattern — just make sure it’s a similar weight so your finished bear comes out close to the size shown.
Is this pattern beginner-friendly?
It’s rated intermediate — you should be comfortable with magic ring, increases, decreases, and basic amigurumi shaping before starting.
Can I make this without safety eyes for a baby-safe toy?
Yes — simply embroider the eyes with black thread instead of using safety eyes, which is safer for very young children.
Can I turn this into a keychain?
Absolutely — attach a small jump ring and keychain clasp to the top of the head or between the ears once your bear is finished.
How long does this pattern take to make?
Most makers finish one bear in about 2–3 hours, depending on crochet speed and experience.
Ready to Stitch Your Valentine Bear?
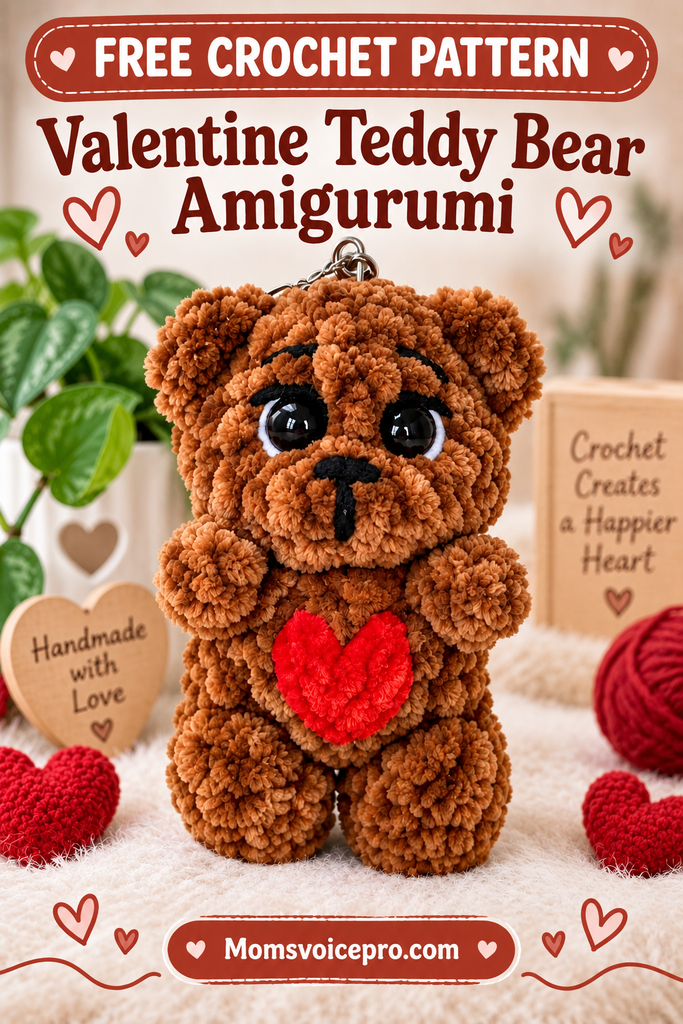
I’d love to see your finished bears! Tag me or use the hashtag when you share your makes online — happy crocheting, and may all your stitches be easy! 🧸❤️