
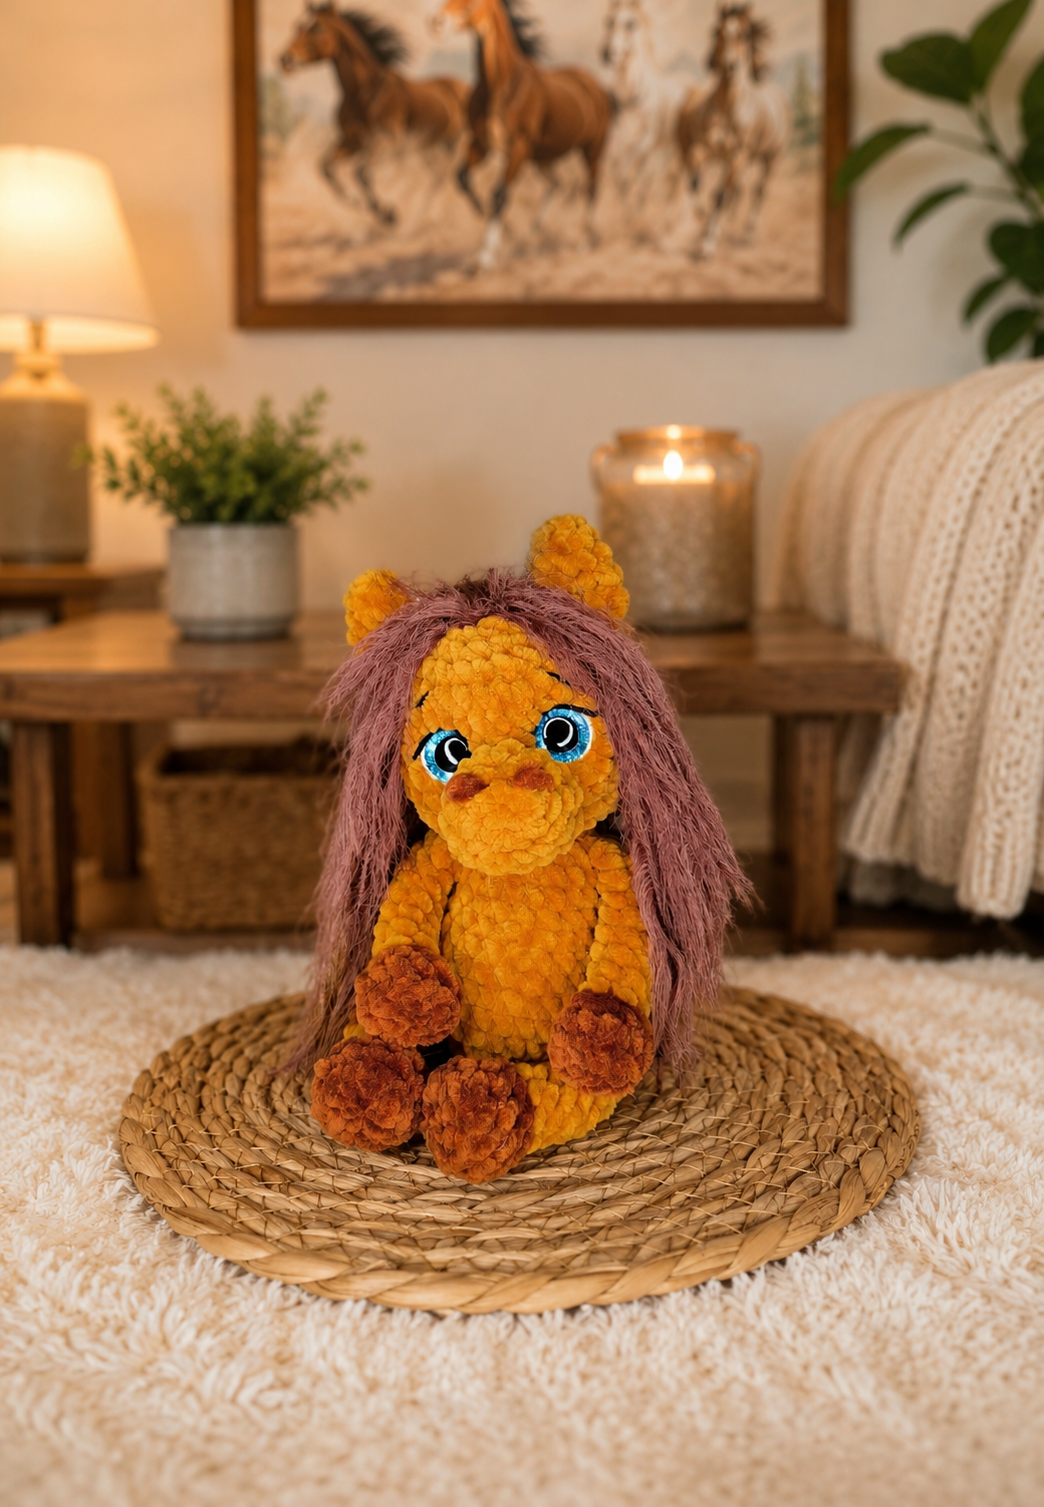
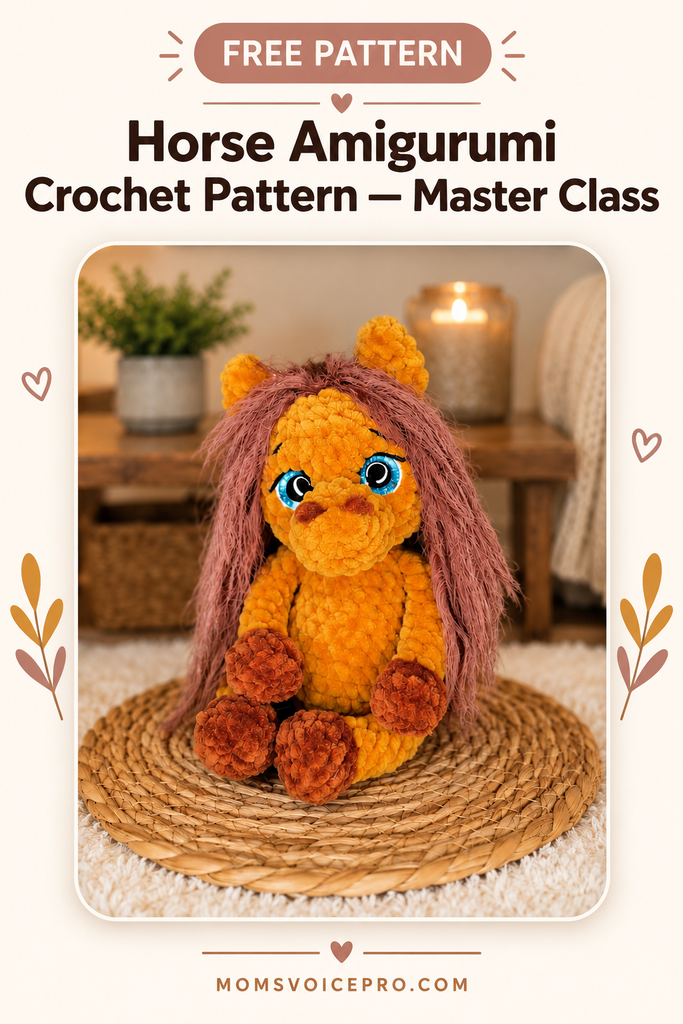
Meet your new favorite amigurumi project — a soft, fluffy little horse with a flowing mane and tail, big sparkly eyes, and the sweetest expression. This free crochet horse pattern walks you through every single piece, from the legs to the very last strand of mane, with clear instructions and photos at every stage.
This is a detailed master class style pattern — every technique is explained step by step, including the yarn-fringe method used for the mane and tail. Basic amigurumi skills (magic ring, increases, decreases) are all you need to get started.
Materials You Will Need
Horse (Body):
- Yarn Wolans Bunny Baby №100-60 (dark brown) ~ 10 g
- Yarn Wolans Bunny Baby №100-28 (caramel) ~ 50 g
- Yarn Lanoso Single №926 (dark brown) ~ 20 g
- Small amount of yarn YarnArt Jeans №01, №53 (white, black)
Horn area / accent yarns:
- Yarn Lavita yarn velur №4159 (pink) ~ 40 g
- Yarn Wolans Bunny Baby №100-16 (lilac) ~ 10 g
- Yarn YarnArt Jeans in any suitable colors for curls ~ 5–10 g of each color
Ears:
- Yarn Lavita yarn velur №1002 (white) ~ 25 g
- Yarn Lavita yarn velur №6500 (black) ~ 35 g
- Small amount of yarn YarnArt Jeans №01, №53 (white, black)
Mane:
- Yarn Lavita yarn velur №1002 (white) ~ 40 g
- Yarn Lavita yarn velur №2026 (yellow) ~ 13 g
- Yarn YarnArt Jeans №35, №53 (yellow, black) ~ 6 g of each color
- Yarn Alize Softy №55, №216 (white, yellow) ~ 5–10 g of each color
General supplies:
- Safety eyes — triangle — 16 mm
- Crochet hooks — 2.5 mm and 3.5 mm
- Scissors, stitch markers, needle
- “Crystal” Moment glue, PVA glue
- Stuffing (synthetic fiberfill or holofiber)
Finished size: sitting height without ears ~15 cm · standing height without ears ~20 cm. Your finished toy may come out slightly different in size depending on your yarn, hook, and tension — that’s totally normal!
Abbreviations
- MR — magic ring
- sc — single crochet
- inc — increase (2 sc in the same stitch)
- dec — decrease (work 2 sc together, grabbing only the front loops)
- ch — chain
- turning ch — turning chain
- sl st — slip stitch
- sl st (joining stitch) — joining slip stitch
- BLO — work in back loop only
- FLO — work in front loop only
- rep — repeat
Crochet the entire toy with a 3.5 mm hook.
Pattern Instructions
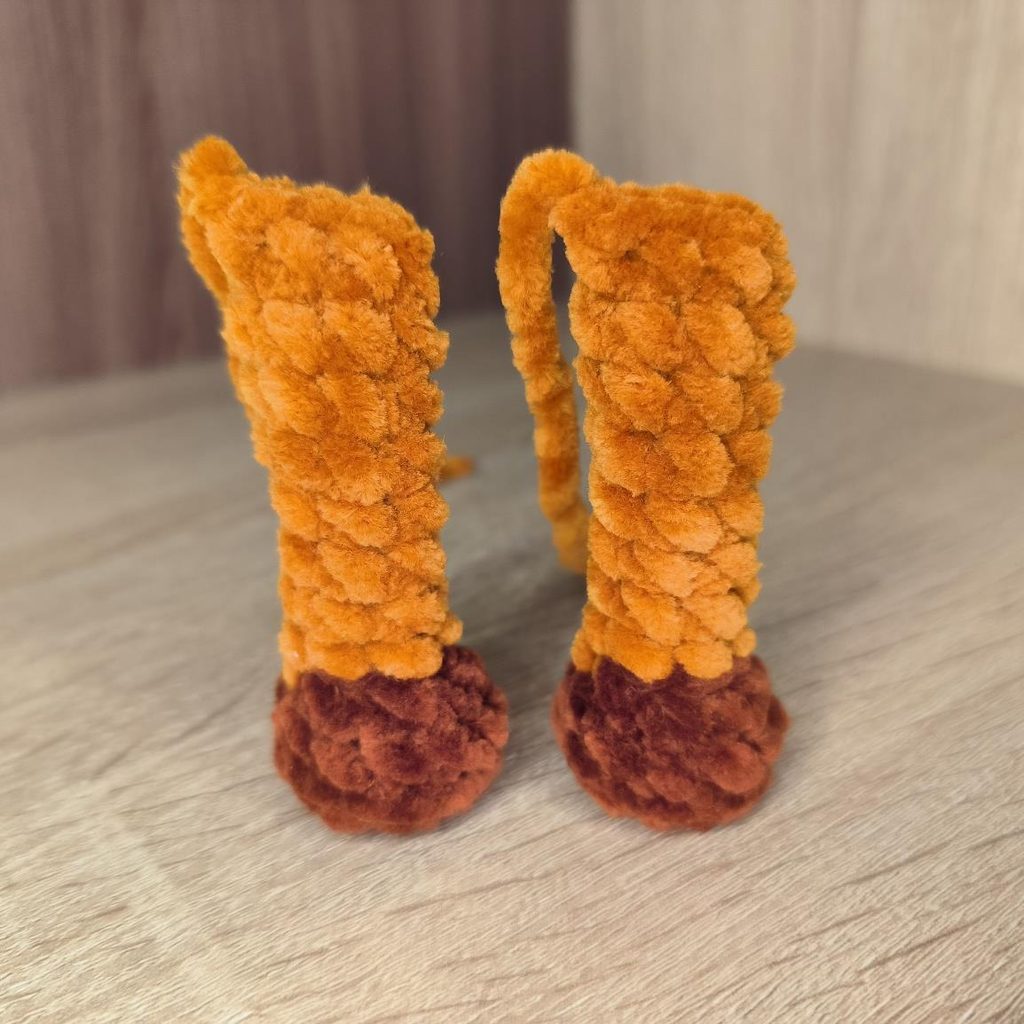
Legs (make 2)
Work in dark brown yarn:
- 6 sc in MR (6)
- 6 inc (12)
- BLO: 12 sc (12)
- 12 sc through both loops (12)
- (2 sc, dec) *3 (9)
Stuff lightly up to round 5, then DO NOT STUFF AT ALL! Switch to caramel color, cut the dark brown yarn, secure, and weave the end inside the piece.
- BLO: 9 sc (9)
- 7–11) 9 sc through both loops (5 rounds) (9)
- 12) dec, 7 sc (8)
Next, work shift stitches (+5 sc) so the work finishes evenly on the opposite side from the color change. Fold the piece in half and work 4 sc. Join with a sl st, cut the yarn, and weave the end inside the piece.

Arms (make 2)
Work in dark brown yarn:
- 6 sc in MR (6)
- 6 inc (12)
- BLO: 12 sc (12)
- 6 dec (6)
Stuff lightly up to round 4, then DO NOT STUFF AT ALL! Switch to caramel color, cut the dark brown yarn, secure, and weave the end inside the piece.
- BLO: 6 sc (6)
- 6–11) 6 sc through both loops (6 rounds) (6)
Work shift stitches (+5 sc) so the work finishes evenly opposite the color change. Fold the piece in half and work 3 sc. Join with a sl st, cut the yarn, and weave the end inside the piece.
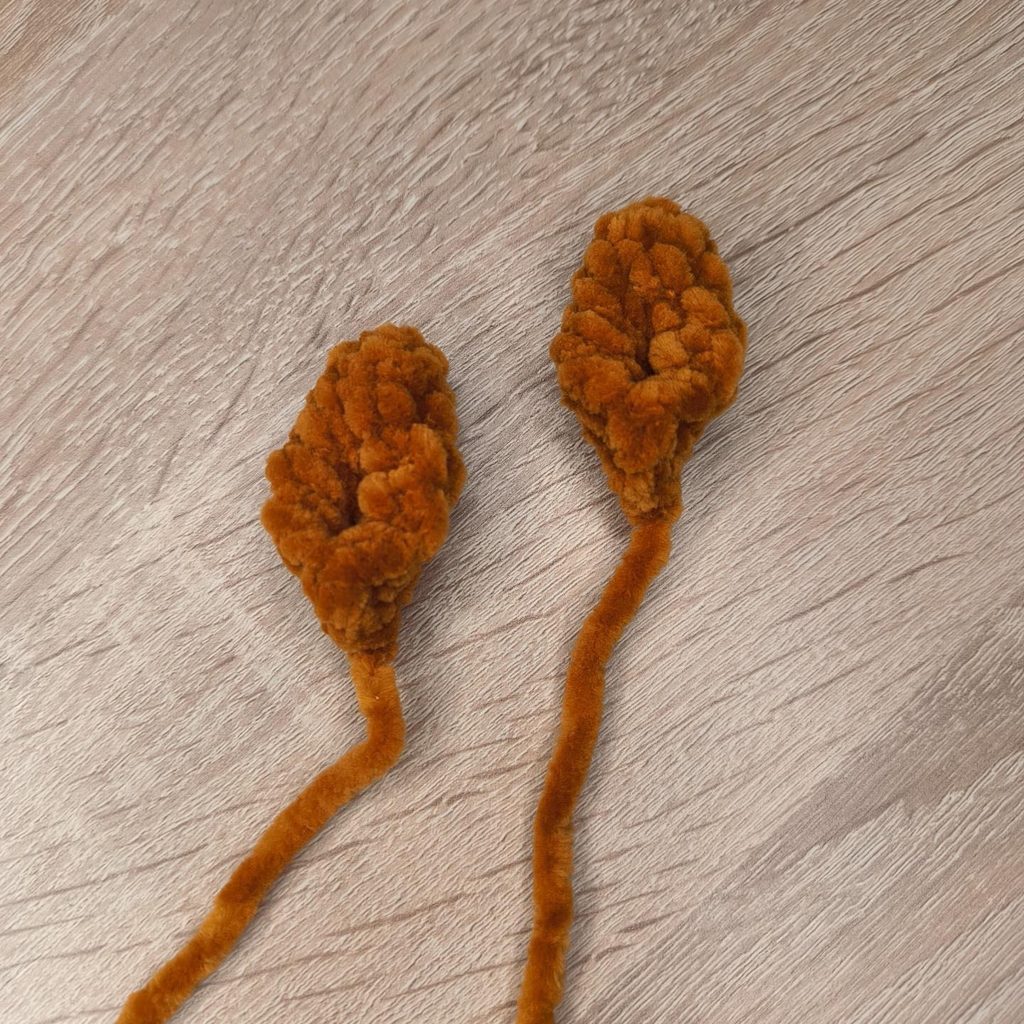
Ears (make 2)
Work in caramel color:
- 6 sc in MR (6)
- 6 sc (6)
- (1 sc, inc) *3 (9)
- (2 sc, inc) *3 (12)
- 12 sc (12)
- Fold in half and work 6 sc (6)
- Fold in half and work 3 sc (3)
Join with a sl st, cut the yarn, leaving a long tail for sewing to the head.
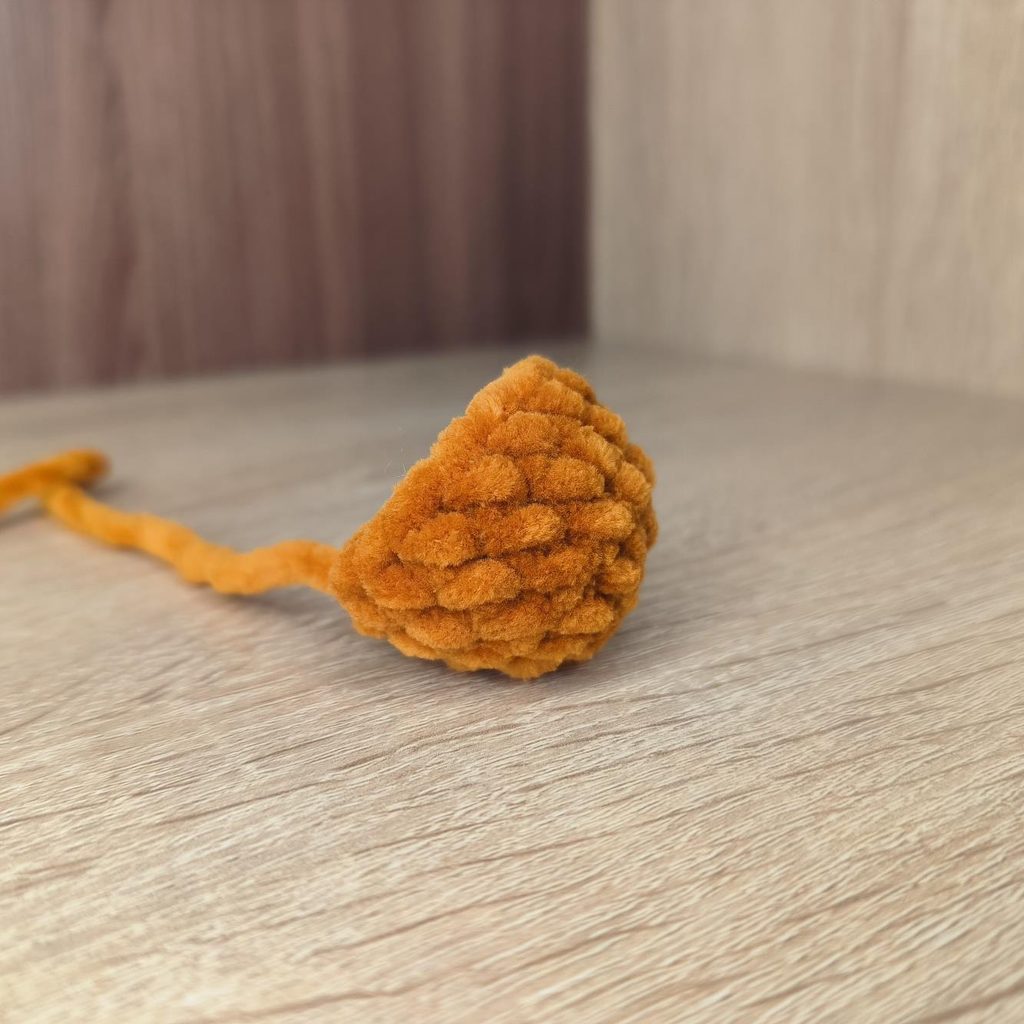
Muzzle
Work in caramel color:
- 6 sc in MR (6)
- 6 inc (12)
- 12 sc (12)
- (3 sc, inc) *3 (15)
- 15 sc (15)
Join with a sl st, cut the yarn, leaving a LONG TAIL for sewing to the head. Stuff the muzzle firmly.
Body
Work in caramel color:
- 6 sc in MR (6)
- 6 inc (12)
- (1 sc, inc) *6 (18)
- (2 sc, inc) *6 (24)
- (3 sc, inc) *6 (30)
- 30 sc (30)
In round 7 we crochet the legs:
- 6 sc, 4 sc together with the leg loops and body (change color at the BACK!), 10 sc, 4 sc together with the leg loops and body (change color at the BACK!), 6 sc (30)
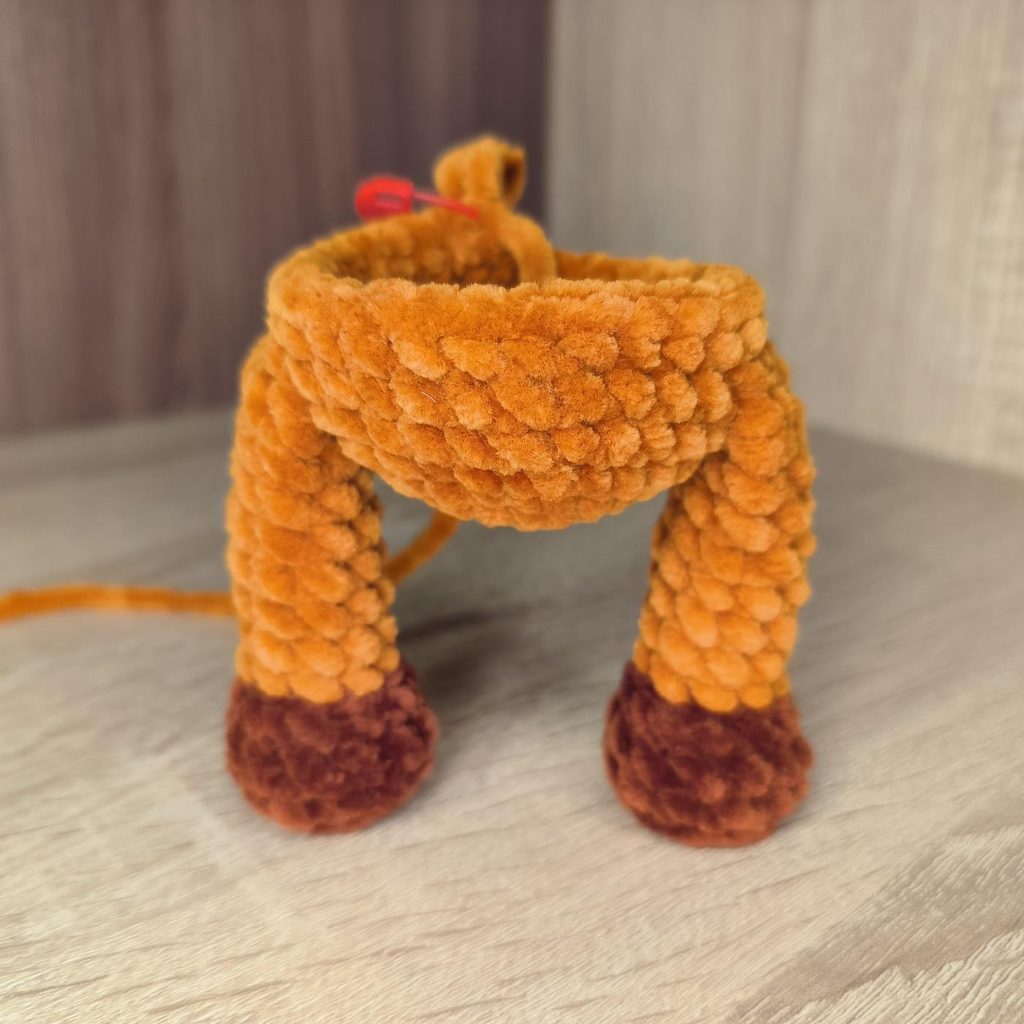
- 30 sc (30)
- (3 sc, dec) *6 (24)
- 24 sc (24)
- (4 sc, dec) *4 (20)
- 12–13) 20 sc (2 rounds) (20)
- (dec, 8 sc) *2 (18)
Stuff the body very firmly.
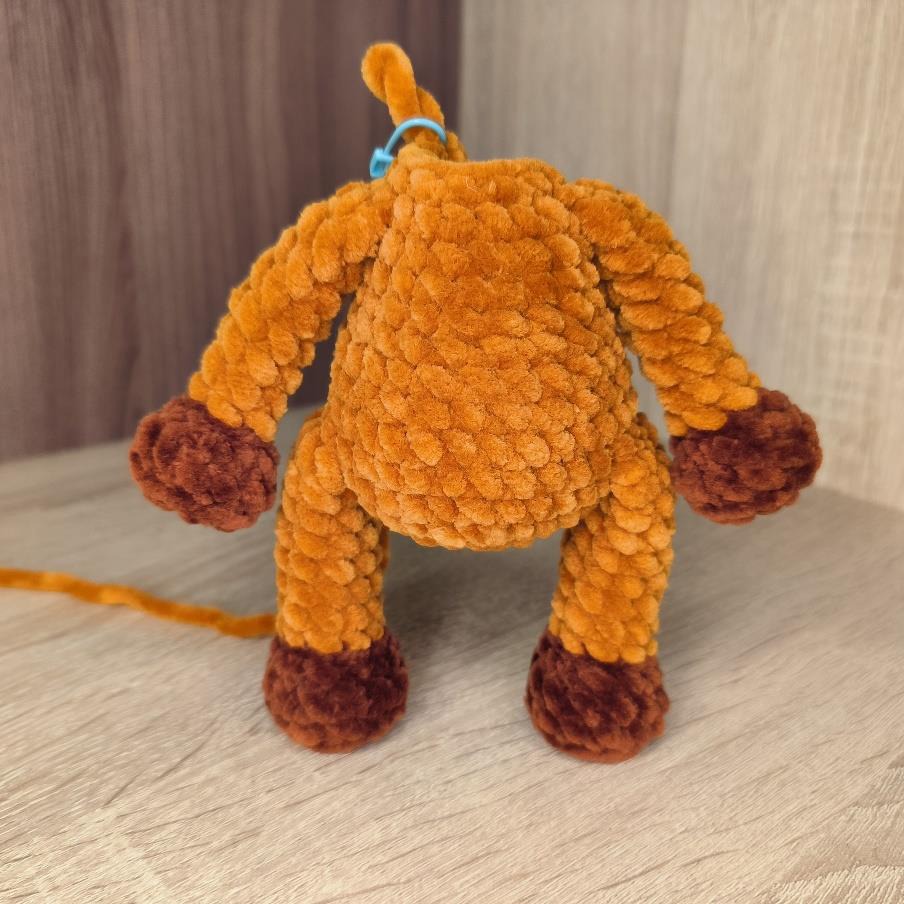
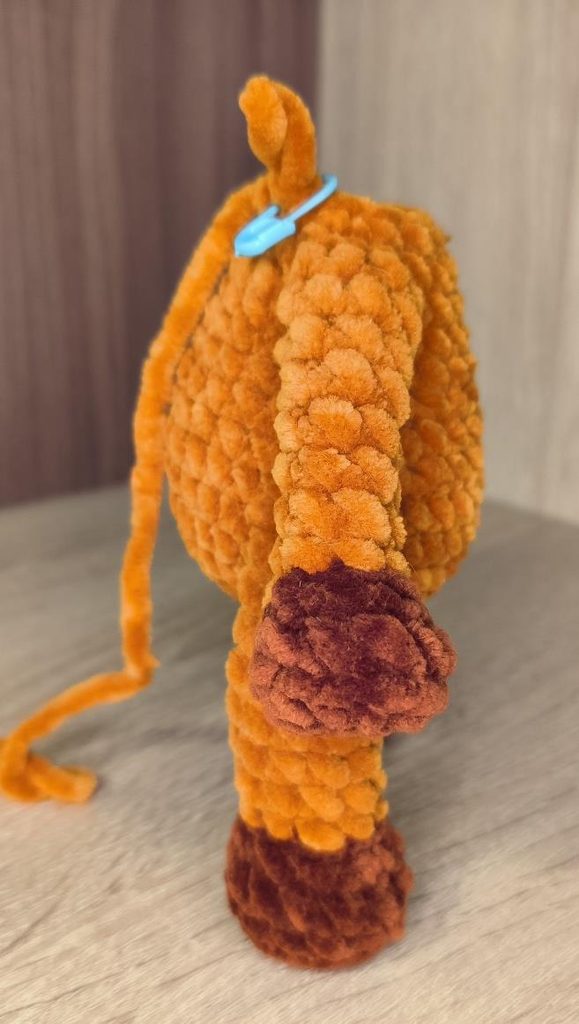
In round 15, crochet the arms. If necessary, adjust the marker so it is centered at the back (+1 sc).
- 3 sc, 3 sc together with the arm and body loops (change color at the BACK!), 5 sc, 3 sc together with the arm and body loops (change color at the BACK!), 4 sc (18)
If your arms sit crookedly relative to the legs, independently adjust the number of stitches before, between, and after the arms.
- (1 sc, dec) *6 (12)
Stuff the body very firmly. DO NOT CUT THE YARN. Continue crocheting the head.
Head
- (1 sc, inc) *6 (18)
- (2 sc, inc) *6 (24)
- (3 sc, inc) *6 (30)
- 4–10) 30 sc (7 rounds) (30)
Center the marker at the back of the head (+2 sc).
- (3 sc, dec) *6 (24)
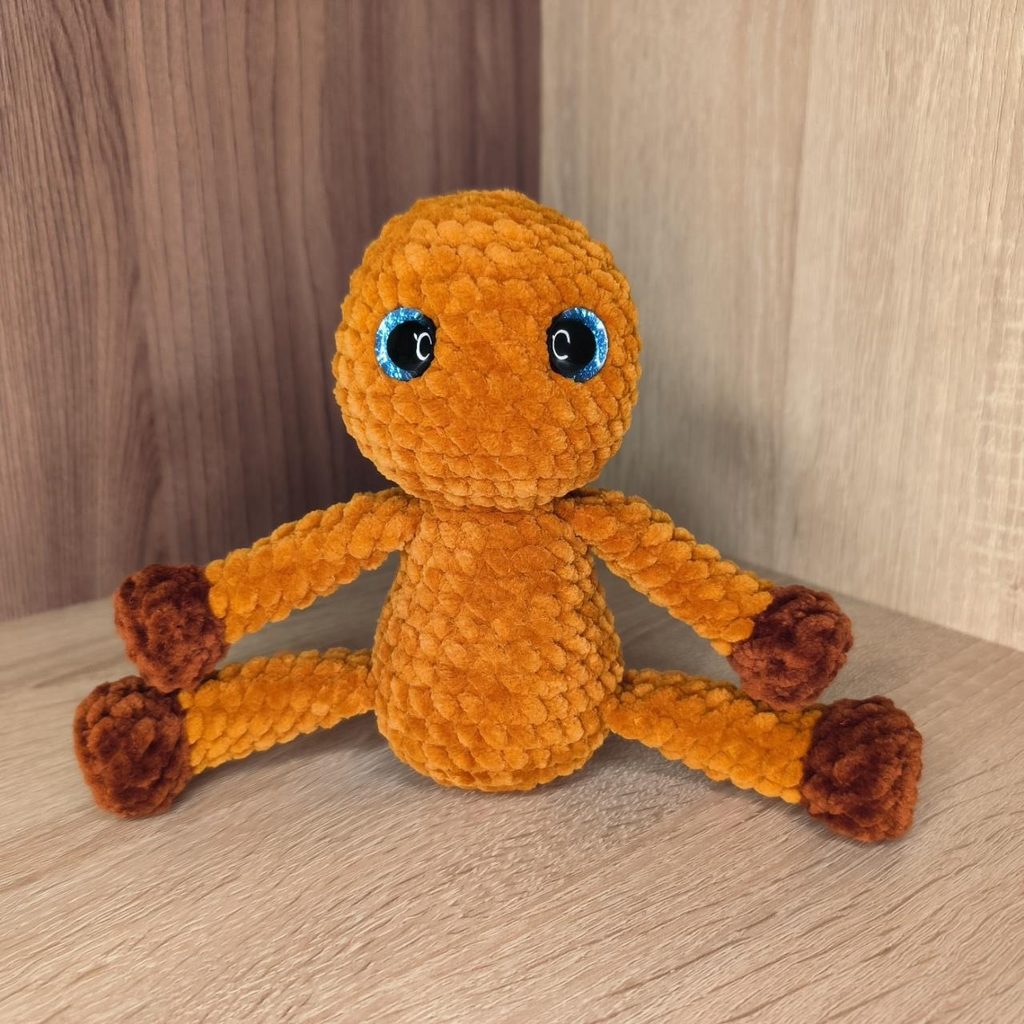
Before inserting the eyes, stuff the head so you don’t make a mistake with placement. Insert the eyes between rounds 8 and 9, with a distance of 6 sc between them. Stuff the head and neck very firmly.
- (2 sc, dec) *6 (18)
- (1 sc, dec) *6 (12)
Stuff the head very firmly to the end.
- 6 dec (6)
Join with a sl st, cut the yarn, close the opening completely using a needle, and weave the yarn end inside the piece.
Eye Shaping
For eye shaping, take a long needle and strong thread in a body color of your choice. Shape according to the diagram: 1 → 2 → 3 → 4 → 1 → 5 → 6 → 4.
Points 2, 3, 5, and 6 sit as close to the eyes as possible. Points 1 and 4 sit between the last round of the body and the first round of the head, in front, with 1 sc between them. After passing the thread through all the points, pull both ends tight to recess the eyes, tie two knots, and hide the thread inside the head.

Assembly
1. Sew on the Muzzle
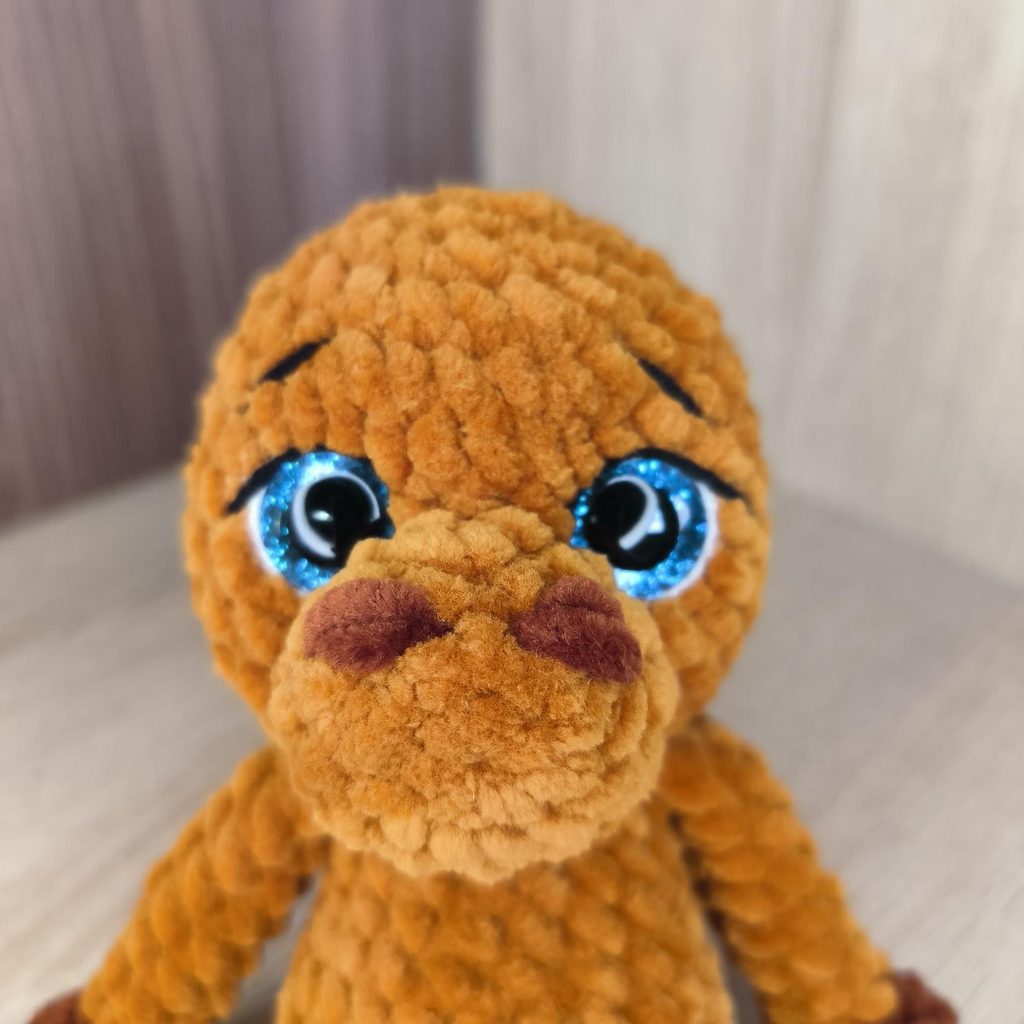
Attention! The muzzle must be positioned so the remaining yarn tail points to the right when looking directly at the toy. Secure the muzzle to the head with pins evenly below the eyes, then carefully and symmetrically sew it on using the yarn tail left after crocheting the piece. Weave the remaining yarn tail inside the head.

2. Embroider the Eyes, Eyebrows & Nostrils
- Embroider the whites of the eyes using white yarn
- Embroider the pupils and eyebrows using black yarn
- Embroider the nostrils using dark brown yarn — near point between rounds 2–3, far point between rounds 3–4, nostril length 2 sc, 2 stitches each
3. Sew on the Ears
- From the edge of the eye to the beginning of the ear — 3 sc
- From the bottom of the ear — between rounds 9 and 10 of the head
- To make the ear stand upright, secure it from the inside with the first stitches
- Sew on the second ear symmetrically to the first

4. Attach the Tail and Mane
Prepare Lanoso Single yarn in brown, or any yarn you prefer.
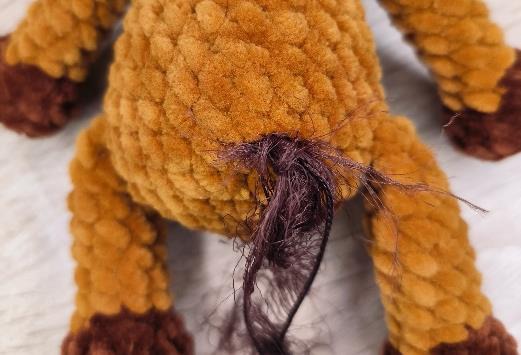
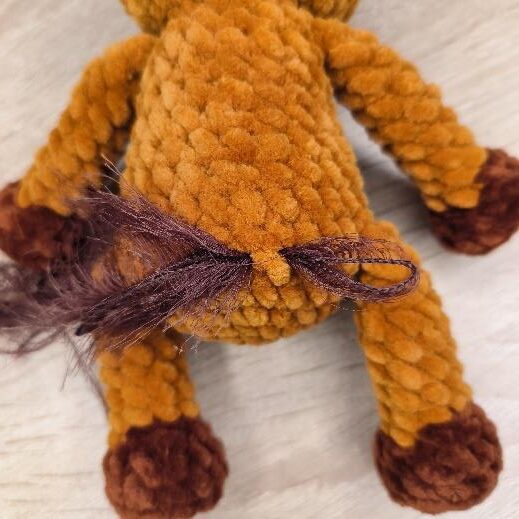
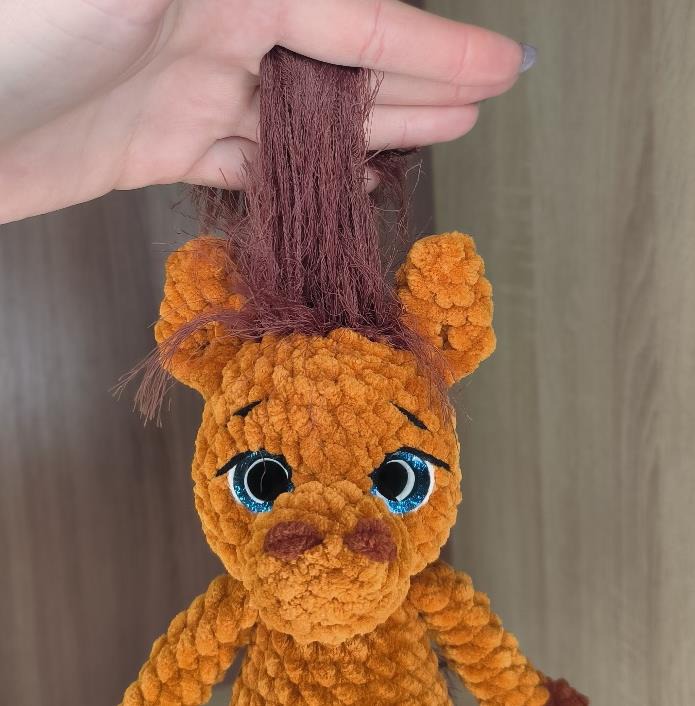
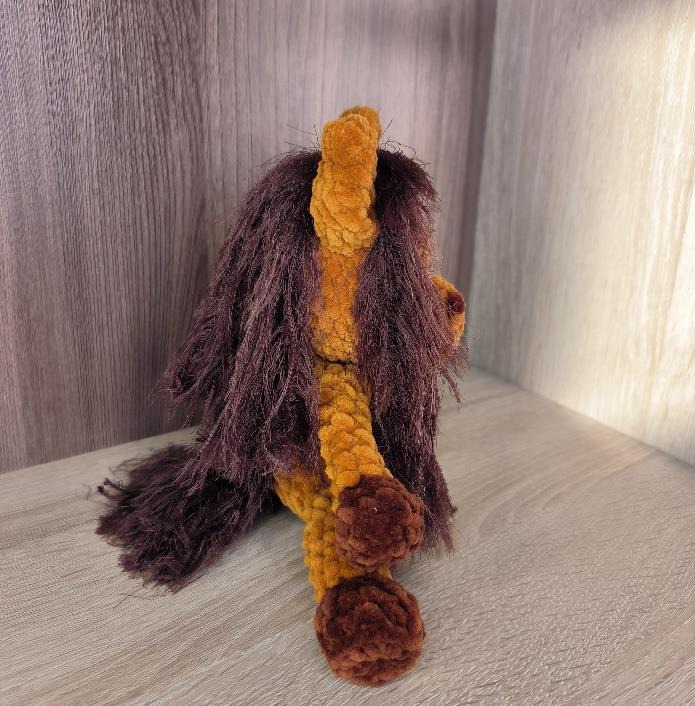
- Tail: prepare 14 strands ~20 cm long. For a fuller tail, attach two strands to each stitch (seven pairs total).
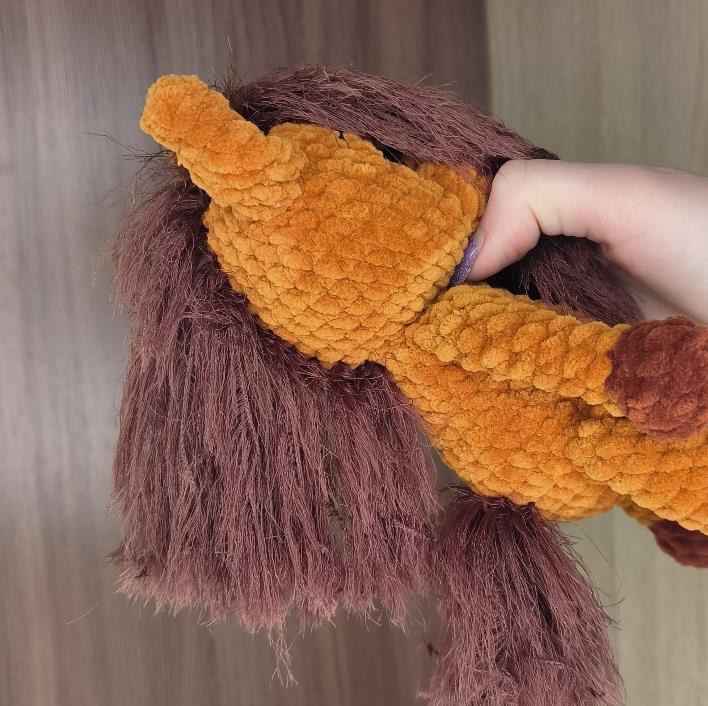
- Mane: prepare 28 strands ~35 cm long. Attach one strand to each stitch.
Attachment method:
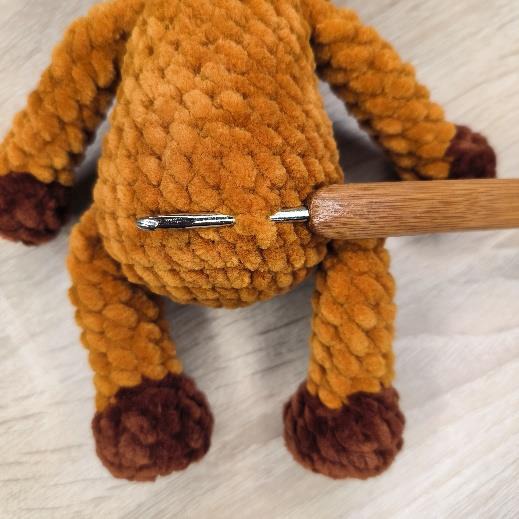
- Insert the crochet hook between rounds 6 and 7, 4 sc away from the right leg
- Fold one strand of yarn in half and use the hook to catch the loop
- Pull the loop through to the right under the sc
- Insert both ends of the yarn through the loop
- Pull almost all the way through, apply a small amount of “Crystal” glue to the base, and tighten firmly so the loop rests on the glue (glue is only needed for Lanoso Single yarn, to keep strands from slipping out during play)
Repeat with the three left stitches relative to the head stitch. On the mane (between rounds 7 and 8), attach three strands to each stitch. Trim the length of the tail with scissors.
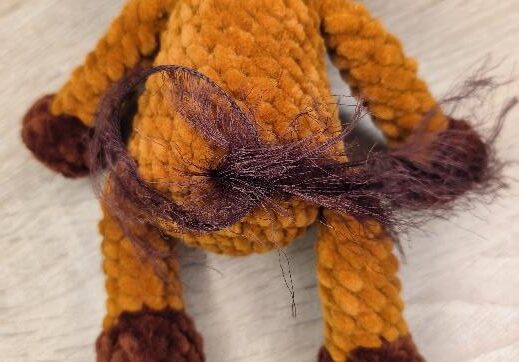
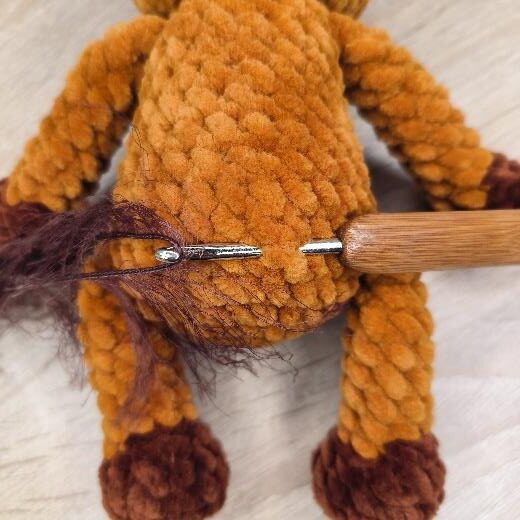
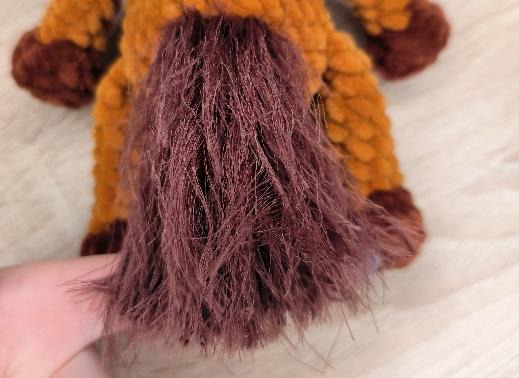
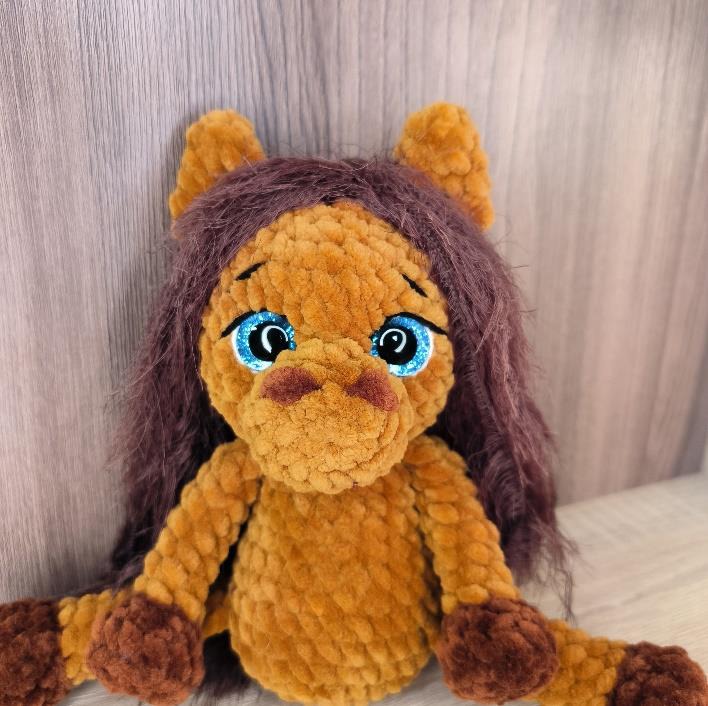
The mane is attached the same way as the tail, but with one strand per stitch instead of two. Start attaching from top to bottom in one line, as on a real horse — the first attachment point is in the middle between the ears, and the last is at the first round of the head at the back (transition from the body). For a fuller mane, you can also attach strands in front of the ears for bangs. Two rows were attached perpendicular to the first line. Trim the mane to your desired length with scissors.
Tips for a Polished Finish
- Stuff firmly where it matters — the body, neck, and head need very firm stuffing to support the weight of the mane and keep the horse sitting upright.
- Mind the color changes — always change color at the back of the piece so the transition stays hidden and neat.
- Test the eye spacing before committing — use pins to check placement, then insert the safety eyes only once you’re happy with how they look.
- Use a light touch with the glue — a small dab at the base of each mane/tail strand is enough; too much will make the yarn stiff and clumpy.
- Trim the mane and tail gradually — cut a little at a time and step back to check the shape rather than cutting all the length at once.
Frequently Asked Questions
Can I use a different yarn brand?
Yes — any velvet/chenille-style yarn works for the body pieces, and any smooth acrylic or Lanoso-style yarn works for the mane and tail. Just try to match weights so your proportions stay close to the original.
Is this pattern good for beginners?
It’s written as a detailed master class with lots of photos, but it does assume you’re comfortable with basic amigurumi techniques (MR, inc, dec, BLO/FLO). If you’ve made one or two amigurumi before, you’ll be able to follow along.
Do I have to use safety eyes?
No — you can embroider the eyes with black yarn instead if you’d like a toy that’s safer for very young children.
Why does my mane look thin compared to the photos?
Try adding a couple of extra rows of strands perpendicular to the main line, and don’t be afraid to attach bangs in front of the ears too — that’s what gives the mane its full, flowing look.
How long does this pattern take to complete?
Between the body pieces, face details, and attaching the mane and tail, most makers spend 6–10 hours total, often spread across a few sessions.
Ready to Stitch Your Own Horse?
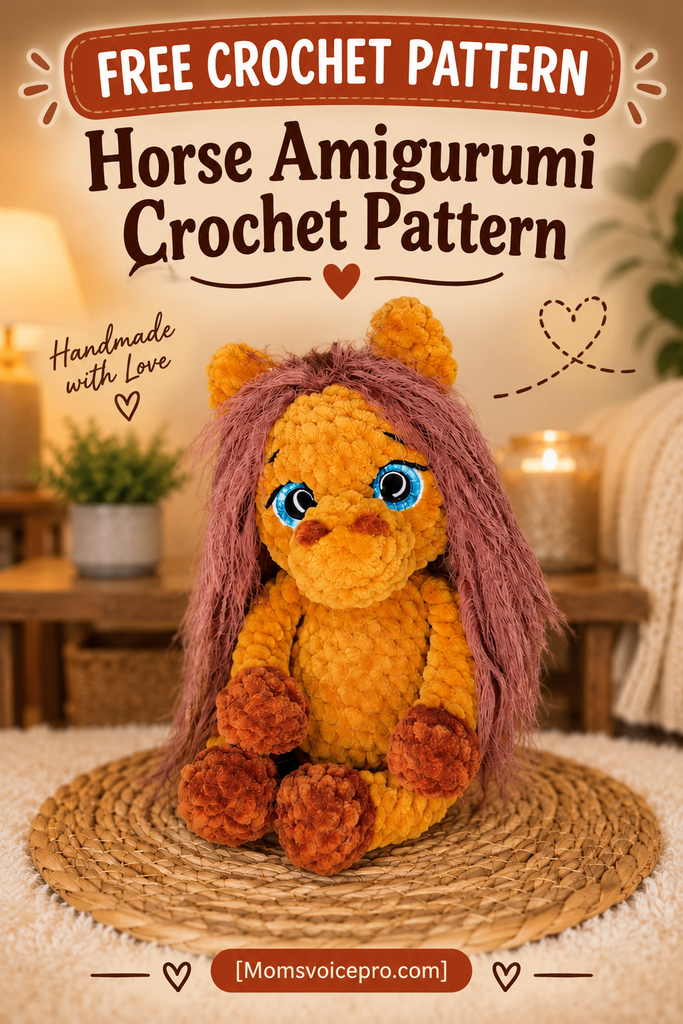
I’d love to see your finished horses! Tag me or share your makes online — happy crocheting, and may all your stitches be easy! 🐴💛