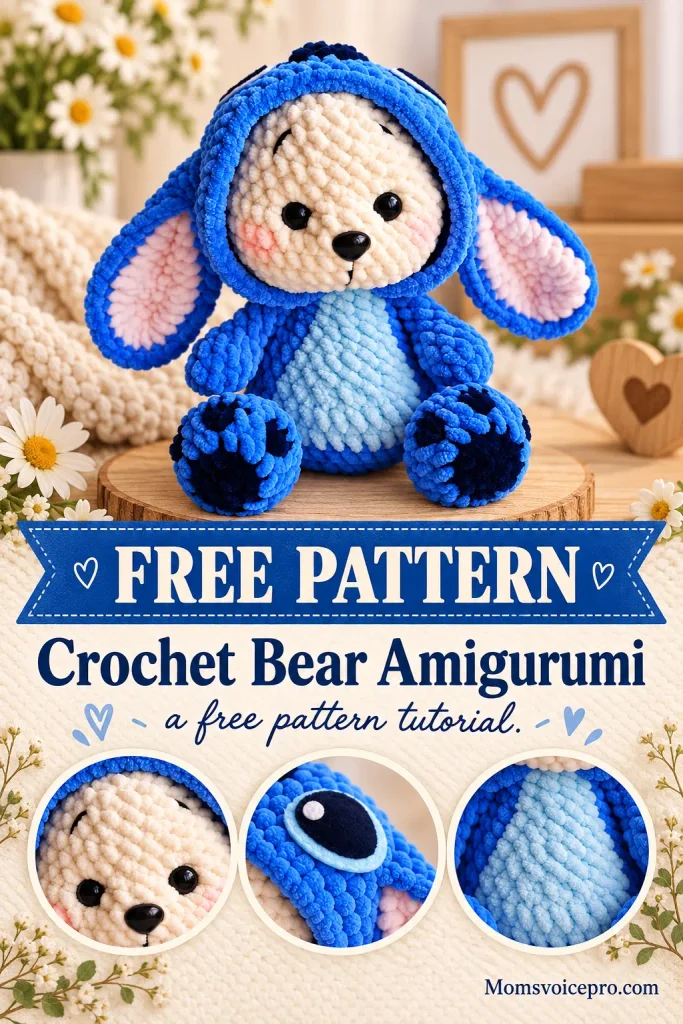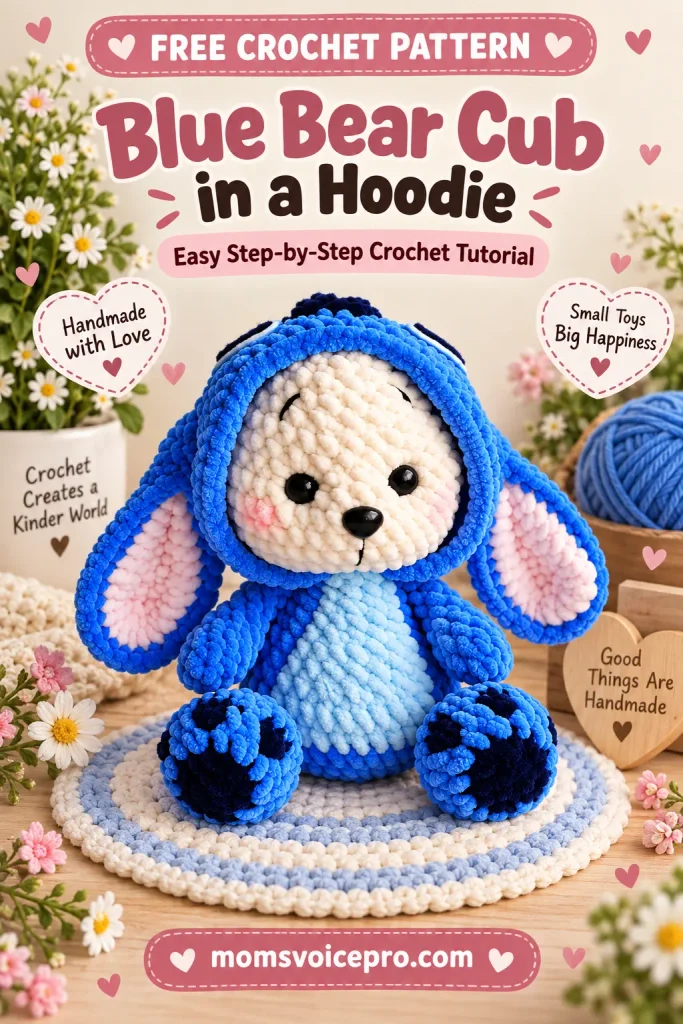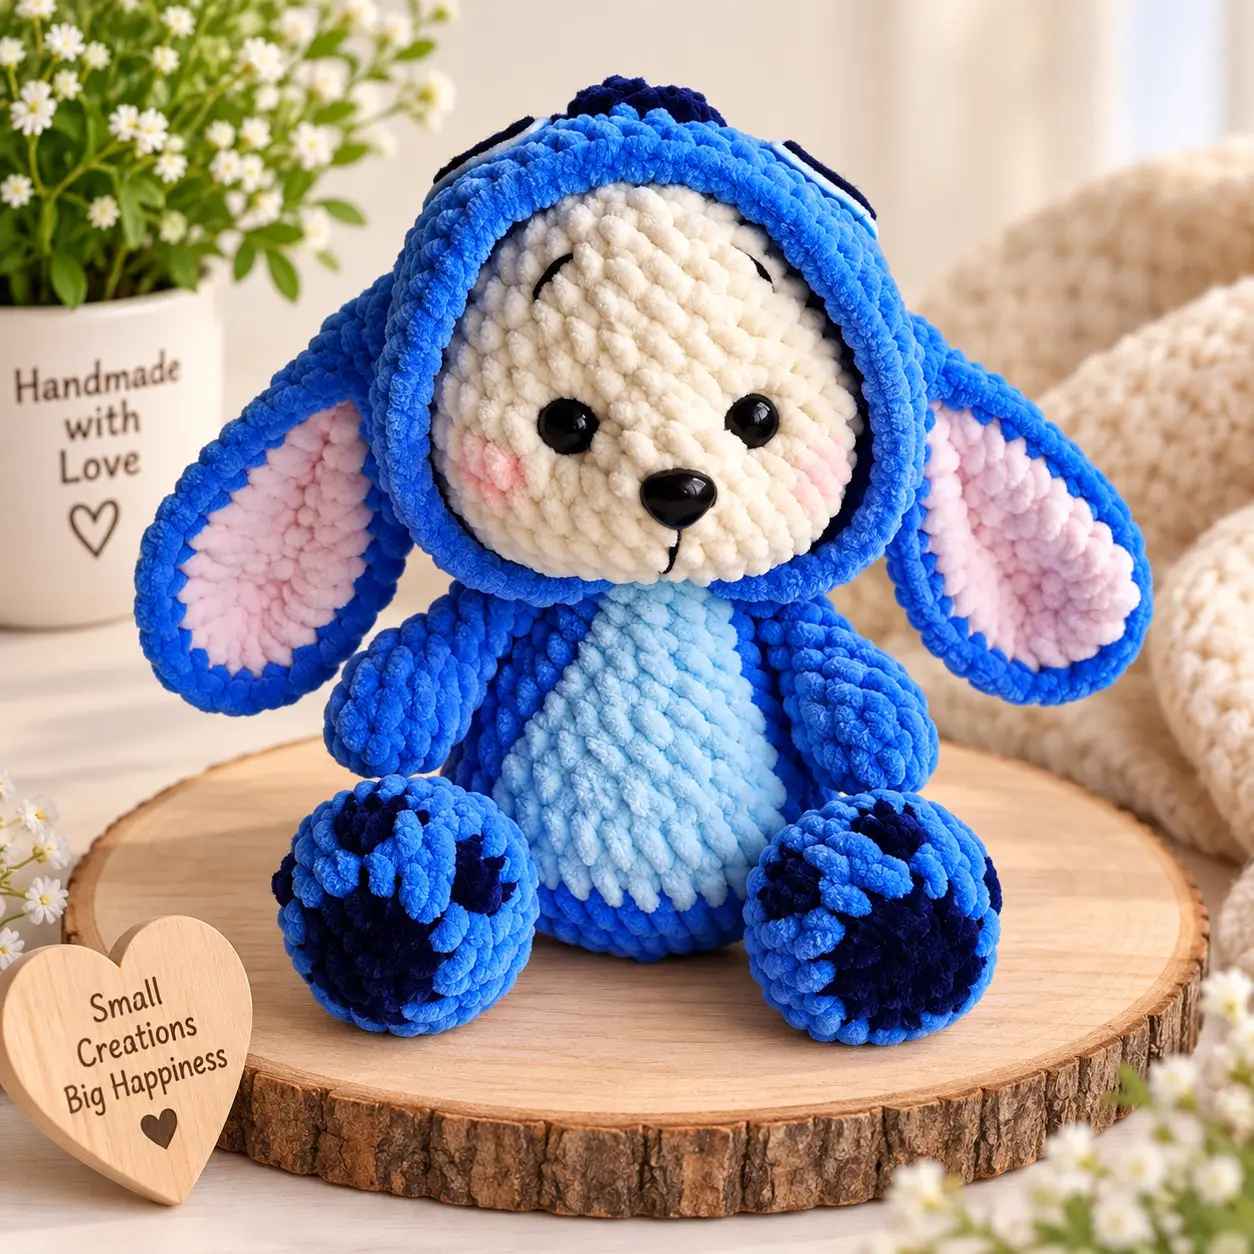
This bright blue bear cub is one of those patterns that photographs beautifully the moment it’s finished – a soft, round little cub in a color-blocked hooded costume, complete with felt-lined ears, a needle-sculpted face, and a hand-painted blush. It’s a slightly more involved make than a simple round-bodied amigurumi, but every technique it uses is explained step by step below, including several general tutorials for skills you’ll reuse in other projects.
This free pattern covers the full build: arms, a color-blocked body and head, needle sculpting for the face, small sewn-on ears, legs, a hood, tail, embroidered nose and eyebrows, felt eye details, a soft hair tuft, and a second set of larger felt-lined ears for the hood itself. Grab your hook and let’s get started!
Table of Contents
Skills You Need
Basic-to-intermediate crochet, amigurumi and sewing skills.
Abbreviations
- Rnd – round
- st, sts – stitch, stitches
- Ch – chain stitch
- slst – slip stitch
- sc – single crochet
- hdc – half double crochet
- dc – double crochet
- dec – decrease (2 sc together)
- inc – increase (2 sc in the same stitch)
- (...) * repeat n times – repeat the instructions in brackets a total of n times
- (number) – total stitch count at the end of that round
General Advice
- All parts of this bear are crocheted in a spiral – don't join at the end of each round.
- Mark the first stitch of every round so you always know where the round begins, and can compare your stitch count to the pattern.
- Crochet tightly! If your stitches come out loose, size down your hook.
- Stuffing is what gives amigurumi its shape – stuff tighter than feels necessary, then add a bit more. A broken chopstick is a great tool for pushing fiberfill into small corners.
- If this toy is for a child under 3, use safety eyes or embroider the eyes with yarn instead of using small glued-on details like felt sequins or beads, and make sure every piece is sewn on securely.
- Most important: have fun!
Tutorials
A few core techniques come up throughout this pattern – here's a quick reference for each.
A. Decrease
Work a regular sc decrease (two single crochets worked together as one).
B. Increase (inc)
To increase, work two single crochet stitches into the same stitch.
C. Front Loop, Back Loop, Back Bump
Sometimes a pattern calls for working into just one part of a stitch – either the front loop or the back loop, rather than both.
D. Close Remaining Stitches Through the Front Loops
Pull the yarn tail all the way through the last stitch. With a yarn needle, draw the yarn through every remaining front loop, working from outside to inside, then pull gently to close the gap.
E. Invisible Fasten Off
Skip one stitch. Insert your needle into the next stitch and pull the yarn through, then insert it into the back loop of the same stitch the yarn tail is coming from and pull gently. This creates a false stitch that mimics the skipped one, for a seamless-looking finish.
Arms (Make 2)
Crochet with blue yarn, 4.0mm hook.
- Rnd 1: 6sc in the magic ring (6)
- Rnd 2: (1sc, inc) x3 (9)
- Rnd 3–4: 9sc (2 rounds) (9)
- Rnd 5: (1sc, dec) x3 (6)
- Rnd 6–8: 6sc (3 rounds) (6)
Stuff the lower part of the arm, fold it in half, and crochet 3sc through both layers together. Cut the yarn and fasten off.

Both arms finished and ready to join into the body.
Body + Head
Crochet with blue yarn, 4.0mm hook.
- Rnd 1: 6sc in magic ring (6)
- Rnd 2: (inc) x6 (12)
- Rnd 3: (inc) x12 (24)
- Rnd 4: sc around (24)
- Rnd 5: (1sc, inc) x12 (36)
- Rnd 6: sc around (36)
- Rnd 7: blue yarn: 14sc, light blue yarn: 8sc, blue yarn: 14sc (36)
- Rnd 8: blue yarn: 13sc, light blue yarn: 10sc, blue yarn: 13sc (36)
- Rnd 9: blue yarn: (2sc, dec) x3, 1sc, light blue yarn: 2sc, (dec) x3, 2sc, blue yarn: dec, 2sc, dec, 2sc, dec, 1sc, dec (26)
- Rnd 10: blue yarn: 10sc, light blue yarn: 7sc, blue yarn: 9sc (26)
- Rnd 11: blue yarn: 10sc, light blue yarn: 7sc, blue yarn: 9sc (26)
- Rnd 12: blue yarn: (2sc, dec) x2, 2sc, light blue yarn: dec, 2sc, dec, 1sc, blue yarn: 1sc, dec, 2sc, dec, 2sc (20)
- Rnd 13: blue yarn: 8sc, light blue yarn: 5sc, blue yarn: 7sc (20)
- Rnd 14: blue yarn: 3sc, dec, 3sc, light blue yarn: 2sc, dec, 1sc, blue yarn: dec, 3sc, dec (16)
- Rnd 15: blue yarn: 7sc, light blue yarn: 4sc, blue yarn: 5sc (16)
Begin stuffing the body evenly and tightly.
- Rnd 16: blue yarn: 4sc, 3sc worked through both loops of the arm and body at the same time, 1sc, light blue yarn: 3sc, blue yarn: 1sc, 3sc worked through both loops of the arm and body at the same time, 1sc (16)
- Rnd 17: blue yarn: 8sc, light blue yarn: 3sc, blue yarn: 5sc (16)

The body with both arms joined in, before starting the head.
Start the head here – change the color to your milk/cream shade using the same color-change technique described above.
- Rnd 18: (inc) x16 (32)
- Rnd 19: (3sc, inc) x8 (40)
- Rnd 20–24: 40sc (5 rounds) (40)
- Rnd 25: (2sc, dec) x10 (30)
- Rnd 26: 15sc, (1sc, dec) x3, 6sc (27)
- Rnd 27: sc around (27)

Eyes placed and the head taking shape – the color-blocked belly really starts to read as a bear here.
Stuff the head firmly.
- Rnd 28: (1sc, dec) x9 (18)
- Rnd 29: sc around (18)
- Rnd 30: (1sc, dec) x6 (12)
Finish stuffing the head firmly with fiberfill.
- Rnd 31: (dec) x6 (6)
Break the yarn and close the remaining 6 stitches through the front loops (see Tutorial D above). Weave in the ends.

Body and head complete – the face sculpting step below is what brings this to life.
Face Sculpting
Use a strong thread and a long needle for this step. Insert the needle at point 1, pull it out at point 3, leaving a long thread tail. Insert at point 4, pull out at point 2, then pull the threads snug and tie a knot. Insert again at point 1, pull out at point 5, then insert at point 6 and pull out at point 2. Pull everything well, tie off, and hide the yarn tail inside the head.


Before and after – the sculpting stitches pull the face into a softer, more defined shape.
Nose & Eyebrows
Embroider the nose with black thread, positioning it between rounds 20 and 22, centered on the face.

The embroidered nose, centered between rounds 20 and 22.
Using black thread, embroider the eyebrows between rounds 27 and 30, spacing them about 5 stitches apart.
Ears (Make 2)
Crochet with milk/cream yarn, 4.0mm hook.
- Rnd 1: 6sc in the magic ring (6)
- Rnd 2: (inc) x6, slst (12)
Cut the yarn, leaving a long tail for sewing. Sew the ears on between rounds 25 and 30, spacing them about 5–6 stitches apart.

Pins mark the ear placement before sewing – this saves guesswork on symmetry.

Both ears sewn on – the face is really coming together now.
Legs (Make 2)
Crochet with dark blue yarn, 4.0mm hook.
- Rnd 1: 6sc in the magic ring (6)
- Rnd 2: (inc) x6 (12)
Change the color to blue.
- Rnd 3: (1sc, inc) x6 (18)
- Rnd 4: blue yarn: 4sc, dark blue yarn: 3sc in the same stitch, blue yarn: 2sc, dark blue yarn: 3sc in the same stitch, blue yarn: 2sc, dark blue yarn: 3sc in the same stitch, blue yarn: 7sc (24)
- Rnd 5: sc around (24)
- Rnd 6: 6sc, (dec) x6, 6sc (18)
- Rnd 7: 3sc, (dec) x6, 3sc (12)
- Rnd 8: sc around (12)
Stuff the lower part of the leg.
- Rnd 9: (4sc, dec) x2 (10)
- Rnd 10: sc around (10)
- Rnd 11: 1sc – fold in half and crochet 5sc through both layers.
Cut the yarn, leaving a long tail for sewing.

Both legs finished, with the three-stitch paw pad detail worked right into round 4.
Sew the legs to the body across rounds 4–8.

With the legs, ears and face all in place, the bear is ready for its hood.
Hood
Crochet with blue yarn, 4.0mm hook.
- Rnd 1: 6sc in the magic ring (6)
- Rnd 2: (inc) x6 (12)
- Rnd 3: (3inc, 3sc) x2 (18)
- Rnd 4: (1sc, 1inc) x3, 3sc, (1sc, 1inc) x3, 3sc (24)
- Rnd 5: (1sc, 1inc, 1sc) x3, 3sc, (1sc, 1inc, 1sc) x3, 3sc (30)
- Rnd 6: (3sc, 1inc) x3, 3sc, (3sc, 1inc) x3, 3sc (36)
- Rnd 7: (2sc, 1inc, 2sc) x3, 3sc, (2sc, 1inc, 2sc) x3, 3sc (42)
- Rnd 8: (5sc, 1inc) x3, 3sc, (5sc, 1inc) x3, 3sc (48)
Continue back-and-forth from here rather than in the round.
- Rnd 9: 45sc, 1ch, turn (45)
- Rnd 10: 42sc, ch, turn (42)
- Rnd 11: 42sc, ch, turn (42)
- Rnd 12: 42sc, ch, turn (42)
- Rnd 13: 42sc, ch, turn (42)
- Rnd 14: 42sc, ch, turn (42)
- Rnd 15: 42sc, ch, turn (42)
Cut the thread, leaving a long tail for sewing.

The hood shape, worked flat after round 8 to create the face opening.
Put the hood onto the head and sew it around the neck.
Tail
Crochet with milk/cream yarn, 4.0mm hook.
- Rnd 1: 8sc in the magic ring (8)
- Rnd 2: (1sc, inc) x4 (12)
- Rnd 3: (dec) x6 (6)
Add a little filler to the tail, cut the yarn and leave a long tail for sewing. Sew the tail on between rounds 3 and 6.

A small stuffed pompom tail, sewn on just above the hood line.
Nose Piece for the Hood
Crochet with dark blue yarn, 4.0mm hook.
Chain 4: starting on the 3rd chain from the hook, work 2hdc in the same stitch, then (2hdc + chain 2 + slst) in the next stitch. Cut the yarn, leaving a long tail for sewing. Sew this nose piece onto the hood, centered between rows 11 and 13.
Felt Eyes
Cut felt pieces for the eyes: 2 in white, 2 smaller pieces in black, and 2 tiny circles in white. This template is sized for Dolce-weight yarn and a 4.0mm hook – scale the pieces up or down if you're using a different yarn or hook size. Glue the eyes onto the hood between rounds 9 and 13.

One felt eye and the hair tuft in place on the hood.
Hair
Crochet with dark blue yarn, 4.0mm hook.
Chain 5 (starting from the 2nd chain from the hook): 4 slst, chain 4, 3 slst, slst into the first chain you made earlier, chain 5, 4 slst, slst into the same chain. Fasten off, leaving a tail for sewing. Sew the hair tuft between rows 6 and 7, centered on the hood.

Felt eyes and hair tuft complete – the hood's face is ready for its ears.
Hood Ears
Make 2 inner ears in light pink. Chain 13, starting on the 2nd chain from the hook:
- Rnd 1: 11sc, 4sc in the same last stitch, continue along the other side of the foundation chain: 11sc (26)
- Rnd 2: 3sc, 5hdc, 3dc, 4dc inc, 3dc, 5hdc, 3sc, slst (30)
Cut the yarn and weave in the end.
Make 2 outer ears in blue. Chain 13, starting on the 2nd chain from the hook:
- Rnd 1: 11sc, 4sc in the same last stitch, continue along the other side of the foundation chain: 11sc (26)
- Rnd 2: 3sc, 5hdc, 3dc, 4dc inc, 3dc, 5hdc, 3sc, slst (30)
Without cutting the yarn, place the pink inner ear inside the blue outer ear and crochet 30sc all the way around through both layers, then slst and fasten off. Once you've worked the sc all the way around, fold each ear and sew 3 stitches through both layers to give it a slight cup shape.

Both hood ears finished, with their soft pink lining folded in.
Sew the ears onto the sides of the hood at rows 8 and 11.
Finishing Touches
Make blush: using a small brush and a touch of blush powder or fabric-safe pigment, gently color the cheeks for a soft, rosy finish.

A little blush is a small step that adds a lot of warmth to the finished face.

Your bear, fully assembled – hood, ears, tail, blush and all.

A finished bear, ready for a photo shoot of its own.
Tips for a Polished Finish
- Don't skip the general tutorials if you're newer to amigurumi. The front-loop-only fasten-off and invisible fasten-off techniques come up constantly in this pattern, and getting comfortable with them here will make every later step faster.
- Mark your face-sculpting points before you start stitching. A couple of pins or contrasting scraps of yarn at points 1–6 make it much easier to keep the needle path straight the first time through.
- Stuff the head extra firmly before sculpting. The tightening stitches need something solid to pull against, or the face will look flatter than the photos.
- Color changes always happen on the last stitch, not after it. This is what keeps the body's color-block stripes crisp instead of jagged.
- Save the felt cutting for a calm moment. The eye pieces are small and exact sizing matters for the expression – cut a spare pair in case your first attempt comes out uneven.
FAQ
Is this pattern good for beginners?
Can I skip the felt eyes and hair tuft?
What if I'm making this for a baby or toddler?
My color-block stripes look jagged, not clean – what went wrong?
Do I need to use felt for the eyes, or can I embroider them instead?
Conclusion
Between the color-blocked body, the needle-sculpted face, and all those small felt and yarn details on the hood, this bear packs a lot of technique into one pattern – and it shows in the finished photos. Take the tutorials section slowly if any of it is new to you, and the rest of the pattern will go much faster. Save this pattern for later with the Pinterest button above, and happy stitching!