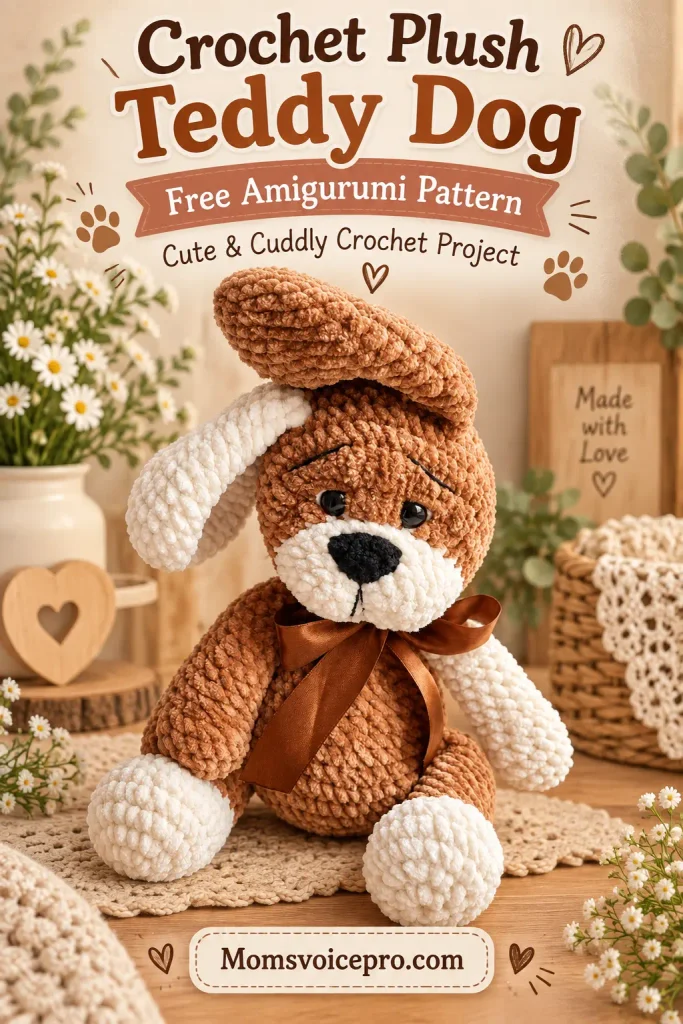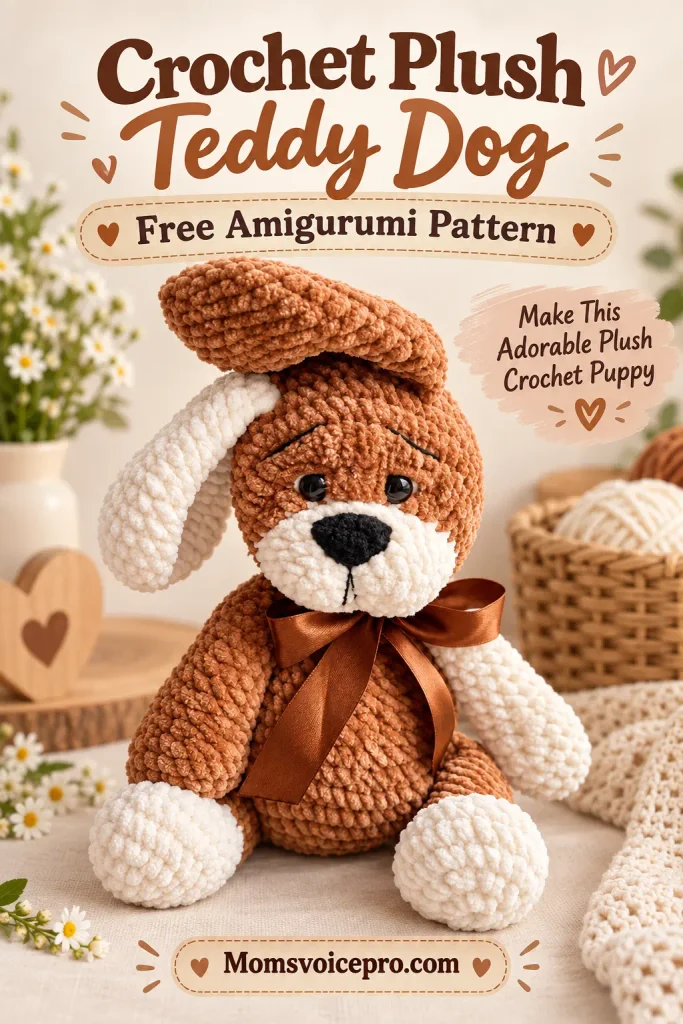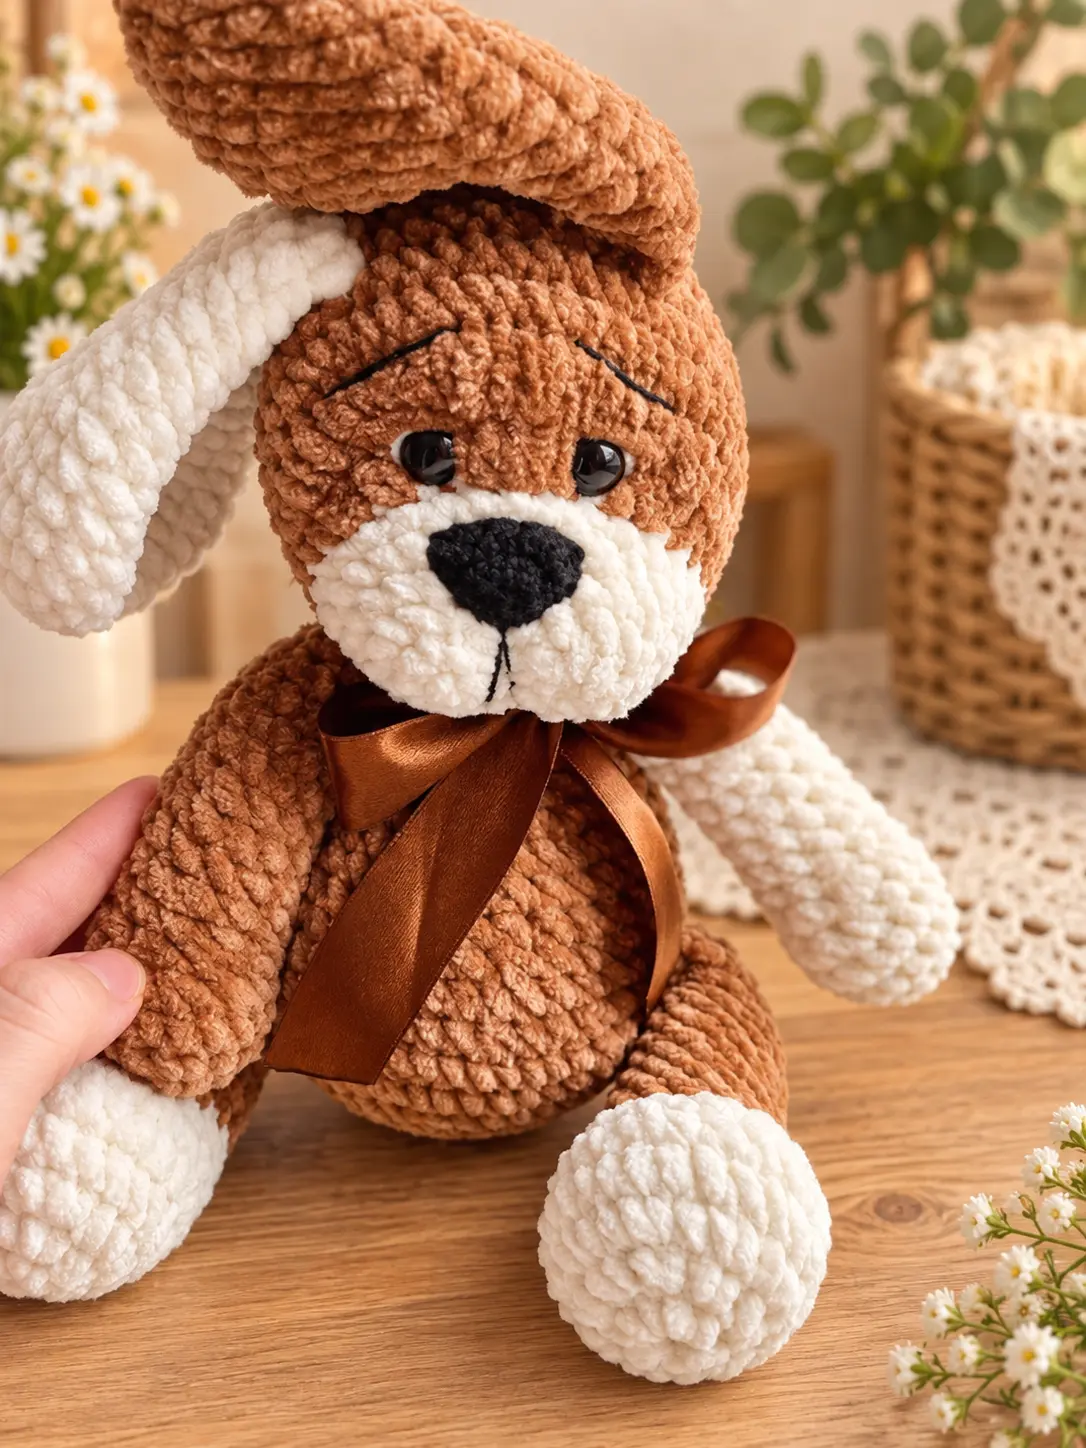
This floppy-eared teddy dog might be the coziest amigurumi in my whole lineup – worked up in a chunky plush yarn with a cream muzzle, a little black button nose, and a satin bow around the neck. At roughly 29–30cm tall, she’s a genuinely huggable size, not just a shelf decoration.
Inside this free pattern you’ll find every round for the ears, nose, tail, head, arms, legs and body, plus the full face-tightening and assembly walkthrough with photos for every stage – including the trickiest part of any dog amigurumi, getting that sweet, slightly droopy expression just right.
Table of Contents
Materials Needed
- LaVita Velur plush yarn – one skein of the main color, plus a little extra (any similar plush yarn at roughly 100g/120m works as an analogue)
- YarnArt Jeans, black – for the muzzle patch and nose decoration
- Filler (synthetic fluff / holofiber), for stuffing
- Safety eyes, 12mm
- Crochet hook, size 4 (for the main toy) and size 2 (for the small nose piece)
- Sewing pins
- Scissors
- Needle, for sewing pieces together and embroidering the face
- Thick sewing thread, for attaching parts
- A long doll needle, for tightening/sculpting the head
- Stitch marker, for marking the start of each round
Abbreviations
- MR – magic ring
- Sc – single crochet
- Inc – increase
- Dec – decrease
- Ch – chain
- Hdc – half double crochet
- Sl st – slip stitch
- Ch(s) – chain(s)
Ears (Make 2)
- Rnd 1. 8sc in MR
- Rnd 2. 8inc (16)
- Rnd 3. (1sc, inc) x8 (24)
- Rnd 4. (2sc, inc) x8 (32)
- Rnd 5–7. 32sc (3 rounds)
- Rnd 8. (6sc, dec) x4 (28)
- Rnd 9. 28sc
- Rnd 10. (5sc, dec) x4 (24)
- Rnd 11. 24sc
- Rnd 12. (4sc, dec) x4 (20)
- Rnd 13. 20sc
- Rnd 14. (3sc, dec) x4 (16)
- Rnd 15. 16sc
- Rnd 16. (2sc, dec) x4 (12)
- Rnd 17. 12sc
Fold the piece in half and crochet 6sc through both layers together to close it. Fasten off and cut the thread.

These long floppy ears are what give the finished dog so much of its sleepy, sweet expression.

One ear finished and folded, ready to set aside for assembly.
Nose
Leave a long tail at the very start – you'll use it later to embroider a small strip underneath the nose.
- Rnd 1. Chain 2
- Rnd 2. Inc in the 2nd loop from the hook (2)
From here, you're crocheting in turned rows rather than continuous rounds:
- Rnd 3. 1ch(s), 2inc (4)
- Rnd 4. 1ch(s), (1sc, inc) x2 (6)
- Rnd 5. 1ch(s), (2sc, inc) x2 (8)
- Rnd 6–7. 8sc
Next, chain 1 and work around the edge in a circle: 5sc down the first side, 1sc in the base, and 5sc up the second side. Fasten off, leaving a long tail for sewing.

The finished nose – small, but it makes a big difference to the face.
Tail
- Rnd 1. 6sc in MR
- Rnd 2. (2sc, inc) x2 (8)
- Rnd 3. (3sc, inc) x2 (10)
- Rnd 4–5. 10sc (2 rounds)
Fold the piece in half and crochet 5sc through both layers together. Fasten off and cut the thread.

A neat little folded tail, ready to be worked into the body later.
Head
Start with the additional (contrast) color.
- Rnd 1. Chain 7
- Rnd 2. In the 2nd loop from the hook: 5sc, 3sc in the last loop, then working down the other side of the chain: 4sc, inc (14)
- Rnd 3. inc, 4sc, 3inc, 4sc, 2inc (20)
- Rnd 4. (4sc, inc) x4 (24)
- Rnd 5. (3sc, inc) x6 (30)
- Rnd 6. 30sc
- Rnd 7. 4sc, inc – change to the main color – (4sc, inc) x2, 3sc, then 8 increases worked in hdc (!), 3sc, inc (42)
- Rnd 8. 21sc, (1hdc, inc worked in hdc) x8 (!), 5sc (50)
- Rnd 9–12. 50sc (4 rounds)
- Rnd 13. (23sc, dec) x2 (48)
Insert the safety eyes in round 7, positioned after the 2nd increase and the 6th increase.
- Rnd 14. (6sc, dec) x6 (42)
- Rnd 15. (5sc, dec) x6 (36)
- Rnd 16. (4sc, dec) x6 (30)
- Rnd 17. (3sc, dec) x6 (24)
- Rnd 18. (2sc, dec) x6 (18)
- Rnd 19. (1sc, dec) x6 (12)
- Rnd 20. 6dec (6)
Pull the hole closed, fasten off, and hide the tail inside the head.

Eyes inserted and the muzzle color-block in place, before the final decreases close the head.

The head closed up and ready – the contrast color from the muzzle peeks over the top from this angle.
Arms (Make 2)
- Rnd 1. 6sc in MR
- Rnd 2. 6inc (12)
- Rnd 3. (1sc, inc) x6 (18)
- Rnd 4. 18sc
- Rnd 5. 6sc, 3dec, 6sc (15)
- Rnd 6. 5sc, 2dec, 6sc (13)
- Rnd 7–11. 13sc (5 rounds)
- Rnd 12. 6sc, dec, 5sc (12)
- Rnd 13. 5sc, dec, 5sc (11)
- Rnd 14. 4sc, dec, 5sc (10)
- Rnd 15–16. 10sc
Fold the piece in half and crochet 5sc through both layers together to close it. Fasten off and cut the thread.

Both arms finished, worked flat and folded closed at the paw.
Legs (Make 2)
Start with the additional (contrast) color.
- Rnd 1. 8sc in MR
- Rnd 2. 8inc (16)
- Rnd 3. (1sc, inc) x8 (24)
- Rnd 4. (3sc, inc) x6 (30)
- Rnd 5–6. 30sc
- Rnd 7. 6sc, (1sc, dec) x6, 6sc (24)
- Rnd 8. 6sc, 6dec, 6sc (18)
Change to the main color.
- Rnd 9–11. 18sc
- Rnd 12. (4sc, dec) x3 (15)
- Rnd 13–14. 15sc (2 rounds)
- Rnd 15. (3sc, dec) x3 (12)
- Rnd 16–19. 12sc (4 rounds)

Both legs finished, ready to attach to the body in the next section.
Body
- Rnd 1. 6sc in MR
- Rnd 2. 6inc (12)
- Rnd 3. 12inc (24)
- Rnd 4. (3sc, inc) x6 (30)
- Rnd 5. (4sc, inc) x6 (36)
- Rnd 6. (5sc, inc) x6 (42)
- Rnd 7. (6sc, inc) x6 (48)
- Rnd 8. (7sc, inc) x6 (54)
The legs and tail attach in the next round – place your marker along the back first.
- Rnd 9. 9sc, 6sc worked together with a leg, 24sc, 6sc worked together with a leg, 6sc, 3sc worked together with the tail (54)
Continue crocheting the tail into round 10 as well – splitting it across these two rounds keeps it centered on the back.
- Rnd 10. 2sc worked with the tail, 12sc, (2sc, dec) x6, 15sc (48)
- Rnd 11. 48sc
- Rnd 12. 15sc, (1sc, dec) x6, 15sc (42)
- Rnd 13–14. 42sc (2 rounds)
- Rnd 15. (3sc, dec) x3, 12sc, (3sc, dec) x3 (36)
- Rnd 16. 12sc, 6dec, 12sc (30)
- Rnd 17. 30sc
- Rnd 18. (3sc, dec) x6 (24)
The arms attach in the next round – they should line up exactly on the sides of the body. If they don't, adjust their placement before continuing.
- Rnd 19. 24sc
- Rnd 20. 5sc, 5sc worked together with an arm, 8sc, 5sc worked together with an arm, 1sc (24)
- Rnd 21. (2sc, dec) x6 (18)
- Rnd 22. 18sc
Fasten off. If needed, leave a long tail for sewing the head on afterward – nylon thread is a strong choice for this seam.
Stretching & Decorating the Face
Tighten the face as shown in the photo sequence below – this step is what pulls the muzzle and eye area into that soft, sculpted shape.

Steps 1–12: threading, tightening and securing the face shaping stitches.
Once the tightening is done, embroider the eyebrows and eyelids, then sew on the nose and both ears.

Eyebrows, nose and ears finish the face – and that's where the personality really shows up.


Front and back – your finished teddy dog, ready for a very good home.
Tips for a Polished Finish
- Don't rush rounds 7 and 8 of the head. The color change and the run of hdc increases in these two rounds are what shape the muzzle – stitch markers at the increase points help a lot here.
- Place the eyes before you close the head. Once stuffed and sewn shut, repositioning safety eyes is much harder, so double-check spacing against the photo before locking them in.
- Use nylon or a strong sewing thread for the head-to-body seam. This joint takes the most handling on a finished toy, so a sturdy thread here pays off.
- Fold, don't force, the ears, arms, legs and tail closed. Crocheting through both folded layers together (rather than seaming afterward) gives a cleaner, flatter closure on each piece.
- Save the 12-step face photos for reference if you lose your place partway through – the tightening sequence is much easier to follow visually than from text alone.
FAQ
Is this teddy dog pattern good for beginners?
Can I substitute the plush yarn for something else?
What size hook do I actually need?
My dog's face doesn't look as sculpted as the photos – what went wrong?
How much yarn will I need?
Conclusion
Floppy ears, a button nose, and that sleepy little expression – this teddy dog is a genuinely satisfying make, even with the extra care the face takes. Once you've worked through the tightening sequence once, it gets much faster the second time, so don't be surprised if you end up making a whole litter. Save her for later with the Pinterest button above, and happy stitching!