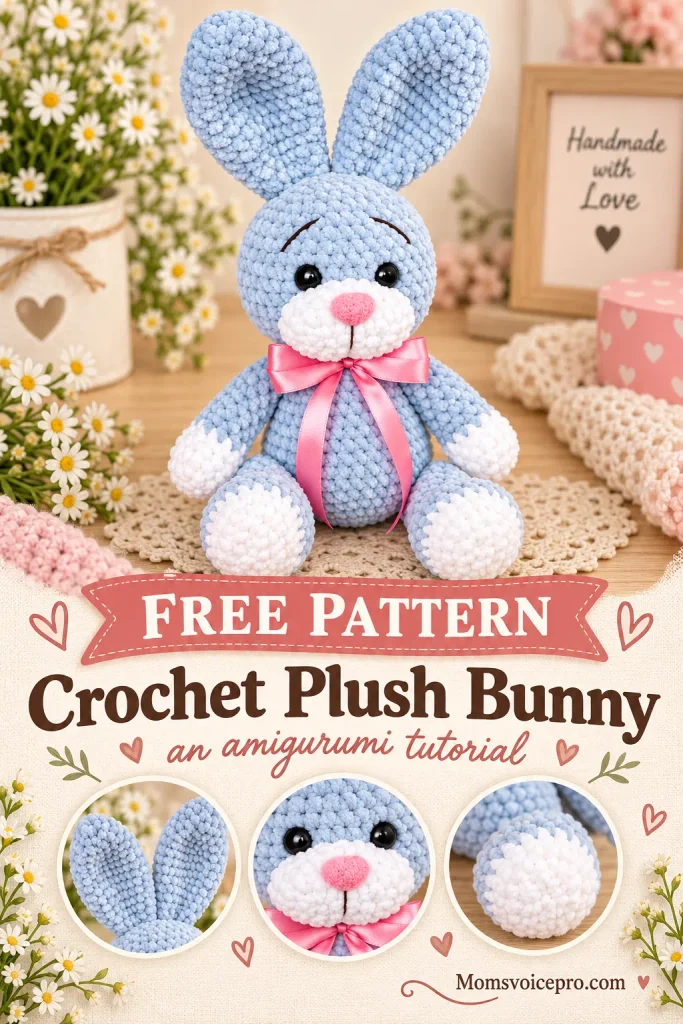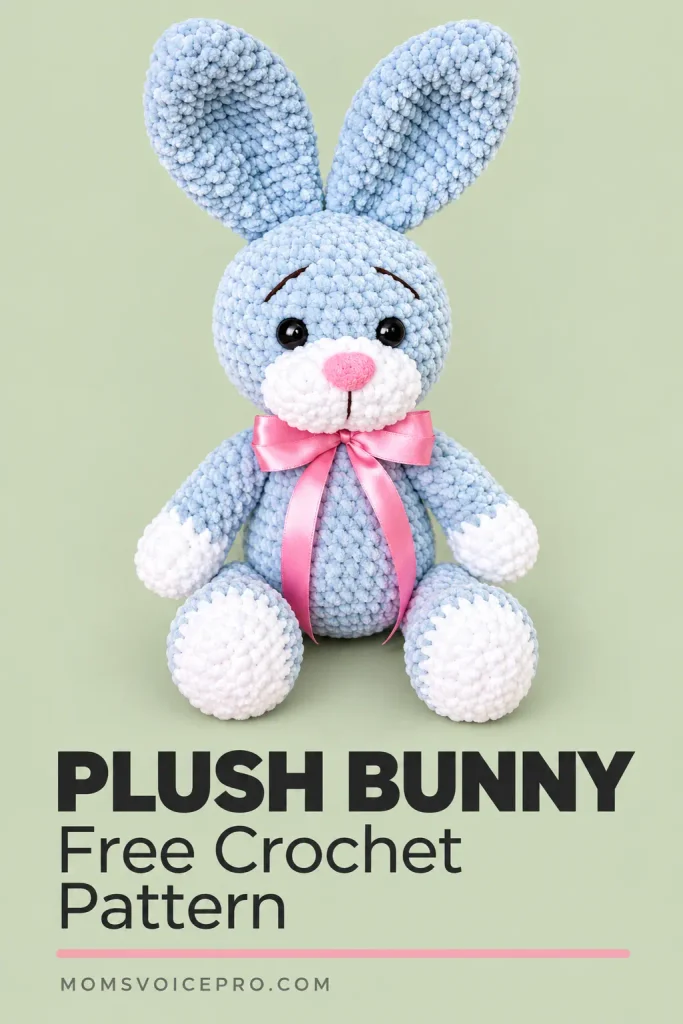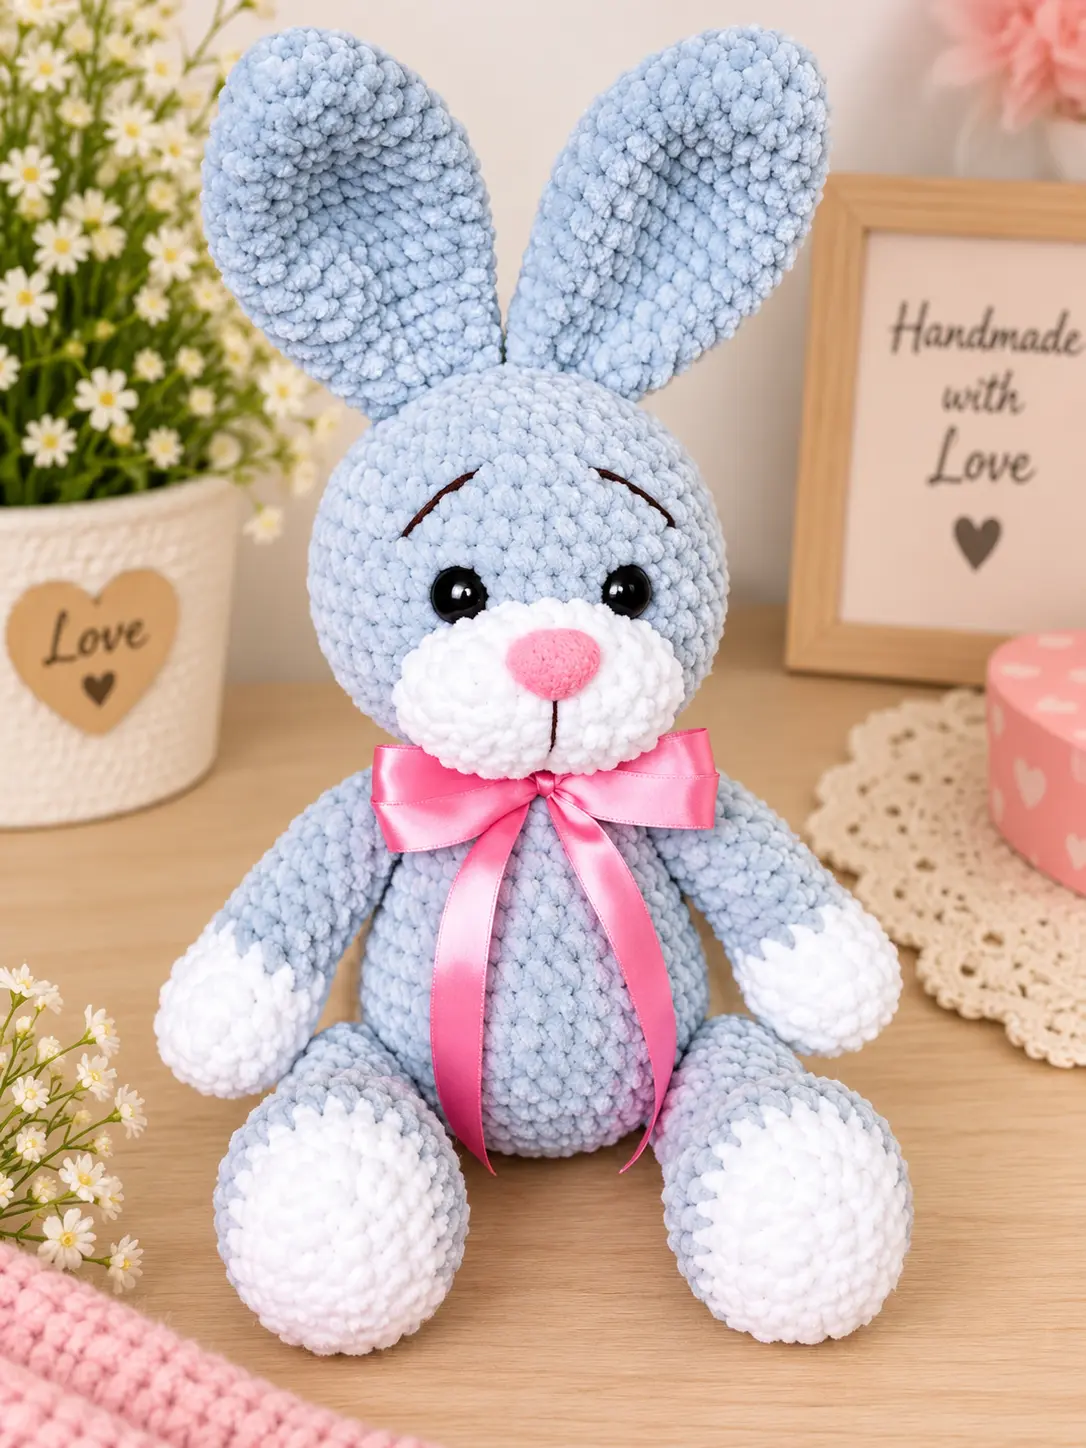
Meet the softest bunny in my whole pattern library – a plush, pastel-blue amigurumi rabbit with tall floppy ears, a sweet embroidered face, and a satin ribbon bow that makes her look ready for a gift box. She’s worked up in a quick-crocheting plush yarn, so despite her size she comes together faster than you’d expect.
This free pattern includes every measurement and round for the muzzle, ears, arms, legs, body and head, plus the full assembly walkthrough for turning six separate pieces into one finished bunny. She stands about 25–27cm (10–10.5in) tall and makes a lovely nursery shelf toy, baby shower gift, or Easter softie.
Table of Contents
Materials Needed
- Himalaya Dolphin Baby plush yarn – main color #325
- Himalaya Dolphin Baby plush yarn – additional color #301 (used for the muzzle, ears, tail, arms and leg tips – a smooth cotton yarn like Alize Softy Plus in white works well here too)
- Filler (synthetic fluff / holofiber), for stuffing
- Plastic safety nose on a secure mount with plug, 14 x 19mm
- Plastic safety eyes on a secure mount with plug, 12–14mm diameter
- Crochet hook, size 4mm (US G/6) or 3.5mm (US E/4)
- Sewing thread in your main color, for tightening and sewing parts together
- Sewing thread for embroidering the eyebrows
- Tapestry/sewing needle, for sewing parts and tightening
- Decorative ribbon or bow (optional)
- Lighter, for singeing thread ends
Abbreviations
- MR – magic ring
- ch – chain
- sc – single crochet
- inc – increase
- dec – decrease
- sl st – slip stitch
Muzzle
Start knitting with the additional color.
- Rnd 1. Chain 7, working into the 2nd loop from the hook: (3sc in one loop); 4sc; (3sc in one loop); 4sc (14) – the marker runs along the bottom, from the side.
- Rnd 2. 3inc, 4sc, 3inc, 4sc (20)
- Rnd 3. (1sc, 1inc) x3; 4sc; (1sc, 1inc) x3; 4sc (26)
- Rnd 4. 26sc (26)
Work 2 more sc, then fasten off and cut the thread. Insert the safety nose between rows 2 and 3.

The finished muzzle, ready to be set aside until assembly.
Tail
Leave the tail unstuffed, or fill it only very lightly. Knit with the additional color.
- Rnd 1. 6sc in MR (6)
- Rnd 2. 6inc (12)
- Rnd 3. (1sc, 1inc) x6 (18)
- Rnd 4. 18sc (18)
- Rnd 5. (1sc, dec) x6 (12)
Fasten off and cut the thread.

A soft little pompom tail – kept light on stuffing so it stays springy.
Ears (Make 2)
Knit in the main color. Don't stuff the ears.
- Rnd 1. 6sc in MR (6)
- Rnd 2. 6inc (12)
- Rnd 3. (1sc, 1inc) x6 (18)
- Rnd 4–5. 18sc (2 rounds)
- Rnd 6. (2sc, 1inc) x6 (24)
- Rnd 7–9. 24sc (3 rounds)
- Rnd 10. (6sc, 1dec) x3 (21)
- Rnd 11. (5sc, 1dec) x3 (18)
- Rnd 12. 18sc (18)
- Rnd 13. (4sc, 1dec) x3 (15)
- Rnd 14. 15sc (15)
- Rnd 15. (3sc, 1dec) x3 (12)
- Rnd 16. (2sc, 1dec) x3 (9)
Fasten off and cut the thread.

Both ears finished – left unstuffed so they keep their soft, floppy drape.
Arms (Make 2)
Stuff the arms as you go. Start with the additional (contrast) color.
- Rnd 1. 6sc in MR (6)
- Rnd 2. 6inc (12)
- Rnd 3. (3sc, 1inc) x3 (15)
- Rnd 4–5. 15sc (2 rounds) – the marker runs along the inside of the arm.
- Rnd 6. (3sc, 1dec) x3 (12)
Fill the bottom of the arm with stuffing, then change to the main color.
- Rnd 7. (4sc, 1dec) x2 (10)
- Rnd 8–16. 10sc (9 rounds)
Top up the stuffing as you go – leave the last three rounds unstuffed so the arm sits flat against the body. Fasten off and cut the thread. The arms and legs are attached to the body simply by folding them in half at the seam and crocheting through both layers, so there's no separate sewing step for them.

Both arms finished, with the contrast paw color worked first.
Legs (Make 2)
Stuff the legs as you go. Start with the additional (contrast) color.
- Rnd 1. Chain 6, working into the 2nd loop from the hook: 4sc; (3sc in one loop); 3sc; 1inc (12)
- Rnd 2. 1inc; 3sc; 3inc; 3sc; 2inc (18)
- Rnd 3. 1sc; 1inc; 3sc; (1sc, 1inc) x3; 3sc; (1sc, 1inc) x2 (24)
Change to the main color.
- Rnd 4–6. 24sc (3 rounds) – the marker sits at the back of the leg.
- Rnd 7. 6sc; 6dec; 6sc (18)
- Rnd 8. 1sc; 1dec; 4sc; 2dec; 4sc; 1dec; 1sc (14)
Fill the bottom of the leg with stuffing.
- Rnd 9–15. 14sc (7 rounds) – add more filler as you go, but leave the last three rounds unstuffed.
- Rnd 16. (5sc, 1dec) x2 (12)
- Rnd 17. 12sc (12)
Work 2 more sc, then fasten off and cut the thread.

Both legs finished, matching the arms' contrast-tip construction.
Body
Start knitting from the body. Stuff as you go, beginning with the main color.
- Rnd 1. 6sc in MR (6)
- Rnd 2. 6inc (12)
- Rnd 3. (1sc, 1inc) x6 (18)
- Rnd 4. (2sc, 1inc) x6 (24)
- Rnd 5. (3sc, 1inc) x6 (30)
- Rnd 6. (4sc, 1inc) x6 (36)
The legs are attached in the next round – place the marker at the center back.
- Rnd 7. 6sc, 6sc worked together with a leg; 12sc, 6sc worked together with a leg; 6sc (36)
- Rnd 8–12. 36sc (5 rounds)
- Rnd 13. (4sc, 1dec) x6 (30)
- Rnd 14–15. 30sc (2 rounds)
- Rnd 16. (3sc, 1dec) x6 (24)
- Rnd 17. 24sc (24)
- Rnd 18. (4sc, 1dec) x4 (20)
Gradually fill the body with stuffing. The arms are attached in the next round.
- Rnd 19. Line the arms up with the legs – leaving 5sc free at the front and 5sc free at the back – then work 5sc together with each arm. 20sc total.
- Rnd 20. (2sc, 1dec) x5 (15)
- Rnd 21. (3sc, 1dec) x3 (12)
Finish filling the body with stuffing. Don't fasten off – the head is worked continuing directly from the body.

Body with both arms and legs already folded and crocheted on, ready to continue straight into the head.
Head
Knit in the main color, continuing on from the body. Stuff as you go.
- Rnd 1. 2inc (24)
- Rnd 2. (1sc, 1inc) x12 (36)
- Rnd 3. (5sc, 1inc) x6 (42)
- Rnd 4. 42sc (42)
- Rnd 5. (13sc, 1inc) x3 (45)
- Rnd 6–7. 45sc (2 rounds)
- Rnd 8. (13sc, 1inc) x3 (42)
- Rnd 9–10. 42sc (2 rounds)
Begin filling the head firmly – pack the stuffing well into the neck area so the head doesn't wobble.
- Rnd 11. (5sc, 1dec) x6 (36)
- Rnd 12–14. 36sc (3 rounds)
Insert the safety eyes between rounds 9 and 10.
- Rnd 15. (4sc, 1dec) x6 (30)
- Rnd 16. (3sc, 1dec) x6 (24)
- Rnd 17. (2sc, 1dec) x6 (18)
- Rnd 18. (1sc, 1dec) x6 (12)
Finish stuffing the head firmly.
- Rnd 19. 6dec (6)
Pull the hole closed, fasten off, and weave in the end.
Assembly
- Sew the muzzle on between rows 2 and 10, flattening it slightly as you go.
- Tighten the head: bring a threaded needle out from the bottom, at the center junction of the head and body, between body round 21 and head round 1.
- Bring the needle out under the left eye from the outer edge, then back in on the other side of the eye and out again at your starting point – don't pull too tight.
- Repeat the same movement under the right eye, from the outer edge to the other side and back to the starting point.
- Tie the thread and repeat the whole tightening sequence once more for a crisper eye line, then tie off, cut, and hide the thread inside the head.
- Sew the ears onto the crown, then gently squeeze the sides of the head inward to shape the face.
- Embroider the muzzle detail and the eyebrows.
- Sew the tail on so that it helps prop the bunny up when sitting.
- Tie on the ribbon bow, if using.

Your finished bunny – muzzle, ears, eyebrows and bow all in place.
Tips for a Polished Finish
- Stuff firmly, but gradually. The head especially needs a good firm pack, particularly around the neck, or it will wobble once the bunny is finished.
- Leave the marked rounds unstuffed. The pattern calls out specific rounds on the arms, legs and tail to leave soft – skipping this makes those pieces harder to fold and sew on smoothly.
- Don't over-tighten the eye stitches. A light pull is enough to shape the eye area; pulling too hard can distort the whole face.
- Test your safety eye and nose placement before locking them in. Hold them against the head with the backing pieces off first, so you can adjust spacing before committing.
- Use a contrasting marker color for the "back of leg" and "center back" placement rounds – it makes lining up symmetrical attachment points much faster.
FAQ
Is this bunny pattern good for beginners?
What yarn weight should I use if I don't have the exact yarn listed?
Can I use embroidered eyes instead of safety eyes?
How much yarn do I need?
Why are some rounds left unstuffed?
Conclusion
This little bunny is proof that a handful of simple round-by-round pieces can add up to something really huggable. Once you've made one, the same basic muzzle-ears-arms-legs formula carries over beautifully to other animal amigurumi, so don't be surprised if she becomes your new go-to base pattern. Save her for later with the Pinterest button above, and happy stitching!