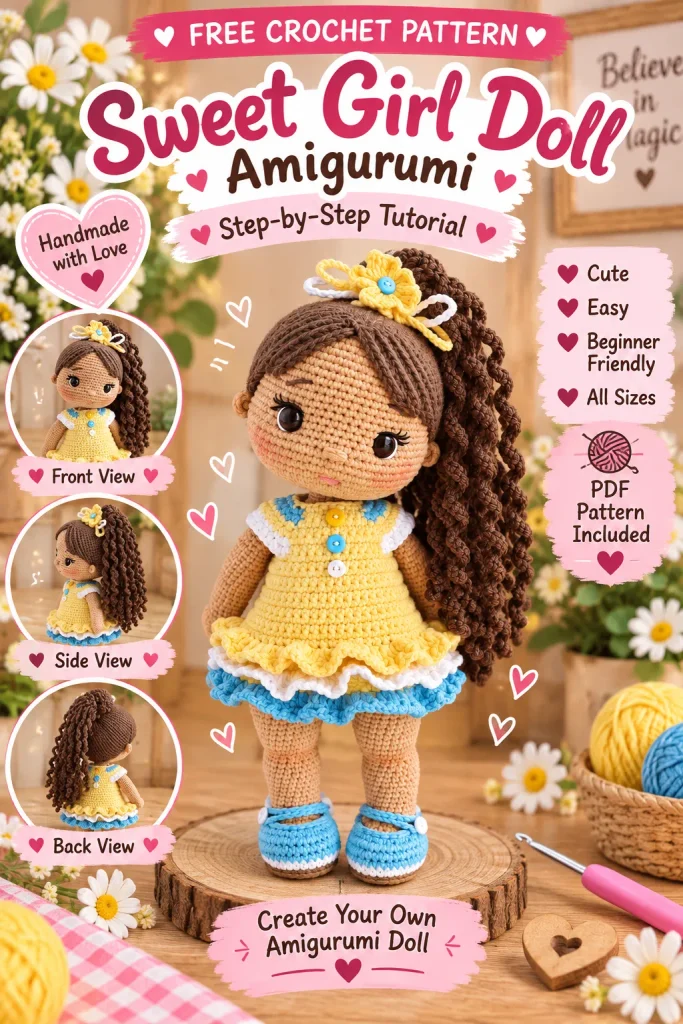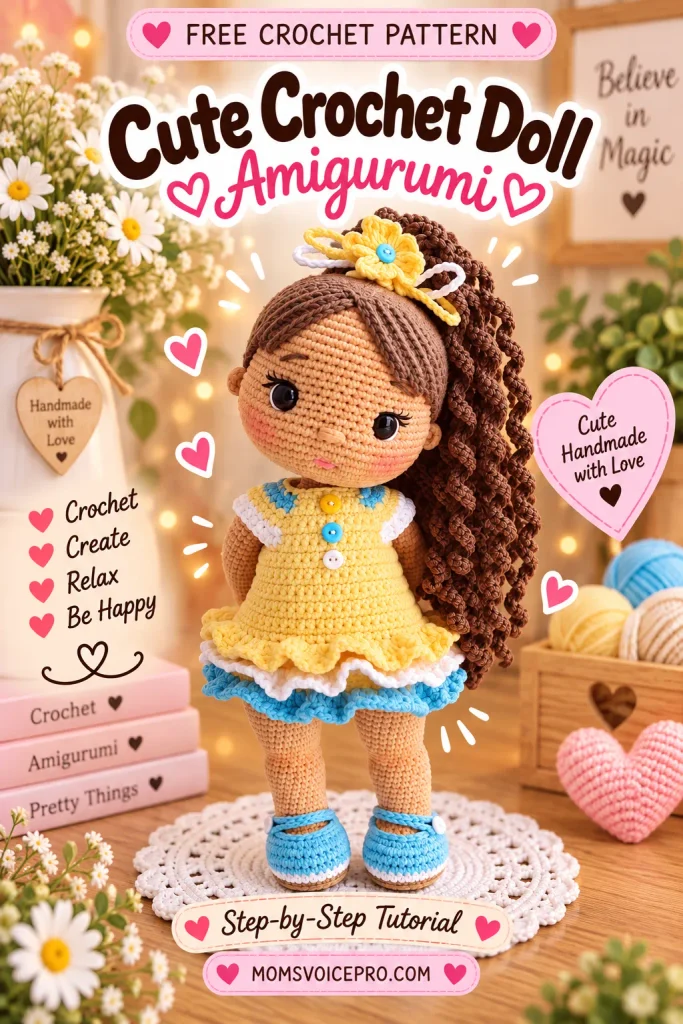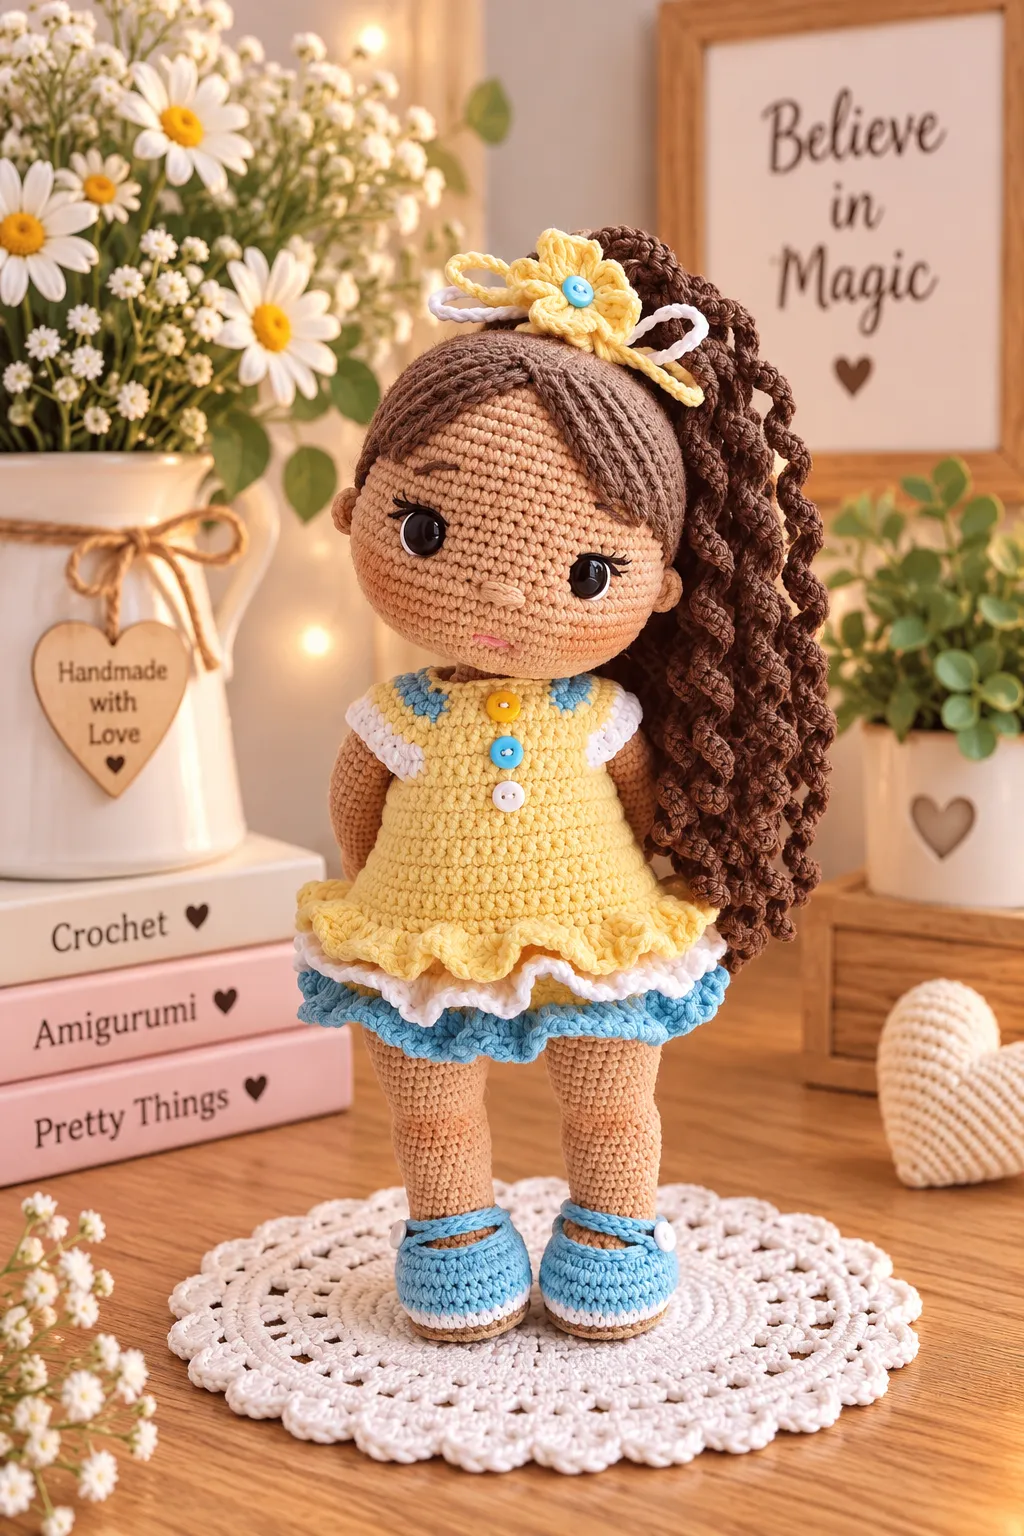
Bring a little handmade magic to your crochet collection with this adorable amigurumi girl doll. She features a sweet embroidered face, curly ponytail, colorful ruffled dress, and tiny shoes finished with button details. The pattern is built in clear stages, so you can work through the doll one component at a time.
This project combines shaping, amigurumi construction, simple dressmaking, hair curls, and small decorative details. The PDF includes photo references for the body, face, wig, dress, and flower, making it useful for crocheters who enjoy learning visually while following written rounds.
Table of Contents
Materials Needed
- Crochet hook: 1.8–2 mm for the dress section.
- YarnArt Jeans yarn: color 86 yellow, color 75 blue, and color 74 pink for the dress.
- Additional yarn colors listed in the pattern, including colors 53, 62, 83, and 07 for the legs and shoes.
- Fiberfill or another suitable toy stuffing.
- Safety eyes or suitable sewn-on eyes.
- Yarn needle, sewing thread, stitch markers, scissors, and pins.
- Wire: approximately 31 cm for the head frame and approximately 22 cm pieces for the hands; insulate the ends with tape.
- Small buttons for the shoes and three buttonholes at the back of the dress.
- Dry pastel or blush and a small brush for gentle color toning.
Crochet Abbreviations
- MR: magic ring
- Ch: chain stitch
- Sc: single crochet
- Dc: double crochet
- Hdc: half double crochet
- Inc: increase—make 2 sc in one stitch
- Dec: decrease—crochet 2 stitches together as one sc
- BLO: back loops only
- FLO: front loops only
- Sl st: slip stitch
- (…)*…: repeat the sequence in brackets the stated number of times
- (…): stitch count after the round
Full Crochet Pattern Instructions
Hands
Make two hands. The fingers are formed with a small group of double crochets worked into one loop, followed by shaping decreases and increases.
- Round 1: 6 sc in MR (6).
- Round 2: 6 inc (12).
- Round 3: (5 sc, inc) × 2 (14).
- Rounds 4–5: 14 sc.
- Round 6: 3 dc together in one loop for the finger, then 13 sc.
- Round 7: dec, 12 sc (13).
- Round 8: 13 sc.
- Round 9: dec, 3 sc, dec, 3 sc, dec, 1 sc (10).
- Round 10: 10 sc.
- Round 11: inc, 3 sc, inc, 3 sc, inc, 1 sc (13).
- Rounds 12–28: 13 sc.
Legs and Shoes
Make two legs. The instructions begin with a chain foundation and continue around both sides of the chain to shape the sole.
- Round 1: 6 ch; starting in the second chain, work 4 sc, 4 sc in the last chain, turn and continue along the opposite side with 3 sc and 1 inc (13).
- Round 2: inc, 3 sc, 4 inc, 3 sc, 2 inc (20).
- Round 3: 1 sc, inc, 3 sc, (1 sc, inc) × 4, 3 sc, (1 sc, inc) × 2 (27).
- Round 4: 2 sc, inc, 4 sc, inc, (2 sc, inc) × 3, 3 sc, (2 sc, inc) × 2, 1 sc (34).
- Change yarn as directed in the PDF. Keep the earlier yarn attached so the sole edge can be crocheted later.
- Round 5: BLO, 34 sc.
- Rounds 6–8: 34 sc.
- Round 9: 6 sc, (dec, 1 sc) × 2, 3 dec, (1 sc, dec) × 2, 8 sc, dec (26).
- Round 10: BLO, 5 sc, (dec, 2 sc) × 4, 5 sc (22).
- Round 11: 3 sc, dec, 3 sc, 2 dec, 3 sc, dec, 5 sc (18).
- Round 12: 18 sc.
- Round 13: 2 sc, inc, 11 sc, inc, 3 sc (20).
- Rounds 14–16: 20 sc.
- Round 17: inc, 18 sc, inc (22).
- Rounds 18–23: 22 sc.
- Round 24: 3 dec, 7 sc, 3 inc, 6 sc (22).
- Round 25: 22 sc.
- Round 26: 2 inc, 20 sc (24).
- Rounds 27–35: 24 sc.
- Round 36: 24 sc in white yarn as specified. Finish on the inside of the thigh and fasten off the left leg.

For the sole edge, work 34 slip stitches through the front loops using the previously carried yarn. For the shoe edging, work through the front loops as instructed. The left leg uses 19 slip stitches, 25 chains, 1 slip stitch, and 7 slip stitches; the right leg uses 6 slip stitches, 25 chains, 1 slip stitch, and 20 slip stitches.
Body and Arm Assembly
Join the legs from the right foot and begin building the torso. Stuff gradually as the body grows so the shape stays firm without becoming overfilled.
- Round 1: 3 ch, 24 sc on the left leg, 1 sc, 3 sc, 1 sc, 24 sc on the right leg (56).
- Round 2: 52 sc; place a marker.
- Round 3: inc, 2 sc, inc, 3 sc, inc, 2 sc, inc, 45 sc (60). The increases are placed at the back.
- Rounds 4–7: 60 sc.
- Round 8: 7 sc, dec, 14 sc, dec, 26 sc, dec, 7 sc (57).
- Round 9: 18 sc, dec, 32 sc, dec, 3 sc (55).
- Round 10: 7 sc, dec, 18 sc, dec, 13 sc, dec, 11 sc (52).
- Round 11: 14 sc, dec, (16 sc, dec) × 2 (49).
- Round 12: 3 sc, dec, 4 sc, dec, 7 sc, dec, 23 sc, dec, 4 sc (45).
- Round 13: BLO, 23 sc, dec, 7 sc, dec, 11 sc (43).
- Round 14: dec, 9 sc, dec, 30 sc (41).
- Rounds 15–24: 41 sc.
- Round 25: attach the hands symmetrically at the sides, with the fingers facing forward.
- Round 26: 5 sc, dec, 6 sc, dec, 2 sc, dec, 2 sc, dec, 13 sc, dec, 2 sc, dec, 2 sc, dec, 1 sc (40).
- Round 27: (dec, 3 sc) × 8 (32).
- Round 28: 1 sc, dec, (2 sc, dec) × 7, 1 sc (24).
- Round 29: (dec, 1 sc) × 8 (16).
- Round 30: 1 sc, dec, 13 sc (15).
- Rounds 31–34: 15 sc. Finish at the back-center of the neck without cutting the yarn, ready to crochet the head.

For support, twist a wire frame of about 31 cm for the head. For the hands, use approximately 22 cm wire pieces, bend and tape one end, and lightly stuff only the lower part of each arm. The pattern specifically advises leaving the upper arm less stuffed.
Head and Face
The head is crocheted directly from the neck. Keep your stitch marker accurate, especially when positioning the cheek shaping and the eyes.
- Round 1: (inc) × 15 = 30.
- Round 2: (1 sc, inc) × 15 = 45.
- Round 3: 45 sc.
- Round 4: (2 sc, inc) × 15 = 60.
- Round 5: 60 sc.
- Round 6: (6 sc, inc) × 8, 4 sc = 68.
- Rounds 7–12: 68 sc.
- Round 13: 25 sc, (dec, 2 sc) × 2, 3 sc, (2 sc, dec) × 2, 24 sc (64).
- Round 14: 64 sc.
- Round 15: 13 sc, dec, 34 sc, dec, 13 sc (62).
- Rounds 16–24: 62 sc.
- Round 25: 13 sc, dec, 32 sc, dec, 13 sc (60).
- Round 26: 4 sc, dec, (8 sc, dec) × 5, 4 sc (54).
- Round 27: (7 sc, dec) × 6 (48).
- Round 28: 3 sc, dec, (6 sc, dec) × 5, 3 sc (42).
- Round 29: (5 sc, dec) × 6 (36).
- Round 30: 2 sc, dec, (4 sc, dec) × 5, 2 sc (30).
- Round 31: (3 sc, dec) × 6 (24).
- Round 32: (2 sc, dec) × 6 (18).
- Round 33: (1 sc, dec) × 6 (12).
- Round 34: (dec) × 6 (6). Fasten off and cut the yarn.

Install the eyes between rounds 14 and 15, with nine loops between them as described in the PDF. Stuff gradually while closing the head. To shape the face, use a needle and matching thread to create gentle tension over the eyes, then hide the thread ends inside the head.
Ears and Facial Details
- Make two ears: crochet 6 sc in a magic ring, do not close the ring, and leave a long yarn tail for sewing.
- Mark the ear placement below the eyes and sew the ears securely.
- Embroider the whites of the eyes and the eyelashes for a lively expression.
- Mark and embroider the eyebrows.
- For the mouth, use pink yarn between rounds 6 and 7, with approximately four sc between the marked points. Bring the ends to the back of the head, pull gently, knot, and hide the ends.
Wig and Curly Ponytail
The wig is worked as a cap, then decorated with curls. The PDF uses back-loop slip stitches and chains of different lengths to create the bangs.
- Rounds 1–8: increase from 6 sc in MR to 48 stitches using the stated increase sequence.
- Round 9: 48 sc.
- Round 10: (7 sc, inc) × 6 = 54.
- Round 11: 54 sc.
- Round 12: (8 sc, inc) × 6 = 60.
- Rounds 13–16: 60 sc.
- Round 17: (9 sc, inc) × 6 = 66.
- Rounds 18–20: 66 sc.
- Round 21: BLO, 30 sl st, then crochet the bang curls using chains of 12–15 stitches as shown in the PDF, finishing with 29 sl st in BLO.

For the ponytail, make 30 curls. For each curl, chain 80, then work 79 sc back from the second chain. Repeat without breaking the yarn. Sew the wig to the head using matching sewing thread, attach the curls to form the ponytail, and cover the join with a chain of 18 stitches worked back with 17 sc.
Dress and Ruffles
The dress uses yellow, pink, and blue YarnArt Jeans yarn. Start with 33 chains and work the bodice with increases at the shaping points, then add three ruffled layers using the front loops of selected rows.
- Color 86: start with 33 ch.
- Row 1: 4 sc, 3 sc in one loop, 6 sc, 3 sc in one loop, 8 sc, 3 sc in one loop, 6 sc, 3 sc in one loop, 4 sc, ch = 40.
- Row 2: 40 sc, ch.
- Row 3: 5 sc, 3 sc in one loop, 8 sc, 3 sc in one loop, 10 sc, 3 sc in one loop, 8 sc, 3 sc in one loop, 5 sc, ch = 48.
- Row 4: 48 sc, ch.
- Row 5: 6 sc, 3 sc in one loop, 10 sc, 3 sc in one loop, 12 sc, 3 sc in one loop, 10 sc, 3 sc in one loop, 6 sc, ch = 56.
- Row 6: 56 sc, ch.
- Row 7: 8 sc, 8 ch, skip 12 sc, 16 sc, 8 ch, skip 12 sc, 8 sc, ch = 48.
- Rows 8–12: 48 sc, ch.
- Row 13: 12 sc, inc, 22 sc, inc, 12 sc, ch = 50.
- Row 14: 50 sc.
- Row 15: 9 sc, inc, 6 sc, inc, 16 sc, inc, 6 sc, inc, 9 sc, ch = 54.
- Row 16: 54 sc, ch.
- Row 17: 5 sc, inc, 7 sc, inc, 26 sc, inc, 7 sc, inc, 5 sc, ch = 58.
- Row 18: 58 sc, 2 ch.
- Row 19: BLO, 58 dc, ch.
- Row 20: 58 sc, 2 ch.
- Row 21: BLO, 58 dc, ch.
- Row 22: 58 sc. Fasten off and cut the yarn.

Ruffle Layers
- Yellow, color 86: work in the FLO of row 18, 2 ch, (inc dc) × 58 = 116; then repeat (3 ch, skip sl st) to the end.
- Pink, color 74: work in the FLO of row 20, 2 ch, (inc dc) × 58 = 116; then repeat (3 ch, skip sl st) to the end.
- Blue, color 75: work in the FLO of row 22, 2 ch, (inc dc) × 58 = 116; then repeat (3 ch, skip sl st) to the end.
- Finish the back edge and create three buttonholes during the final strapping.
Flower Decoration
The small flower is used to decorate the doll’s hairstyle.
- Make a magic ring, chain 4, crochet 3 treble crochets, chain 4, and slip stitch into the magic ring.
- Repeat the same process to create five petals in total.
- Chain 110 and sew the flower onto the hairstyle as shown in the photo instructions.

Finish by sewing buttons onto the shoes. The PDF also suggests lightly toning the knees, wrists, cheeks, ears, nose, and mouth with dry pastel or blush applied using a brush.
Tips for a Polished Finish
- Use a stitch marker and check your stitch count at the end of every round.
- Stuff slowly and evenly, especially around the neck, cheeks, and thighs.
- Keep color changes on the inner side of the legs and body whenever possible.
- Position the eyes before closing the head so the face remains symmetrical.
- Secure wires with tape and keep sharp ends fully covered.
- Pin the wig and curls in place before sewing so the ponytail sits where you want it.
- Use matching sewing thread for the wig and hide knots inside the head or beneath the hair.
- Test the dress fit before completing the back fastening and buttonholes.
Frequently Asked Questions
Is this crochet doll pattern suitable for beginners?
What crochet hook size is used?
Can I change the colors of the dress?
Why is wire used in the doll?
How are the curls made?
Conclusion
This curly-haired crochet girl doll is a lovely project for anyone who enjoys combining amigurumi shaping with miniature clothing and decorative details. Follow the rounds carefully, use the photo references when attaching the hands, shaping the face, and styling the wig, and personalize the colors to make your own unique handmade doll.