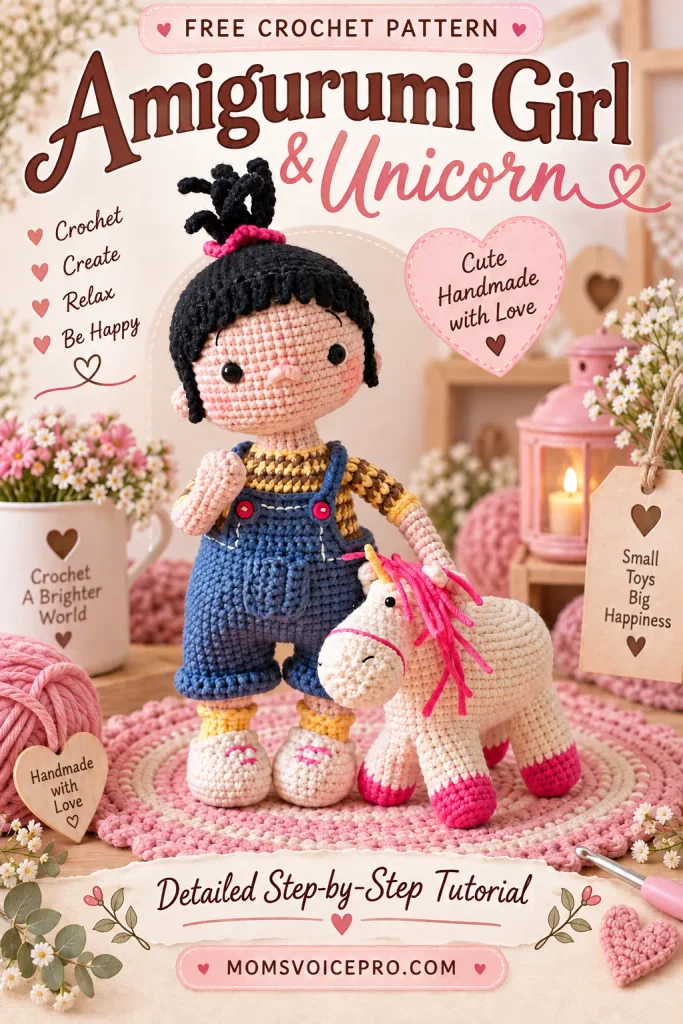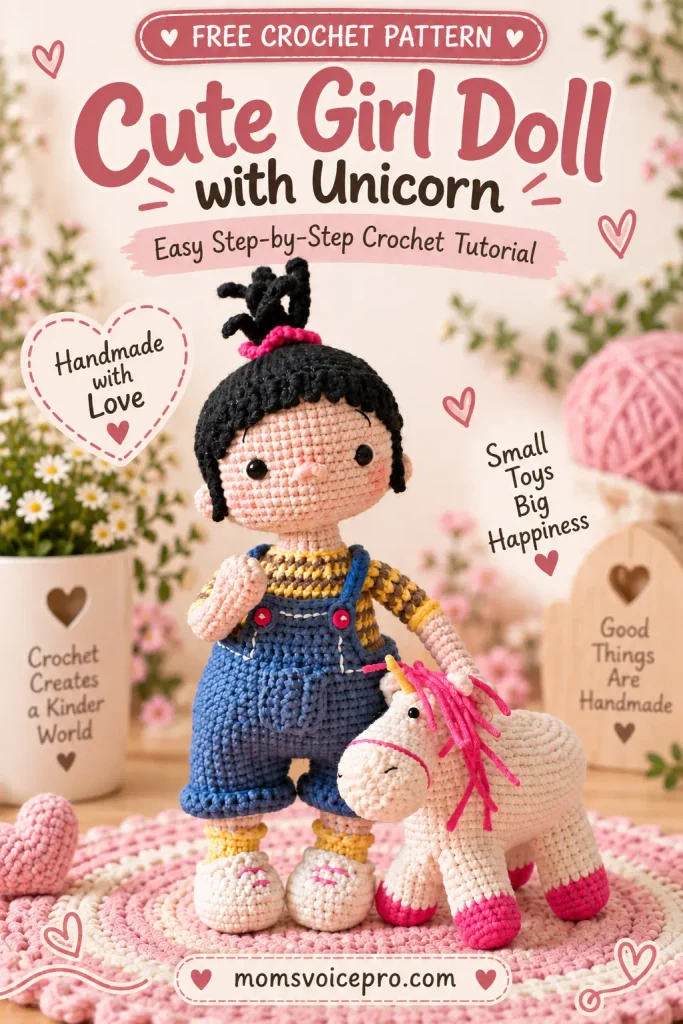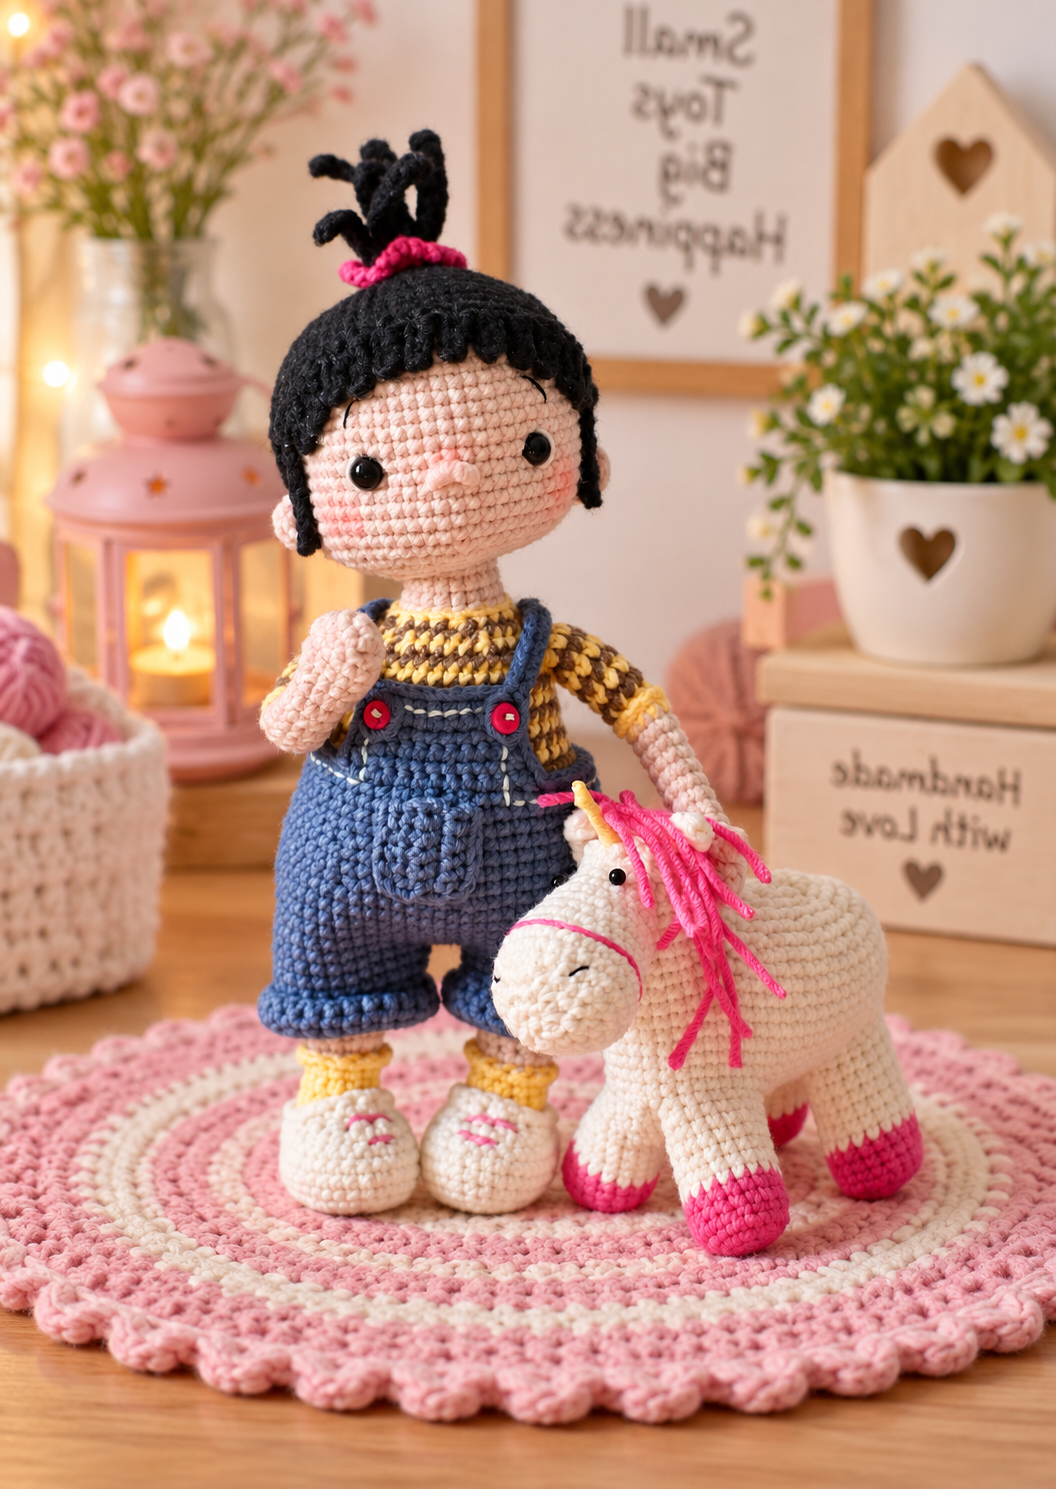
If you’ve been looking for a crochet project that feels like a real keepsake rather than a quick weekend make, this pairing of a sweet overalls-clad doll and her own dapple-white unicorn is it. Every piece — from the fringe of bangs framing her face to the unicorn’s flowing pink mane — is built with the same careful, joined-as-you-go construction that gives finished amigurumi that clean, professional look.
Below you’ll find the full pattern broken into easy stages with photos at nearly every step, a materials list, and a few finishing tips to help the details (the crossed overall straps, the wire-posable horn) come together smoothly. Grab your hook and let’s get started!
Table of Contents
Materials Needed
- Main beige yarn (skin tone) — sport/DK-weight cotton-acrylic blend
- Black — for the hairstyle
- White — for the boots and panties
- Yellow — for the socks, t-shirt stripes and unicorn horn
- Blue — for the overalls
- Brown — for the t-shirt stripes
- Pink — for the unicorn's mane, tail and muzzle strap
- 2.0 mm crochet hook, plus a 1.75 mm hook for the fine hair strands
- Pair of 6 mm safety eyes
- Tapestry needle, stitch marker, scissors
- Fiberfill stuffing
- Blush or pastel for cheeks
- 2 small pink buttons (3 mm) for the overalls straps
- 2 pieces of 1.6 mm craft wire (for the posable unicorn horn)
- Adhesive tape or plaster to cap the wire ends before inserting
Abbreviations
- ch – chain
- MR – magic ring
- sc – single crochet
- sl st – slip stitch
- dc – double crochet
- hdc – half double crochet
- tr – treble crochet
- inc – increase (2 sc in one stitch)
- dec – decrease (2 sc worked together)
- BLO / FLO – back loops only / front loops only
- bubble – 2-hdc cluster
This pattern is worked in continuous rounds (not joined), using US crochet terms. Stitch counts are given in parentheses at the end of each round.
The Girl Doll
Head

Shaping the head and placing the safety eyes
Hook 2.0 mm, main beige color. Stuff as you go.
- Rnd 1: 6 sc in MR (6)
- Rnd 2: 6 inc (12)
- Rnd 3: (1 sc, inc) x6 (18)
- Rnd 4: (2 sc, inc) x6 (24)
- Rnd 5: (3 sc, inc) x6 (30)
- Rnd 6: (4 sc, inc) x6 (36)
- Rnd 7: (5 sc, inc) x6 (42)
- Rnd 8: (6 sc, inc) x6 (48)
- Rnd 9: (7 sc, inc) x6 (54)
- Rnds 10–23: sc around, 13 rounds total (54) — insert the safety eyes between rounds 17–18, spaced 12 stitches apart
- Rnd 23: (7 sc, dec) x6 (48)
- Rnd 24: (4 sc, dec) x8 (40)
- Rnd 25: (3 sc, dec) x8 (32)
- Rnd 26: (2 sc, dec) x8 (24)
- Rnd 27: (2 sc, dec) x6 (18)
Hairstyle

Hook 2.0 mm, black.
- Rnd 1: 6 sc in MR (6)
- Rnd 2: 6 inc (12)
- Rnd 3: (1 sc, inc) x6 (18)
- Rnd 4: (2 sc, inc) x6 (24)
- Rnd 5: (3 sc, inc) x6 (30)
- Rnd 6: (4 sc, inc) x6 (36)
- Rnd 7: (5 sc, inc) x6 (42)
- Rnd 8: (6 sc, inc) x6 (48)
- Rnd 9: (7 sc, inc) x6 (54)
- Rnds 10–11: sc around, 2 rounds (54)
- Rnd 12: (8 sc, inc) x6 (60)
- Rnds 13–15: sc around, 3 rounds (60)
- Rnd 16: 15 sc, then switch to the 1.75 mm hook to build the fringe: repeat "8 ch, sc back down from the 2nd ch (7 sc), 2 sc worked in the round with the 2.0 mm hook" once, then repeat "4 ch, sc back down from the 2nd ch (3 sc), 2 sc in the round with the 2.0 mm hook" twelve times, then one more long strand (8 ch, 7 sc back, 2 sc in the round), then 17 sc to close the round
Tail & Elastic

Tail (hair strands for the top-knot) — Hook 2.0 mm, black.
- Rnd 1: 21 ch. From the 2nd ch: 10 sc, then repeat "9 ch, from the 2nd ch 8 sc, 2 sc onto the main chain" 5 times in total
Twist the strands together and sew between rounds 4–5 of the hairstyle to form the top-knot
Elastic (hair-tie accent) — Hook 2.0 mm, pink.
- Rnd 1: 11 ch. From the 2nd ch: 10 inc, ch, turn (20)
- Rnd 2: (sl st, ch) around (20)
Ears

Hook 2.0 mm, main beige color, 2 pcs.
- Rnd 1: 5 sc in MR (5)
Hands

Hook 2.0 mm, main beige color, 2 pcs. Stuff as you go.
- Rnd 1: 6 sc in MR (6)
- Rnd 2: 6 inc (12)
- Rnd 3: 12 sc
- Rnd 4: 6 sc, bubble, 5 sc (12)
- Rnd 5: 12 sc
- Rnd 6: (2 sc, dec) x3 (9)
- Rnds 7–13: sc around, 7 rounds (9) — this forms the hand and wrist
- Change to yellow — Rnd 14: 9 sc, worked in BLO
- Rnd 15: 9 sc, working both loops from here on
- Rnds 16–20: sc around, changing color every round, 5 rounds (9) — the striped sleeve
Legs

Hook 2.0 mm, white to start, 2 pcs. Stuff as you go.
- Rnd 1: 5 ch. From the 2nd ch: inc, 2 sc, 4 sc in the last chain, then along the other side: 2 sc, inc (12)
- Rnd 2: 2 inc, 2 sc, 4 inc, 2 sc, 2 inc (20)
- Rnd 3: (1 sc, inc) x2, 2 sc, (1 sc, inc) x4, 2 sc, (1 sc, inc) x2 (28)
- Trace this sole onto thick cardboard or a plastic lid to make two matching insoles; set aside
- Change to black — Rnd 4: 28 sc, worked in BLO
- Rnds 5–6: sc around, both loops, 2 rounds (28)
- Rnd 7: (5 sc, dec) x4 (24)
- Rnd 8: 6 sc, dec worked as hdc x6, 6 sc (18), worked in BLO
- Rnd 9: (1 sc, dec) x6 (12)
- Change to yellow, both loops from here — Rnds 10–12: sc around, 3 rounds (12)
- Change to main beige, BLO — Rnd 13: 12 sc, both loops from here
- Rnds 14–19: sc around, 6 rounds (12)
- Change to white — Rnd 20: 12 sc
- Left leg — Rnd 21: 10 sc, sl st (skip the last 2 sc so the seam sits on the inside of the thigh), fasten off
- Right leg — Rnd 21: 7 sc, working offset loops so the seam lands on the inside of the thigh; do not cut the yarn, continue directly into the body
Body

Continue directly from the right leg's live loops. Stuff as you go.
- Rnd 22: 6 ch from the right leg and attach to the left leg to make the "clubfoot" join (add shifting sc as needed to line things up), then 12 sc along the left leg, 6 inc along the chain, 12 sc along the right leg, 6 sc along the chain plus 4 shifting sc (42)
- Rnd 23: (6 sc, inc) x6 (48)
- Rnds 24–26: sc around, 3 rounds (48)
- Change to yellow — Rnds 27–28: sc around, 2 rounds (48)
- Alternate one round brown, one round yellow — Rnds 29–31: sc around, 3 rounds (48)
- Rnd 32: (6 sc, dec) x6 (42)
- Rnds 33–35: sc around, 3 rounds (42)
- Rnd 36: (5 sc, dec) x6 (36)
- Rnds 37–41: sc around, 5 rounds (36)
- Rnd 42: 2 sc, join one hand by working 4 sc through both body and hand together, 14 sc, join the second hand the same way, 12 sc (36)
- Rnd 43: 2 sc, 5 sc through the hand, dec, 10 sc, dec, 5 sc through the hand, 12 sc (36)
- Rnd 44: (4 sc, dec) x6 (30)
- Rnd 45: (3 sc, dec) x6 (24)
- Rnd 46: (2 sc, dec) x6 (18)
- Change to main beige, BLO — Rnd 47: 18 sc, both loops from here
- Rnds 48–50: sc around, 3 rounds (18) — this becomes the neck
Overalls

Pants (2 pcs) — Hook 2.0 mm, blue.
- Rnd 1: 30 ch, join into a circle, 30 sc
- Rnds 2–7: sc around, 6 rounds (30)
- Leave the yarn attached on the second leg and join the two pant legs: Rnd 8: 2 ch, 30 sc across the first pant leg, 2 sc on the chain, 30 sc across the second pant leg, 2 sc on the chain (64)
- Rnds 9–14: sc around, 6 rounds (64)
- Rnd 15: (6 sc, dec) x8 (56)
- Rnds 16–17: sc around, 2 rounds (56)
- Rnd 18: (5 sc, dec) x8 (48)
- Rnds 19–21: sc around, 3 rounds (48)
- Rnd 22: 17 sc, then work the 10-sc bib flap back and forth: ch, turn, 10 sc, ch 1, turn (repeat for 4 rows), then dec, 6 sc, dec, ch 1, turn (8 sts), then edge the bib with 8 sc across the top and 6 sc down the right side
- Continue in the round: 14 sc, then crochet the first shoulder strap — 28 ch, from the 7th chain from the hook 21 sc, then 10 sc across the body; crochet the second strap the same way — 28 ch, 21 sc from the 7th chain — then 14 sc across the body, and edge the remaining left side of the bib with 6 sc
Pocket — Hook 2.0 mm, blue.
- Row 1: 6 ch, from the 2nd ch, 5 sc, ch, turn
- Rows 2–4: 5 sc, ch — worked back and forth
The Unicorn

The unicorn is built the same way as the doll's legs and body: the four legs are made first and then joined directly into the body as you crochet, so there's no sewing them on later.
Unicorn Legs

Hook 2.0 mm, pink, 4 pcs.
- Rnd 1: 6 sc in MR (6)
- Rnd 2: 6 inc (12)
- Rnd 3: (1 sc, inc) x6 (18), worked in BLO
- Rnd 4: 18 sc, both loops from here
- Rnds 5–6: sc around, 2 rounds (18)
- Change to white — Rnds 7–12: sc around, 6 rounds (18)
Unicorn Body

Hook 2.0 mm, white. Stuff as you go.
- Rnd 1: 25 ch. From the 2nd ch: inc, 22 sc, 4 sc in the last chain, then along the other side: 22 sc, inc (52)
- Rnd 2: 1 sc, inc, 22 sc, inc, 2 sc, inc, 22 sc, inc, 1 sc (56)
- Join the legs into the body, checking all four sit parallel — adjust with an offset row on any leg that doesn't line up
- Rnd 3: 2 sc, 9 sc through a leg, 6 sc on the body, 9 sc through a leg, 4 sc on the body, 9 sc through a leg, 6 sc on the body, 9 sc through a leg, 2 sc on the body (56)
- Rnd 4: 2 sc, 9 sc on the leg, 6 sc, 9 sc on the leg, 4 sc, 9 sc on the leg, 6 sc, 9 sc on the leg, 2 sc (56)
- Rnds 14–17: sc around, 4 rounds (56)

- Rnd 18: 55 sc, then start the tail — change to pink: 6 ch, from the 2nd ch, 5 sc, change back to white, 1 sc into the body
- Rnds 19–21: sc around, 3 rounds (56)
- Rnd 22: 18 sc, 5 ch (skipping the next 16 sc), continue into the 17th stitch, 22 sc (45)
- Rnd 23: 45 sc
- Rnd 24: (7 sc, dec) x5 (40)
- Rnd 25: (3 sc, dec) x8 (32)
- Rnd 26: (2 sc, dec) x8 (24)
- Rnd 27: (2 sc, dec) x6 (18)
- Rnd 28: (1 sc, dec) x6 (12)
- Rnd 29: 6 dec (6) — pull the hole closed, fasten off, this shapes the rump
Neck — continue from the loops left open at the front of the body.
- Rnd 1: 16 sc, plus 5 sc picked up along the chain from round 22 (21)
- Rnds 2–3: sc around, 2 rounds (21)
- Rnd 4: (5 sc, dec) x3 (18)
- Rnds 5–6: sc around, 2 rounds (18)
- Rnd 7: 6 sc, 6 ch (skipping the next 6 sc), continue from the 7th stitch with 6 sc (18)
- Rnd 8: 18 sc
- Rnd 9: (1 sc, dec) x6 (12)
- Rnd 10: 6 dec (6) — pull the hole closed, fasten off

Head — continue directly from the neck's remaining loops.
- Rnd 1: 6 sc, plus 6 sc picked up along the chain (12)
- Rnd 2: (1 sc, inc) x6 (18)
- Rnd 3: (5 sc, inc) x3 (21)
- Rnd 4: 21 sc
- Rnd 5: (6 sc, inc) x3 (24)
- Rnd 6: 24 sc
- Rnd 7: (7 sc, inc) x3 (27)
- Rnd 8: 27 sc
- Rnd 9: (8 sc, inc) x3 (30)
- Rnds 10–11: sc around, 2 rounds (30)
- Rnd 12: (3 sc, dec) x6 (24)
- Rnd 13: (2 sc, dec) x6 (18)
- Rnd 14: (1 sc, dec) x6 (12)
- Rnd 15: 6 dec (6) — pull the hole closed, fasten off
Unicorn Ears

Hook 2.0 mm, white, 2 pcs.
- Rnd 1: 6 ch, from the 3rd ch: 1 dc, 1 hdc, 1 sc, 1 sl st
Finishing & Assembly
With every piece complete, this is where the set comes together:
- Sew the doll's head onto the neck, keeping it centered over the overalls straps
- Sew the hair cap over the head, attach the twisted tail strands and pink elastic band at the crown, and stitch the ears to the sides of the head
- Add blush to the cheeks and, if you like, a tiny embroidered nose and smile
- Sew the unicorn's head to the neck, then attach both ears just behind the horn
- For the flowing mane and forelock, cut lengths of pink yarn, fold each in half, pull the folded loop through a stitch along the back of the neck with a crochet hook, then pull the cut ends through the loop and tighten — repeat along the whole neck ridge, then trim to shape
- Embroider or glue on the pink muzzle strap and nostrils shown in the photos
Tips for a Polished Finish
- Keep your tension even — stitches should be snug enough that stuffing doesn't peek through; if rounds look loose, drop half a hook size rather than fighting your natural tension
- Stuff a little at a time — add fiberfill in small pinches as you go rather than all at the end, especially in the legs and muzzle, to keep the shaping smooth
- Mind the wire ends — cap both ends of the horn wire securely before wrapping it in yarn and inserting it
- Save your longest tails for last — the head, ears and hands are left with a long working tail on purpose; use that same strand to sew the piece on, so you never need to cut and rejoin yarn just for assembly
Frequently Asked Questions
What yarn weight works best for this pattern?
Is this a good pattern for beginners?
Are safety eyes and wire suitable for a young child's toy?
What size will the finished pieces be?
Can I sell toys made from this pattern?
Conclusion
Between the striped sweater, the crossed overall straps, and that flowing pink mane, this little pair makes a genuinely special gift — the kind of amigurumi set that gets pulled onto the shelf and shown off, not tucked in a drawer. Take your time with the hair fringe and the mane fringing especially; they're the two steps that do the most to bring the whole set to life. Happy crocheting!