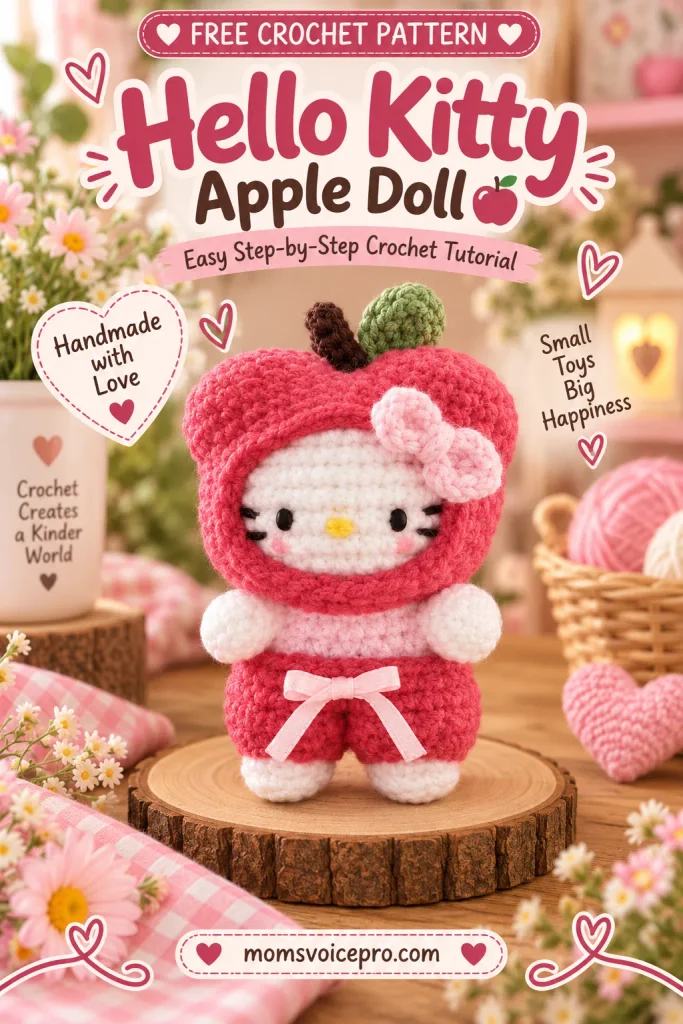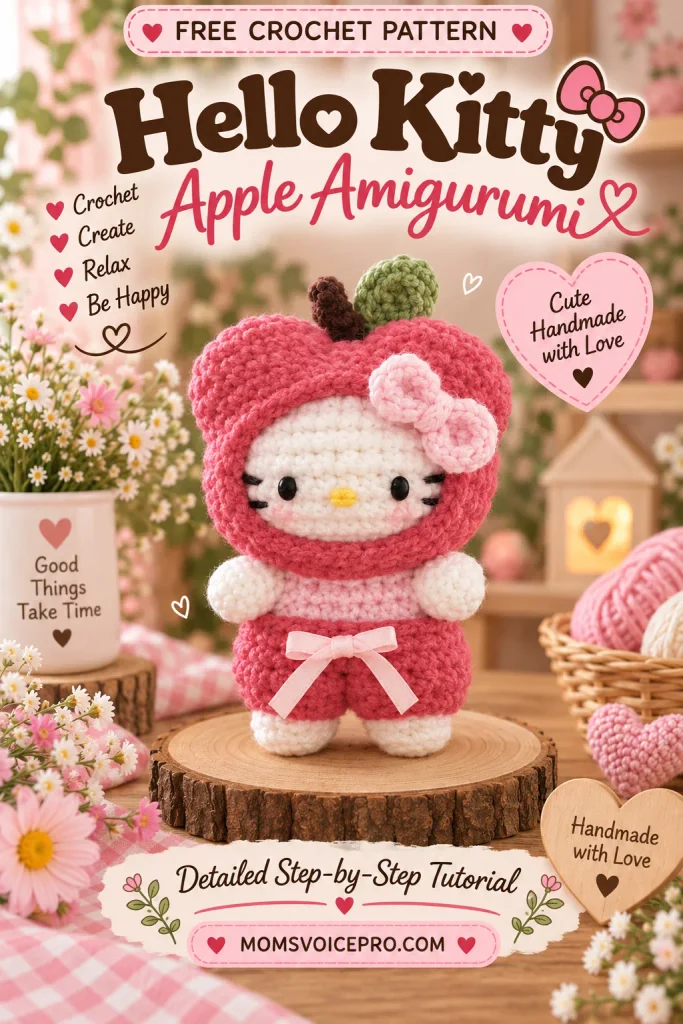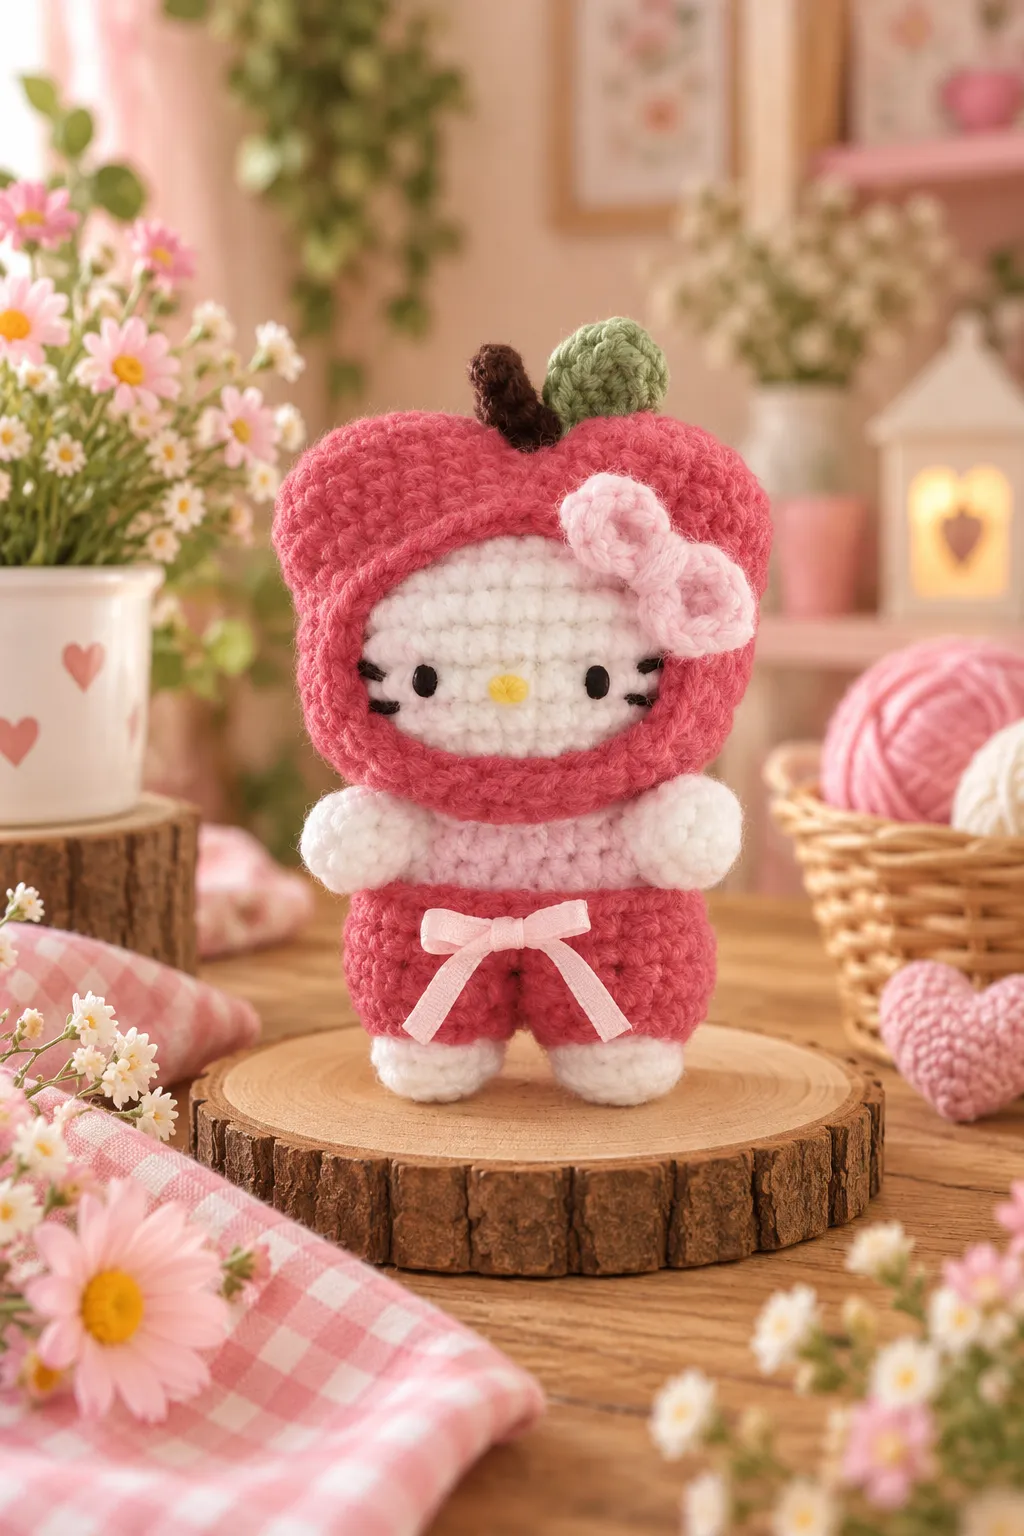
Meet the adorable Crochet Apple Kitty, a tiny amigurumi dressed in a charming red apple costume. With a soft white Kitty face, a textured apple hat, little red pants, a pink bow and a sweet stem-and-leaf detail, this project is perfect for anyone who loves cute seasonal crochet.
The pattern is written in English using US crochet terminology and is mostly worked in continuous rounds. The original instructions recommend making all the individual pieces before sewing them together, which makes the final assembly much easier to manage.
Table of Contents
Materials Needed Abbreviations Full Pattern Instructions Head Legs Body Apple Hat Pants Arms & Ribbon Apple Stem & Leaf Assembly Tips for a Polished Finish FAQ You’ll Love Also This ConclusionMaterials Needed
- Milk cotton yarn in white, red, pink, brown and green.
- 2 mm crochet hook for the ribbon.
- 3 mm crochet hook.
- Stuffing.
- Sewing needle and glue.
- Scissors.
- Black and yellow felt.
- Pink ribbon.
- Stitch markers, optional.
The source pattern specifies US terminology and notes that most of the project is worked in continuous rounds; for the legs and body, slip stitch and chain 1 are used after each round.
Abbreviations
- MR – magic ring
- R – round/row
- sc – single crochet
- hdc – half double crochet
- inc – increase
- dec – decrease
- slst – slip stitch
- ch – chain
- fo – fasten off
- blo – back loop only
- * – total number of repetitions
- ( ) – total number of stitches in a round
Full Pattern Instructions
Head

- Work in white milk cotton yarn.
- R1: in MR, 6 sc (6)
- R2: 6 inc (12)
- R3: (sc, inc) × 6 (18)
- R4: (sc, inc, sc) × 6 (24)
- R5: 24 sc (24)
- R6: (3 sc, inc) × 6 (30)
- R7–8: 30 sc (30) for 2 rounds.
- R9: (3 sc, dec) × 6 (24)
- R10: 24 sc (24)
- R11: 12 dec (12)
- Add stuffing. Slip stitch and fasten off, leaving a short tail. Weave/hide the tail; the opening does not need to be sewn closed.
Legs

- Make 2 legs in white milk cotton yarn.
- For the legs and body, slip stitch and chain 1 after every round.
- R1: in MR, 4 sc (4)
- R2: 4 inc (8)
- R3: in blo, 8 sc (8)
- R4–6: 8 sc (8) for 3 rounds.
- For the first leg, slip stitch and fasten off, leaving a short tail to weave/hide.
- For the second leg, do not cut the yarn; continue directly to the body.
- Add stuffing to the legs.
Body

- Work in white milk cotton yarn and remember to slip stitch and chain 1 after every round.
- From the second leg, ch 2 and insert the hook into any stitch of the first leg.
- R7: 8 sc into first leg, 2 sc into chain stitch, 8 sc on second leg, 2 sc on chain stitch (20).
- Change to pink milk cotton yarn.
- R8: 20 hdc (20)
- R9: (3 sc, dec) × 4 (16)
- Add stuffing.
- Slip stitch and fasten off, leaving a long tail for sewing the body to the head.
Apple Hat

- Work in red milk cotton yarn.
- Make 2 apple bumps. For each: R1 in MR, 8 sc (8); R2: 8 inc (16); R3: 16 sc (16).
- For the first bump, slip stitch and fasten off, leaving a short tail to weave/hide.
- Repeat R1–3 for the second bump, but do not cut the yarn; slip stitch only.
- Insert the hook into any stitch of the first apple bump.
- R4: connect the two bumps with 16 sc on the first bump and 16 sc on the second bump, slip stitch and chain 1 (32).
- R5: 32 sc, slip stitch and chain 1 (32). Fasten off and hide the tail.

- Count 9 stitches away from the slip stitch just made and insert your hook.
- Work in the direction of the previous slip stitch.
- R6–10: 18 sc, turn and repeat (18) for 5 rows.
- The source notes that chain 1 was omitted between these rows for a more seamless look, but this is optional.
- Ch 8, slip stitch to the other side, then chain 1.
- Work 8 sc on the chain, 5 sc on the side, dec at the corner, 12 sc, dec at the other corner, 5 sc on the side, slip stitch and chain 1 (32).
- (3 sc, dec) × 6, 2 sc (26).
- Slip stitch and fasten off, leaving a long tail for sewing the hat to the head.

Pages 8–10 of the source provide the pictorial hat references, including connecting the two apple bumps, working into the 9th stitch, building the five rows, and checking the finished hat against the head.
Pants

- Work in red milk cotton yarn.
- R1: ch 12, slip stitch to first chain, 12 sc (12).
- R2: 12 hdc (12).
- Slip stitch and fasten off, leaving a short tail to weave/hide.
- Repeat R1–2 for the second leg. Slip stitch and insert the hook into any stitch of the first leg.
- R3–4: 24 sc (24) for 2 rounds.
- Slip stitch and fasten off, leaving a long tail for sewing the pants to the body.
Arms & Ribbon

- Make 2 arms in white milk cotton yarn.
- R1: in MR, 6 sc (6).
- R2–3: 6 sc (6) for 2 rounds.
- No stuffing is needed.
- Slip stitch and fasten off, leaving a long tail for sewing.
Ribbon: use a 2 mm hook and pink milk cotton yarn. Ch 8, turn and work from the second chain: sc, hdc, sc, slst, sc, hdc, sc inc; turn and crochet into the other side: hdc, sc, slst, sc, hdc, sc. Slip stitch and fasten off, leaving a long tail. Wrap yarn around the middle and leave some yarn to sew the ribbon to the hat.
Apple Stem & Leaf

- Stem: brown milk cotton yarn. R1: ch 4, turn (working into the 2nd ch from hook) and 3 sc (3). Fasten off, leaving a long tail for sewing to the hat.
- Leaf: green milk cotton yarn. R1: ch 6, turn (working into the 2nd ch from hook), slst, sc, hdc, sc, slst. Flip, sc, hdc, sc. Slip stitch and fasten off, leaving a long tail for sewing to the hat.
Assembly

- 1. Sew the body to the head.
- 2. Sew both arms to the body.
- 3. Put the pants on the body; use the extra yarn to sew them firmly to the body if desired.
- 4. Glue the ribbon onto the pants.

- 5. Sew the apple stem to the apple hat.
- 6. Sew the apple leaf to the apple hat.
- 7. Put the hat on the head and sew it on. The source notes that no stuffing was added to the hat.
- 8. Sew on the ribbon.

- 9. Add the felt eyes, nose and whiskers. Blush is optional.

- 10. Add a keychain and hang it up!
Tips for a Polished Finish
- Prepare all pieces before sewing, as recommended in the source pattern.
- Keep your stitch counts consistent, especially where the two apple bumps are joined.
- Stuff the head and legs as directed, but do not stuff the arms or apple hat.
- Check the hat fit against the head before sewing it permanently.
- Use the long tails left on the body, pants, arms, stem and leaf for secure sewing.
- For a neat finish, weave and hide short tails inside the corresponding piece.
- Add the facial felt pieces only after the main assembly is complete so you can center them accurately.
FAQ
What yarn and hooks does this Apple Kitty pattern use?
Does the pattern use continuous rounds?
Does the apple hat need stuffing?
Do the arms need stuffing?
Can I turn it into a keychain?
Conclusion
This Crochet Apple Kitty combines a simple little amigurumi base with an irresistibly cute apple costume. Make the head, body, tiny pants and arms first, then build the apple hat and finish it with the stem, leaf, ribbon and sweet felt face. Add a keychain at the end for an adorable handmade accessory.