
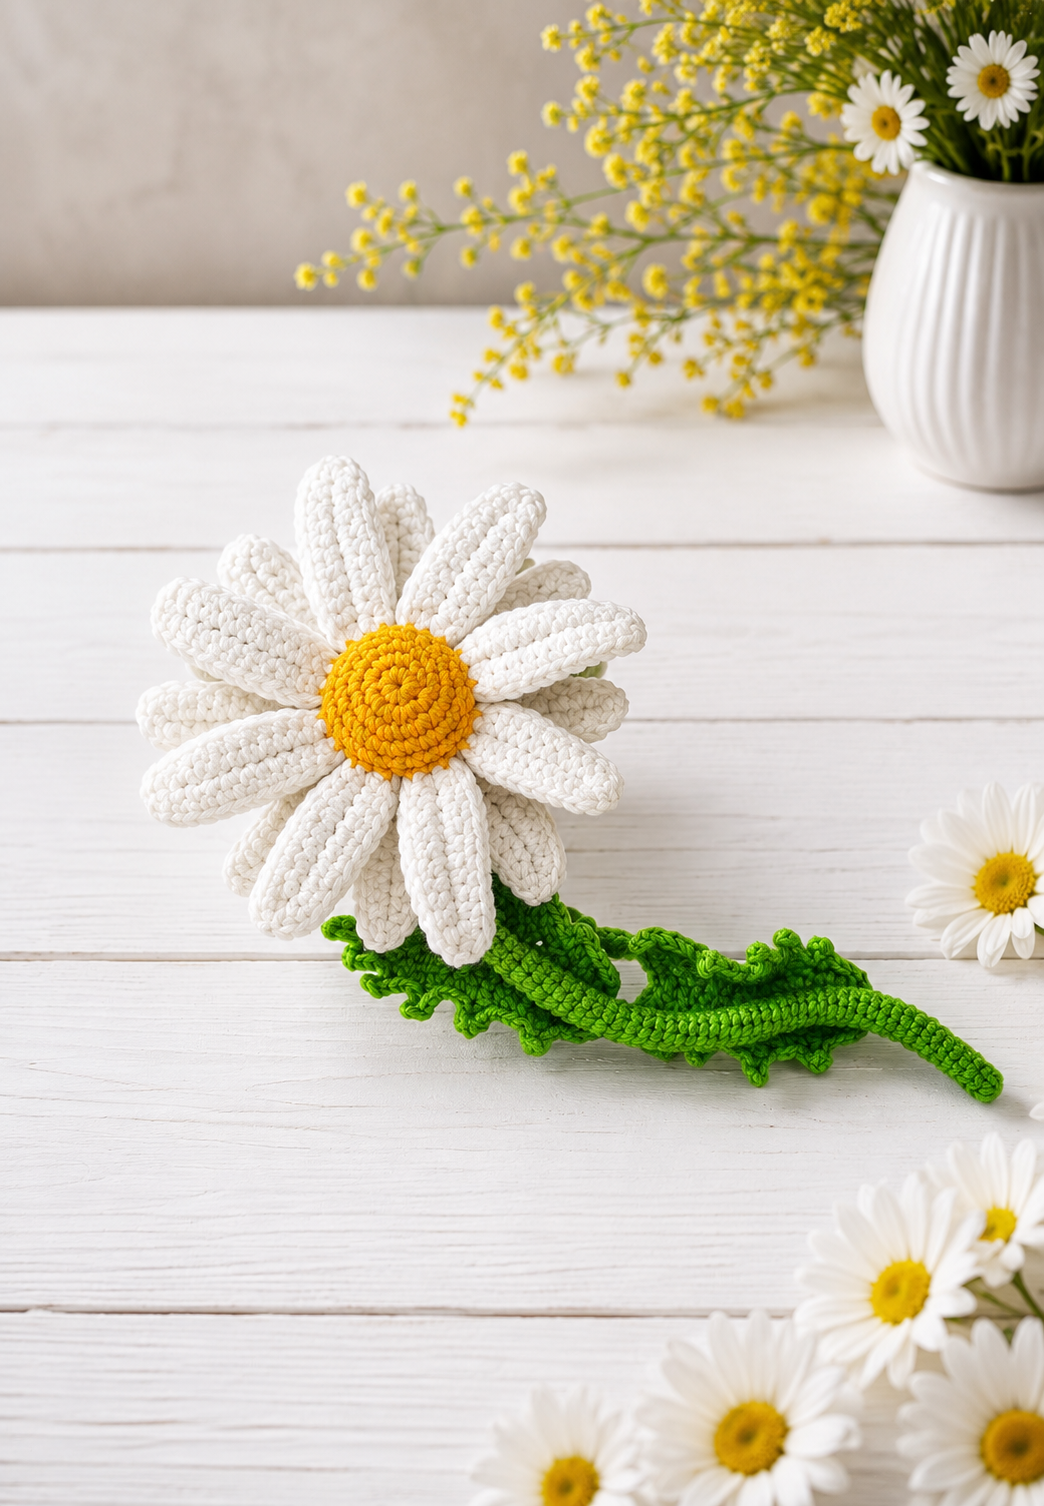
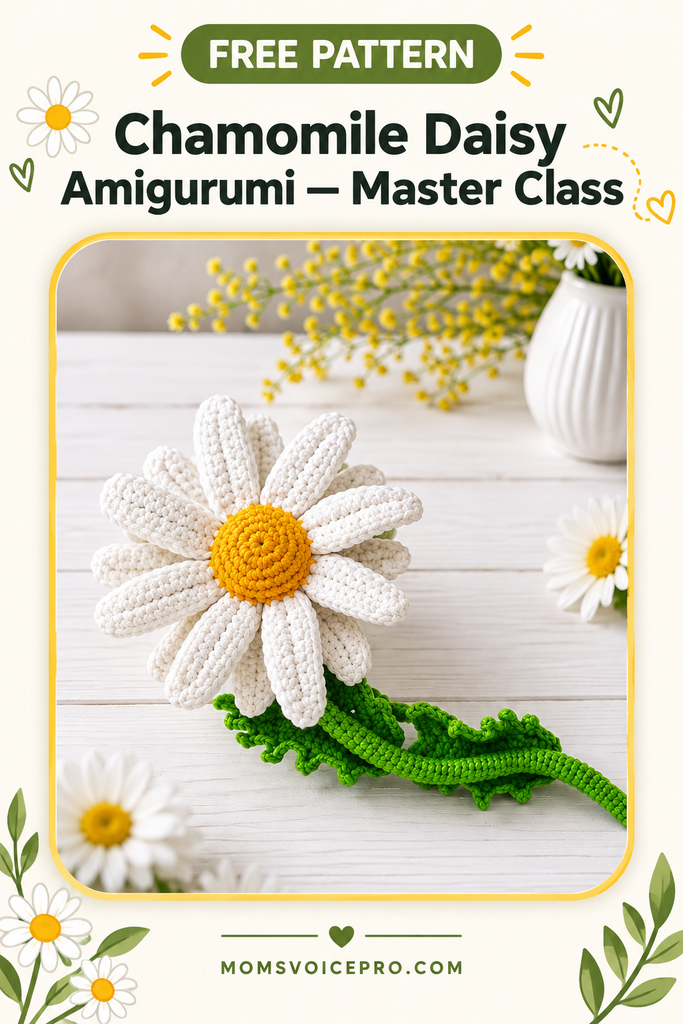
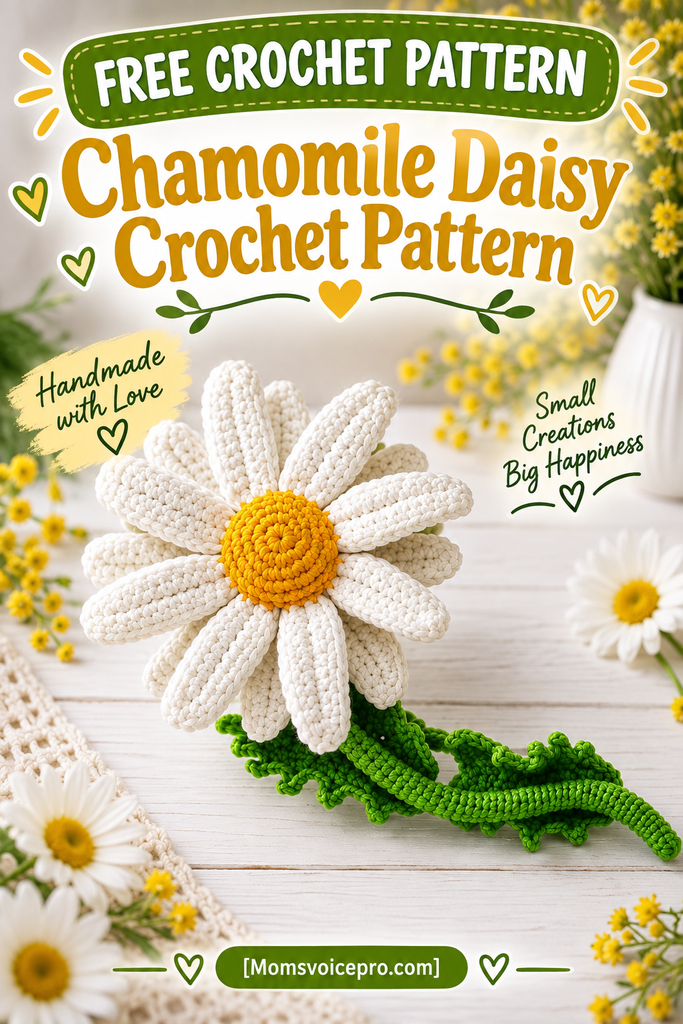
Not every amigurumi has to be an animal — this sweet little chamomile daisy is proof that crochet flowers can look just as lifelike and huggable. With sixteen soft white petals, a textured yellow center, and a wire-supported stem that lets you pose it however you like, this one makes a gorgeous no-wilt bouquet, a gift topper, or a permanent addition to your favorite vase.
This is a detailed master class style pattern — every technique is explained step by step, including the two-layer petal attachment method and the wire-wrapped stem. Basic crochet skills (magic ring, increases, decreases, working in the round) are all you need to get started.
Materials You Will Need
- YarnArt Jeans yarn — NE01 (white) ~10 g
- YarnArt Jeans yarn — N335 (yellow) ~2 g
- YarnArt Jeans yarn — N660 (green) ~11 g
- Floral wire for the stem, 2 mm diameter ~60 cm
- 2.5 mm crochet hook
- Pins, scissors, stitch markers
- Stuffing (fiberfill or hollowfiber)
- Fabric adhesive tape (floral tape)
Finished size: approximately 27 cm. Your finished flower may come out slightly different depending on your tension, hook size, amount of stuffing, and crocheting style — that’s all part of making it your own!
Abbreviations
- MR — magic ring
- sc — single crochet
- inc — increase (2 sc in the same stitch)
- dec — decrease (work 2 sc together, front loops only)
- ch — chain
- shift stitch — offset stitch
- sl st — slip stitch
- turning chain — turning chain
- (…)*n — repeat the sequence in brackets n times
- hdc — half double crochet
- hdc inc — 2 hdc in the same stitch
- dc — double crochet
We will crochet the entire flower using YarnArt Jeans with a 2.5 mm hook.
Pattern Instructions
1. Petals (make 16)
Crochet in white:
- Chain 10. Starting from the 2nd chain from the hook, crochet: 8 sc, 4 sc in the last stitch, 8 sc on the other side, inc, turn. (20)
Next, without turning and without chaining, crochet 3 sc along the top edge of the petal (the same principle used for wings or ladybug-style pieces).

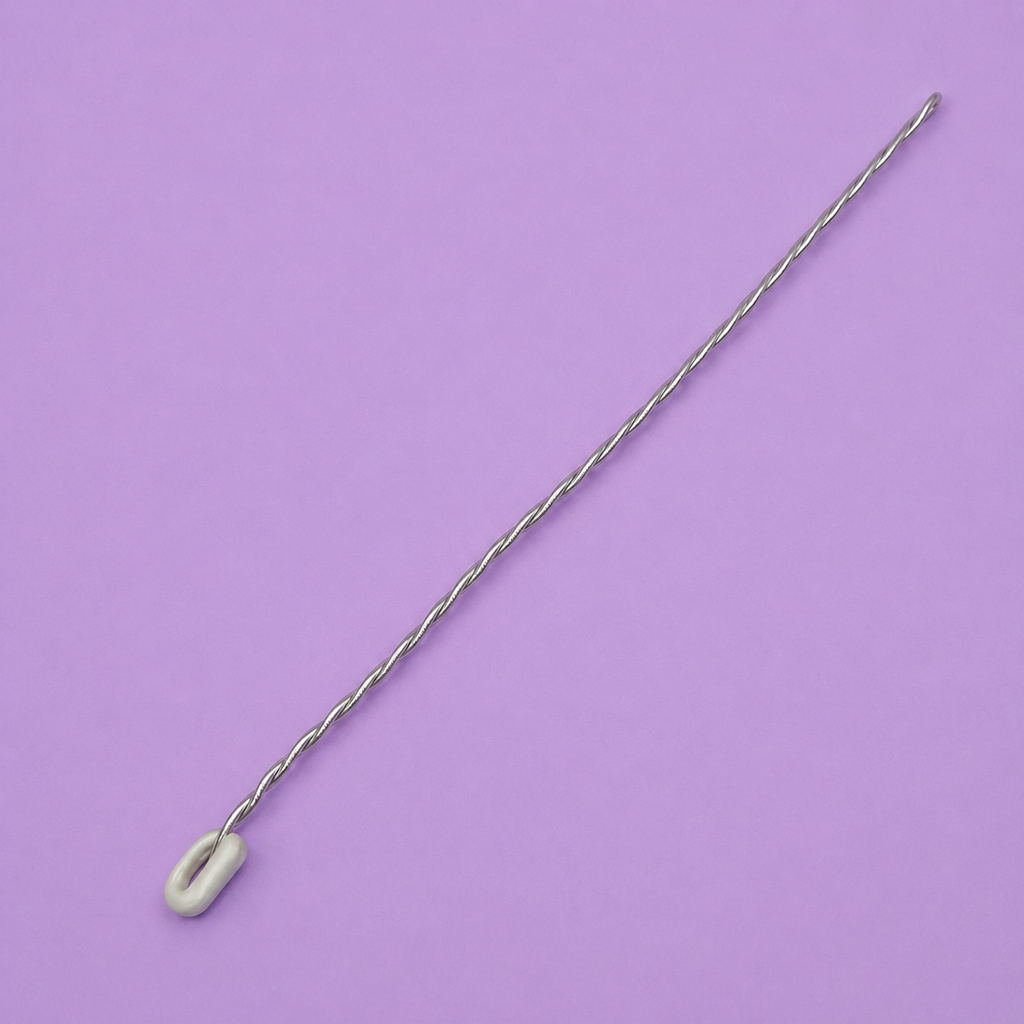
2. Wire for the Stem
Prepare a piece of wire about 60 cm long. Fold it in half and twist the two parts together along the entire length. Thread the loop connection through both ends of the floral tape, then bend the end into a small loop.
3. Center
Crochet in yellow:
- 8 sc in MR (8)
- 8 inc (16)
- (3 sc, inc) *4 (20)
- (4 sc, inc) *4 (24)
- 24 sc (24)
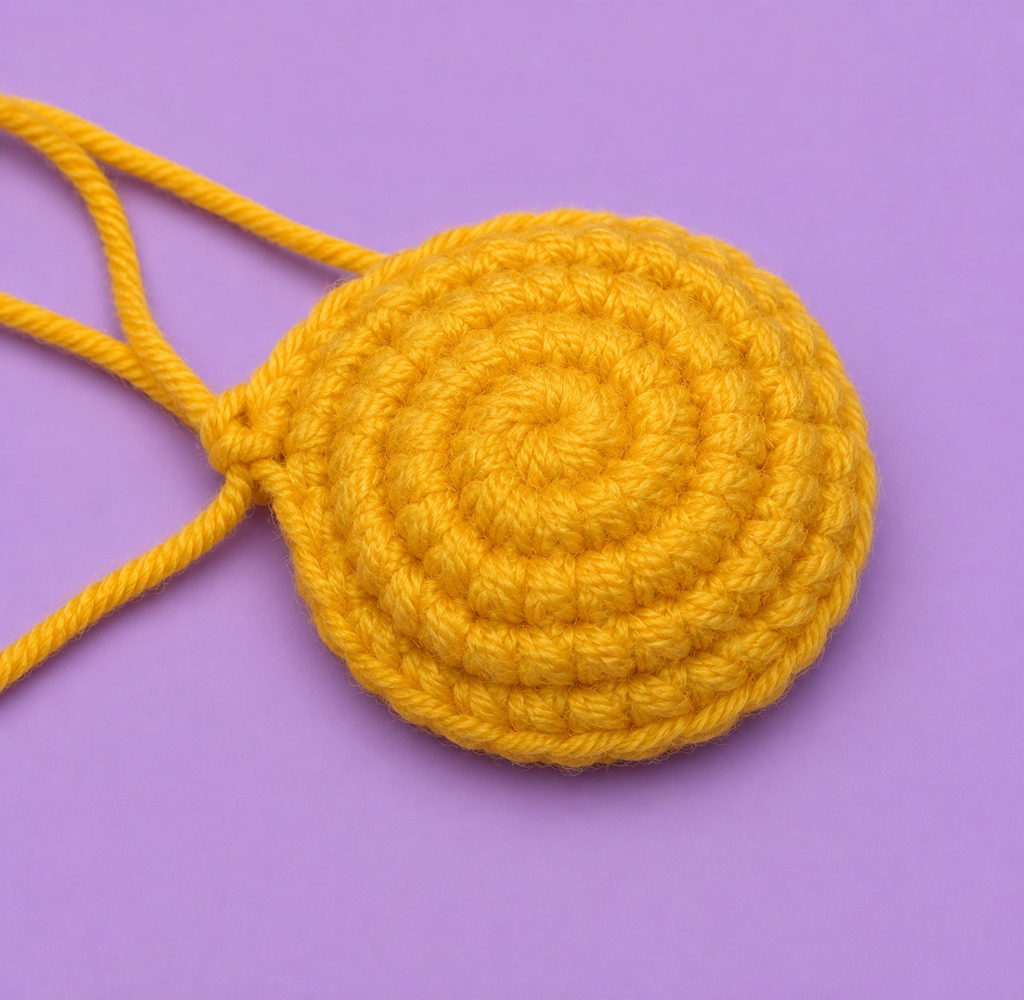
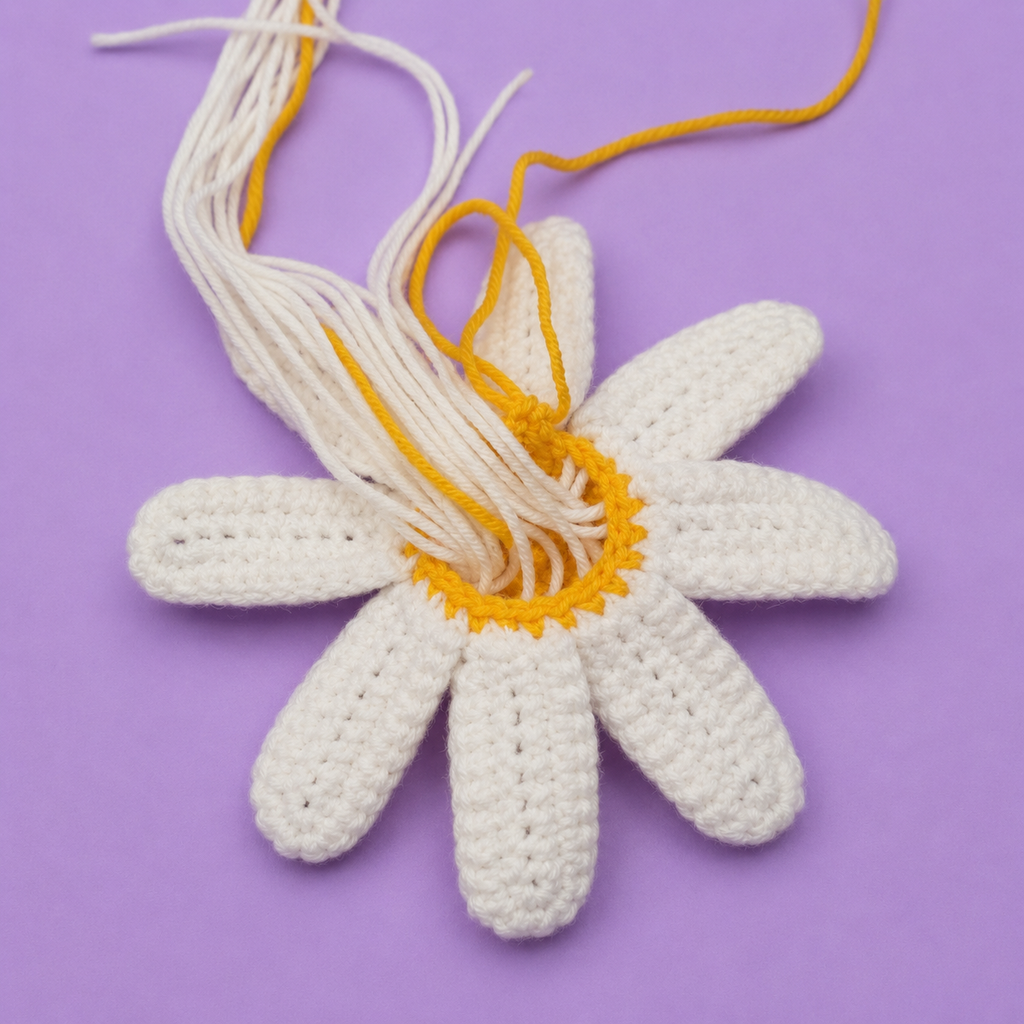
In rounds 6–8, we attach the first 8 petals:
- (3 sc together with the loops of the petal and the center) *8 (24)
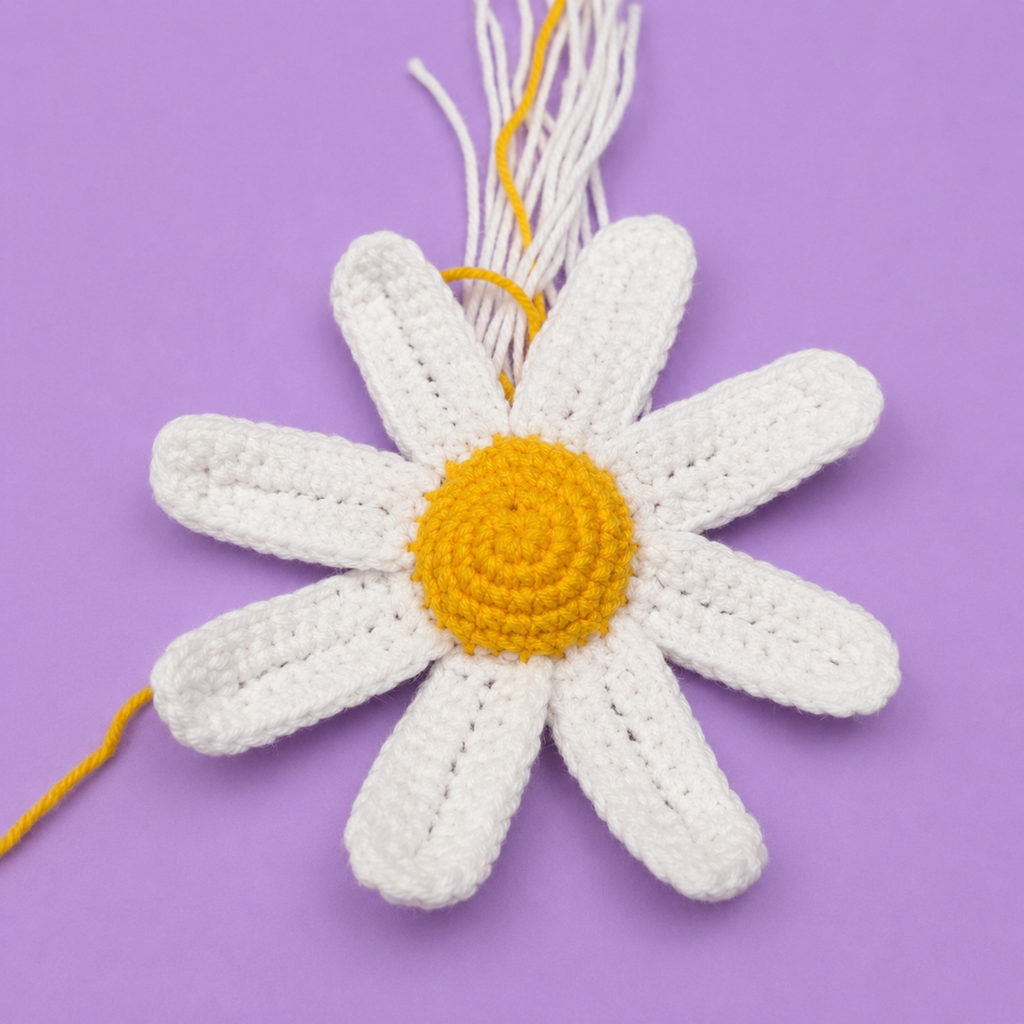
Bring all the yarn tails from the petals into the center and tie another knot on each side, then trim.
- 24 sc + 2 shift stitches (24)
The 2 shift stitches are mandatory so that the lower round of petals isn’t exactly under the top round, but offset — with the lower petals sitting between the top ones. This is what makes the finished flower look full and layered.
In Round 8, we crochet the second 8 petals:
- (3 sc together with the loop of the petal and the center) *8 (24)
Pull all the petal loops inside the center and tie them together in two knots, then cut short.
The Stem
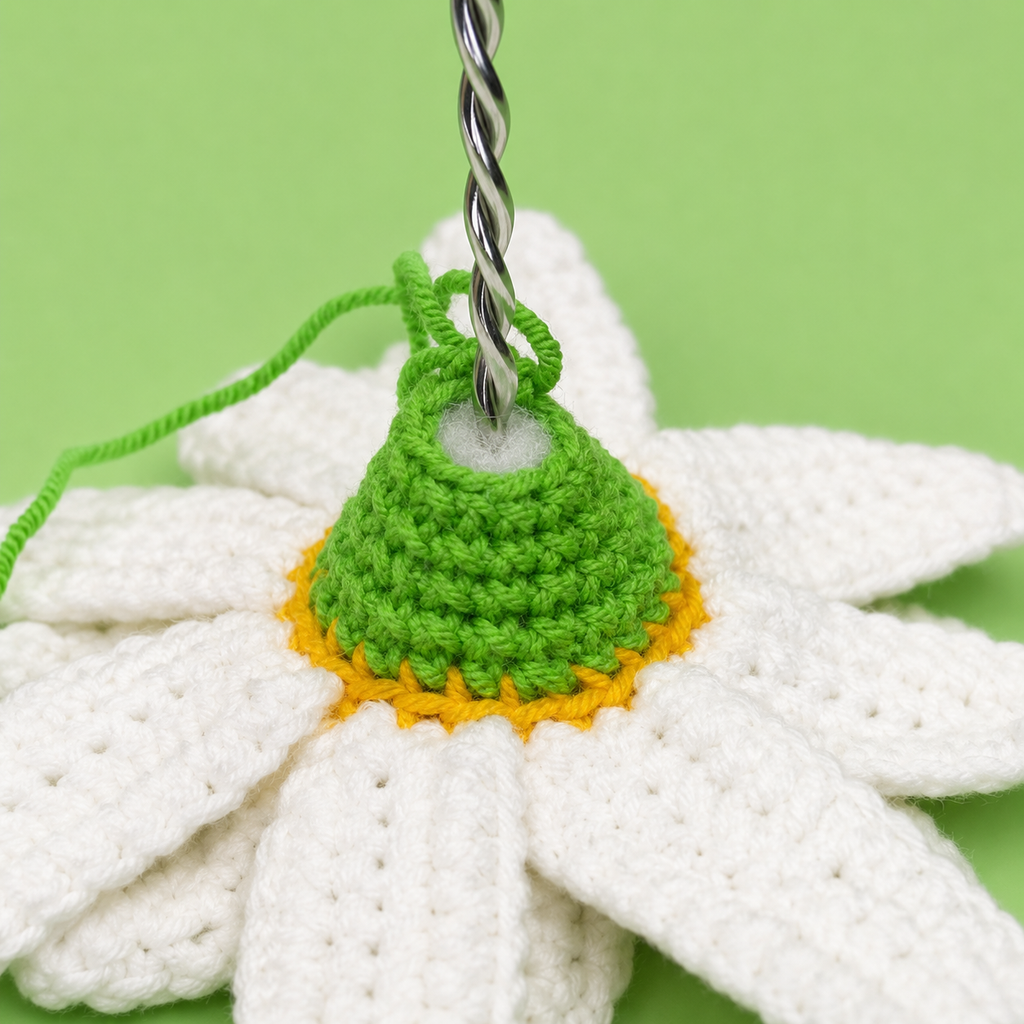
Change to green yarn, fasten off the yellow yarn, secure it, and weave the end inside the center. Then crochet the rest of the stem:
- (4 sc, dec) *4 (20)
- (3 sc, dec) *4 (16)
Stuff the center firmly. Drip a drop of glue on the loop of the wire and insert it into the center of the filler. Hold firmly and wait a few seconds so the glue grabs — you can add more stuffing without glue as you continue crocheting:
- (2 sc, dec) *4 (12)
- (1 sc, dec) *4 (8)
Stuff the center completely to the end, remove the marker, and choose one of the following options:
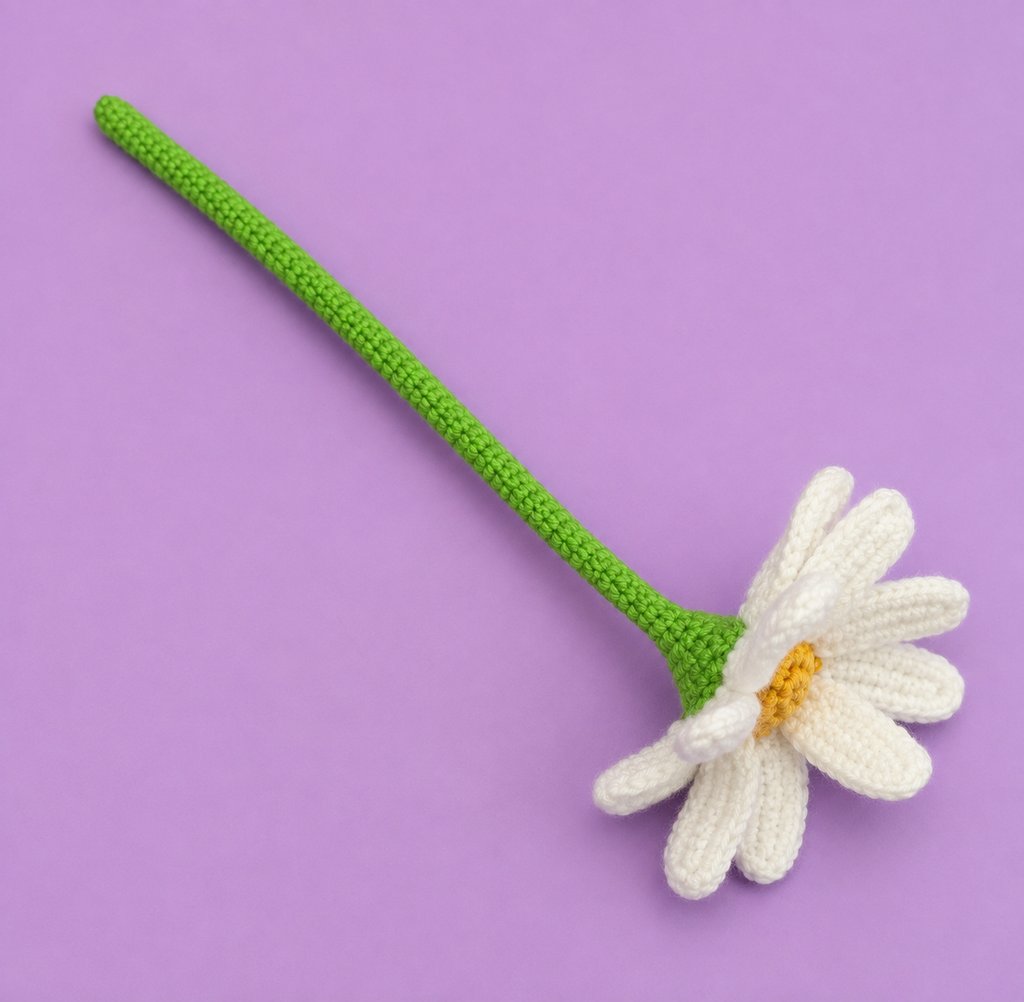
- Cut the yarn, leaving a very long tail that will need to wrap the entire wire to the end, securing the yarn by dripping glue in a couple of places along the way, or
- Do not cut the yarn and crochet without counting rows into a chain of sc, wrapping the entire stem of the daisy. At the end, close the opening with a needle and hide the yarn inside the stem.
(The designer used the second option for the sample shown.)
4. Leaves (make 2, or as many as you like)
Using green yarn:
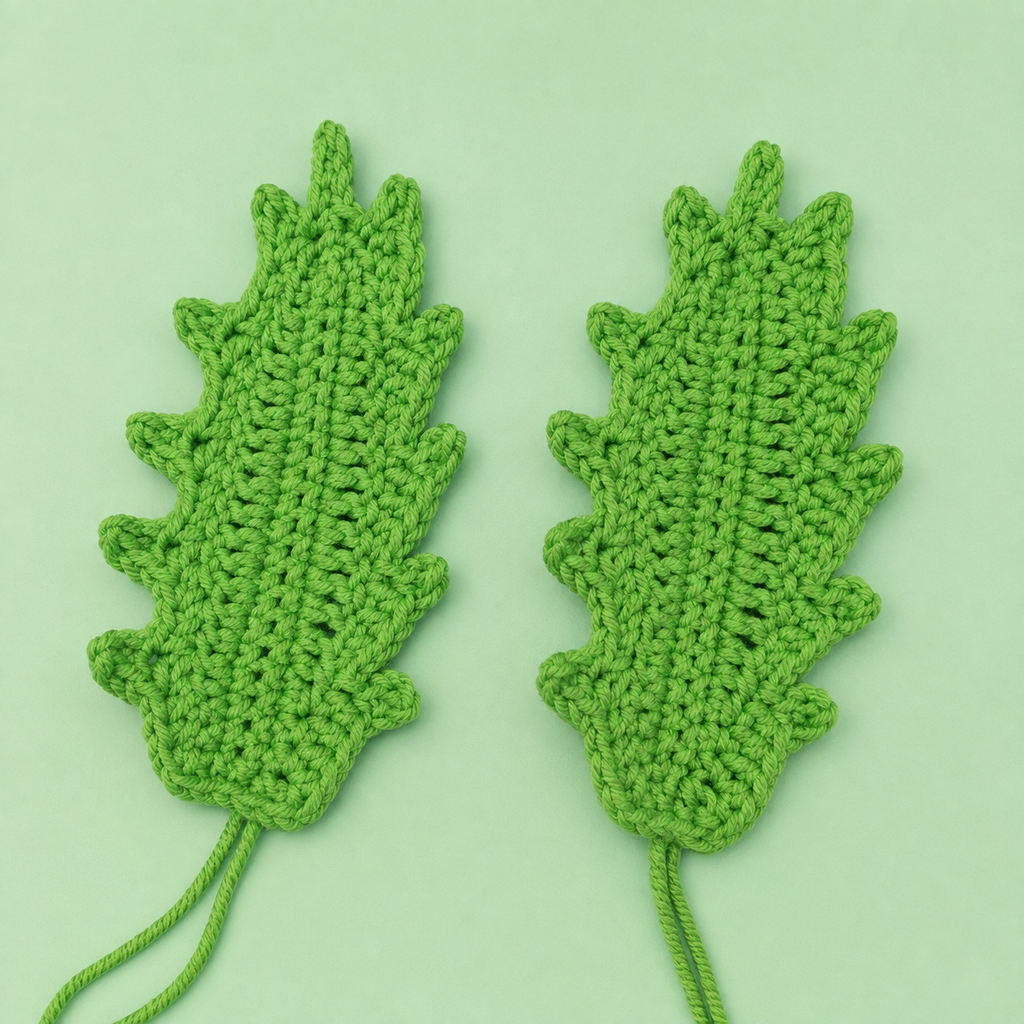
- Leave a yarn tail approximately 15 cm long, then chain 21. Starting in the 2nd chain from the hook, work: 19 sc, 3 sc in the same stitch, 8 sc, sl st, turn. (41)
- 3 sc, 3 hdc, 10 dc, 4 hdc, 2 hdc in the same stitch, 4 hdc, 10 dc, 3 hdc, 3 sc, ch 1, turn. (42)
- 4 hdc, chain 3, starting in the 2nd chain from the hook, work 2 sc, sl st into the last stitch used of Row 2, (2 sc, 2 hdc, chain 3, starting in the 2nd chain from the hook, work 2 sc, sl st into the last stitch used of Row 2) ×4 — this forms the top part of the leaf. Then: dec sc, work 4 sc, starting in the 2nd chain from the hook, 3 sc, sl st into the last stitch used of Row 2. Work downwards: (chain 3, starting in the 2nd chain from the hook, work 2 sc, sl st into the last stitch used of Row 2, 2 sc, then work along the 2nd row dec sc from hdc into the hdc from the previous row, 1 hdc, 2 sc) ×4, chain 3, starting in the 2nd chain from the hook: 2 sc, then work along the 2nd row dec sc from hdc into the hdc from the previous row and sl st into it, 3 hdc. (41)
Without chaining and without turning, work 5 sc across the top of the leaf (the same jagged-edge principle used elsewhere in this designer’s patterns). Make a sl st, fasten off, leaving a long yarn tail for sewing to the stem.
Sew the leaves onto the stem of the daisy wherever you prefer, and weave the remaining yarn ends inside the stem.
Tips for a Polished Finish
- Don’t skip the shift stitches — offsetting the second layer of petals from the first is what gives the finished daisy its full, layered look instead of a flat single row.
- Stuff the center firmly before inserting the wire — a dense, well-stuffed center holds the wire securely and keeps the flower head from wobbling on its stem.
- Use glue sparingly — just a drop where the wire loop meets the stuffing is enough; too much can seep through the yarn and leave shiny marks.
- Bend the wire gently — since the stem has a wire core, you can curve or pose the finished flower, but bend slowly to avoid kinking the wire sharply in one spot.
- Vary your leaf placement — sewing the leaves at slightly different heights and angles along the stem gives a more natural, less symmetrical look.
Frequently Asked Questions
Can I make more or fewer petals for a fuller or sparser flower?
Do I have to use wire in the stem?
What yarn can I substitute for YarnArt Jeans?
My leaves came out a different size than the flower — is that normal?
How long does this pattern take to make?


Ready to Stitch Your Own Chamomile?
I’d love to see your finished daisies! Tag me or share your makes online — happy crocheting, and may all your stitches be easy! 🌼💛