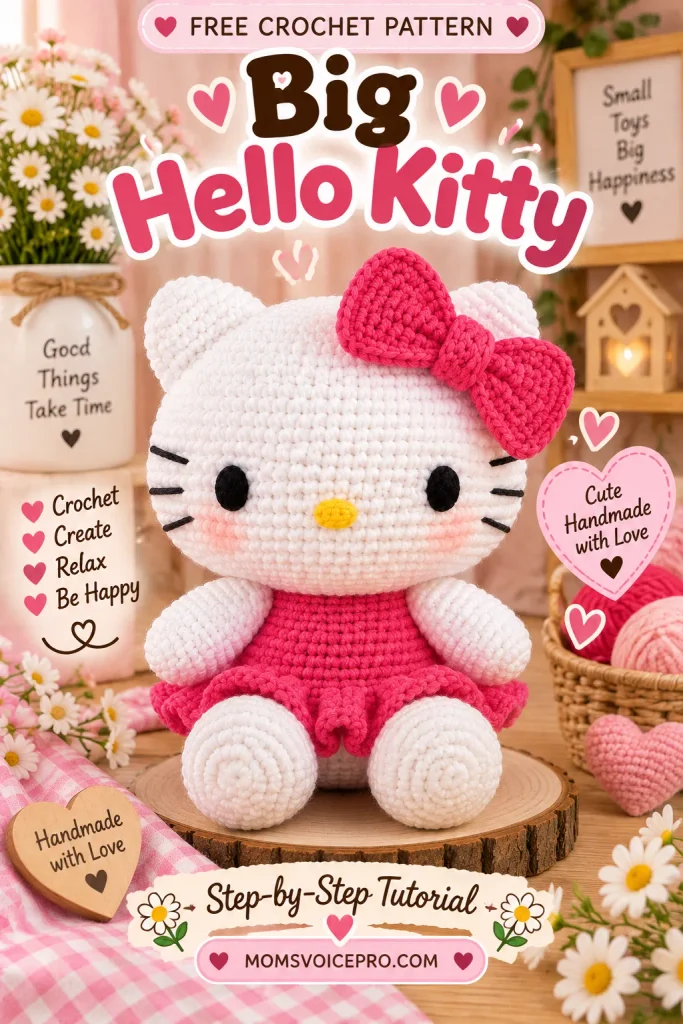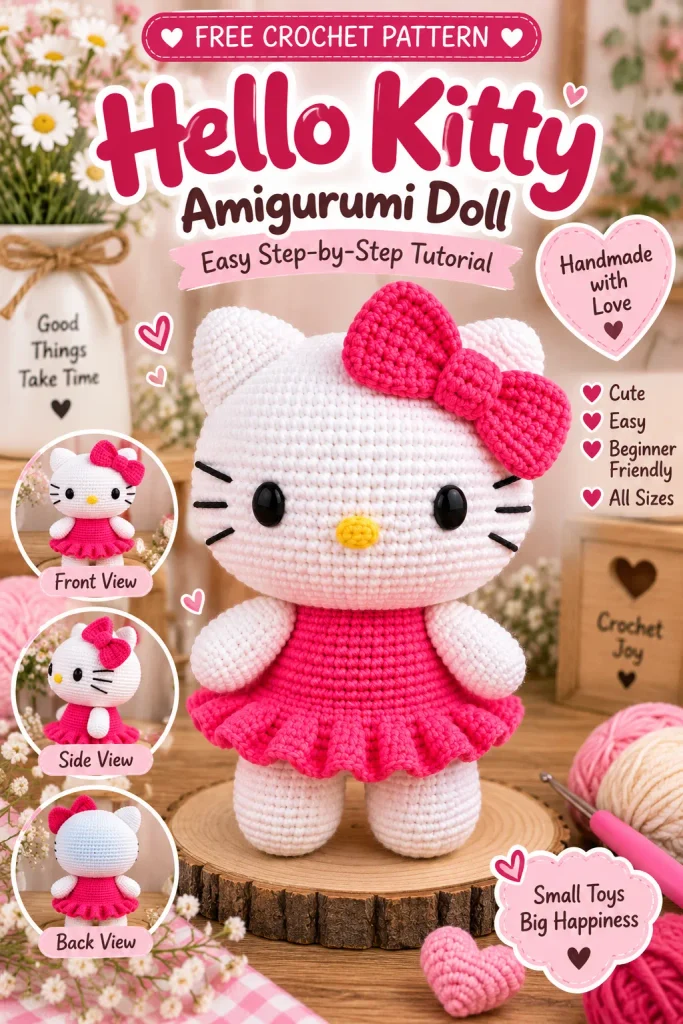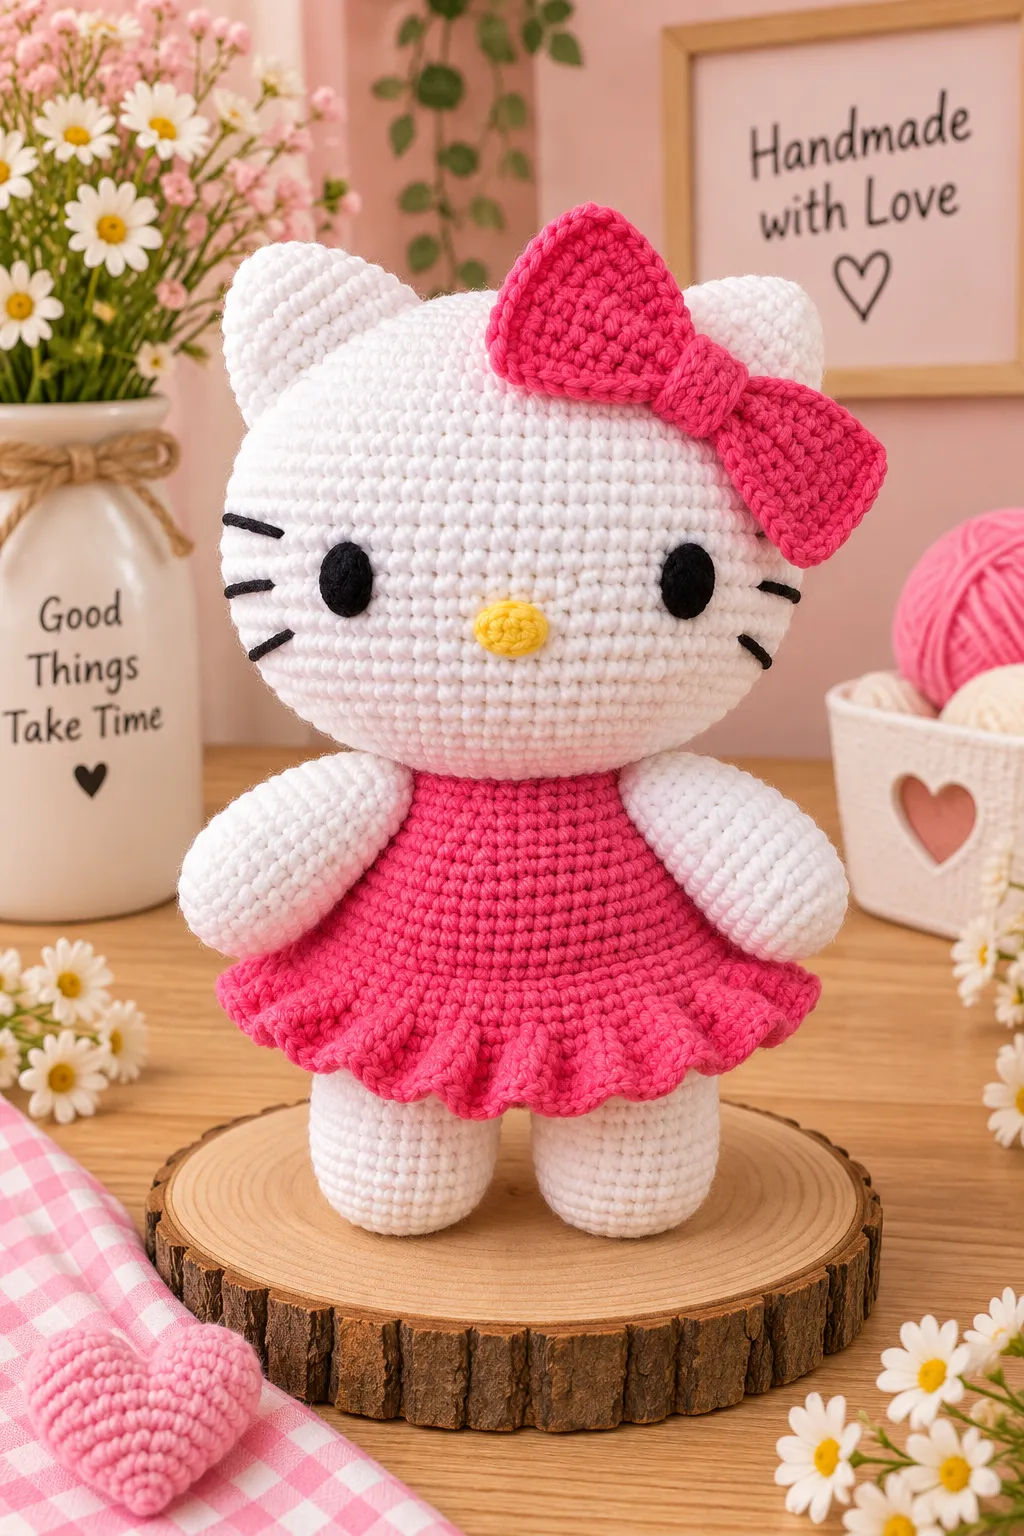
This is Kitty sized way up — a big, huggable 29 cm (11.4-inch) amigurumi in a flippy pink skirt with a matching bow, made from just four yarn colors and worked start to finish in single crochet. If you’ve made a smaller Kitty before, this one will feel familiar, but the scale makes every detail — the ruffled skirt hem, the folded ears, the bow — read so much more three-dimensional.
One thing that sets this pattern apart: the legs are crocheted first and then joined directly into the body without any seaming, and the skirt is worked right off the body in front loops only, so the whole lower half comes together as one continuous piece. It’s a great next-level project once you’re comfortable with basic increases and decreases.
Table of Contents
What Will I Need?
- Yarn Vlnap Lada Luxus (100g/230m) in 4 colors: white (code 57076); black (code 59005), just a small amount, about 2–2.5 m; yellow (code 54033), just a small amount, about 1–1.5 m; pink (code 52723), 40g
- A needle for sewing the parts together
- A size 4 crochet hook
Worked with these yarns, the finished Kitty stands about 29 cm (11.4 inches) tall. You can crochet Kitty in any other yarn using the hook size recommended for that yarn — the only difference will be in the finished height.
Abbreviations
- st – stitch
- ch – chain
- sc – single crochet
- dec – decrease by working 2 sc together (sc2tog)
- inc – increase (2 sc in next st)
Every piece is worked in continuous rounds — don’t join or turn unless a step says to. Keep a stitch marker in your work to track where each round starts.
Head
- R1: 6 sc in a magic ring (6)
- R2: 6 inc (12)
- R3: (1 sc, 1 inc) repeat 6 times (18)
- R4: (2 sc, 1 inc) repeat 6 times (24)
- R5: (3 sc, 1 inc) repeat 6 times (30)
- R6: (4 sc, 1 inc) repeat 6 times (36)
- R7: (5 sc, 1 inc) repeat 6 times (42)
- R8: 1 sc, (5 sc, 1 inc) repeat 3 times, 3 sc, (5 sc, 1 inc) repeat 3 times, 2 sc (48)
- R9: 3 sc, (5 sc, 1 inc) repeat 3 times, 6 sc, (5 sc, 1 inc) repeat 3 times, 3 sc (54)
- R10: 5 sc, (5 sc, 1 inc) repeat 3 times, 9 sc, (5 sc, 1 inc) repeat 3 times, 4 sc (60)
- R11: 6 sc, (5 sc, 1 inc) repeat 3 times, 12 sc, (5 sc, 1 inc) repeat 3 times, 6 sc (66)
- R12: 66 sc (66)
- R13: 7 sc, (5 sc, 1 inc) repeat 3 times, 15 sc, (5 sc, 1 inc) repeat 3 times, 8 sc (72)
- R14: 72 sc (72)
- R15: 9 sc, (5 sc, 1 inc) repeat 3 times, 18 sc, (5 sc, 1 inc) repeat 3 times, 9 sc (78)
- R16: 78 sc (78)
- R17: 11 sc, (5 sc, 1 inc) repeat 3 times, 21 sc, (5 sc, 1 inc) repeat 3 times, 10 sc (84)
- R18–R19: 84 sc (84)
- R20: 12 sc, (5 sc, 1 inc) repeat 3 times, 24 sc, (5 sc, 1 inc) repeat 3 times, 12 sc (90)
- R21–R25: 90 sc (90)
- R26: 12 sc, (5 sc, 1 dec) repeat 3 times, 24 sc, (5 sc, 1 dec) repeat 3 times, 12 sc (84)
- R27–R28: 84 sc (84)
- R29: 11 sc, (5 sc, 1 dec) repeat 3 times, 21 sc, (5 sc, 1 dec) repeat 3 times, 10 sc (78)
- R30: 78 sc (78)
- R31: 9 sc, (5 sc, 1 dec) repeat 3 times, 18 sc, (5 sc, 1 dec) repeat 3 times, 9 sc (72)
- R32: 72 sc (72)
- R33: 7 sc, (5 sc, 1 dec) repeat 3 times, 15 sc, (5 sc, 1 dec) repeat 3 times, 8 sc (66)
- R34: 66 sc (66)
- R35: 6 sc, (5 sc, 1 dec) repeat 3 times, 12 sc, (5 sc, 1 dec) repeat 3 times, 6 sc (60)
- R36: 5 sc, (5 sc, 1 dec) repeat 3 times, 9 sc, (5 sc, 1 dec) repeat 3 times, 4 sc (54)
- R37: 3 sc, (5 sc, 1 dec) repeat 3 times, 6 sc, (5 sc, 1 dec) repeat 3 times, 3 sc (48)
- R38: 1 sc, (5 sc, 1 dec) repeat 3 times, 3 sc, (5 sc, 1 dec) repeat 3 times, 2 sc (42)
- R39: (5 sc, 1 dec) repeat 6 times (36)
- R40: (4 sc, 1 dec) repeat 6 times (30)
- R41: (3 sc, 1 dec) repeat 6 times (24)
- R42: (2 sc, 1 dec) repeat 6 times (18)
- R43: (1 sc, 1 dec) repeat 6 times (12)
- R44: 6 dec (6)
Stuff the head firmly as you work the last several rounds, then close.


Ear (2x)
- R1: 6 sc in a magic ring (6)
- R2: 6 inc (12)
- R3: 2 sc, 2 inc, 4 sc, 2 inc, 2 sc (16)
- R4: 3 sc, 2 inc, 6 sc, 2 inc, 3 sc (20)
- R5: 4 sc, 2 inc, 8 sc, 2 inc, 4 sc (24)
- R6: 5 sc, 2 inc, 10 sc, 2 inc, 5 sc (28)
- R7: 28 sc (28)
- R8: 6 sc, 2 inc, 12 sc, 2 inc, 6 sc (32)
- R9: 32 sc (32)

Fold each ear flat and sew it onto the head, leaving the sides slightly stuffed so they keep their shape rather than going flat.
Eyes (2x) and Nose
Crochet the following pattern twice with black yarn (for the eyes) and once with yellow yarn (for the nose).
- R1: 2 ch (2)
- R2: 1 ch, 1 st into the last stitch of R1, 3 sc into the next stitch, 2 sc into the next stitch (6)
Sew the eyes and nose onto the head, then add the whiskers.

Legs (2x)
- R1: 6 sc in a magic ring (6)
- R2: 6 inc (12)
- R3: (1 sc, 1 inc) repeat 6 times (18)
- R4: (2 sc, 1 inc) repeat 6 times (24)
- R5: (3 sc, 1 inc) repeat 6 times (30)
- R6–R16: 30 sc (30)
Fasten off the first leg with a long tail. Crochet the second leg and don’t fasten off — you’ll continue straight into the body from this leg.


Body
Continue with the body by crocheting the two legs together.

- R1–R5: 60 sc (60)
Switch to pink yarn.
- R6: 60 sc (60)
- R7: 60 sc into back loops only (60)
- R8: (6 sc, dec) repeat 3 times, 12 sc, (dec, 6 sc) repeat 3 times (54)
- R9–R10: 54 sc (54)
- R11: 5 sc, (dec, 6 sc) repeat 2 times, dec, 9 sc, (dec, 6 sc) repeat 2 times, dec, 4 sc (48)
- R12: 48 sc (48)
- R13: 3 sc, (dec, 6 sc) repeat 5 times, dec, 3 sc (42)
- R14: 42 sc (42)
- R15: 2 sc, (dec, 5 sc) repeat 5 times, dec, 3 sc (36)
- R16: 36 sc (36)
- R17: 2 sc, (dec, 4 sc) repeat 5 times, dec, 2 sc (30)
- R18: 30 sc (30)


Stuff the body firmly, keeping the leg shapes distinct, before you attach the head.
Skirt
Continue from round 7 of the body, this time crocheting into the front loops that were left unused.
- R1: 60 sc into front loops (60)


- R2–R3: 60 sc (60)
- R4: (2 sc, 3 sc in next stitch) repeat 20 times (100)
- R5: 100 sc (100)
- R6: (3 sc, 3 sc in next stitch, 1 sc) repeat 20 times (140)
- R7–R8: 140 sc (140)
Fasten off.


Arms (2x)
- R1: 6 sc in a magic ring (6)
- R2: 6 inc (12)
- R3: (1 sc, 1 inc) repeat 6 times (18)
- R4: (2 sc, 1 inc) repeat 6 times (24)
- R5–R11: 24 sc (24)
- R12: 8 sc, 7 sc, dec, 7 sc (23)
- R13: 8 sc, 7 sc, dec, 6 sc (22)
- R14: 8 sc, 6 sc, dec, 6 sc (21)
- R15: 8 sc, 6 sc, dec, 5 sc (20)
- R16: 8 sc, 2 sc, dec, 4 sc, dec, 2 sc (18)
- R17: 8 sc, 2 sc, dec, 2 sc, dec, 2 sc (16)
- R18: 8 sc, 1 sc, dec, 2 sc, dec, 1 sc (14)
- R19: (1 sc, dec) repeat 4 times, 2 sc (10)
- R20: 5 dec (5)


Assembly
Sew the head onto the body, centering it well over the neck opening.


Sew both arms onto the sides of the body, just above the top of the skirt.
Bow
Make a rectangle from pink yarn.
- R1: 20 ch
- R2–R9: 20 sc
Crochet a round of single crochet all the way around this rectangle.

Sew through the middle of the rectangle and pull tight to gather it into a bow shape.

Make a smaller rectangle:
- R1: 6 ch
- R2–R4: 6 sc

Sew the bow onto the head, then wrap this smaller rectangle around the middle to cover the gathered center.
Tips for a Polished Finish
- Stuff the head in stages. With 44 rounds to work through, it’s much easier to add fiberfill gradually as the shaping narrows than to try stuffing it all at the very end.
- Don’t skip the back-loop-only round on the body. Round 7’s BLO round is what creates the ridge the skirt attaches to along the front loops — it’s what gives the dress its clean waistline.
- Join the legs carefully. Since there’s no separate body piece, take your time working the join between the two legs so the crotch area sits neatly rather than puckering.
- Match your yarn weight to get the stated size. This pattern uses a specific 100g/230m yarn with a size 4 hook to reach 29 cm — substituting yarn is fine, but expect your finished doll’s height to shift accordingly.
- Keep the skirt ruffle even. The increase rounds (R4 and R6) are what flare the skirt out — count carefully so the 20 repeats land evenly around, or the ruffle can look lopsided.
Frequently Asked Questions
Why are the legs worked before the body instead of separately?
Crocheting the legs first and then joining them directly into the body avoids extra seaming and gives a smoother transition at the hips than sewing two separate pieces together would.
What does “back loops only” and “front loops only” mean here?
Each stitch has two loops on top. Working “back loops only” in round 7 uses just the loop farthest from you, leaving the front loop free and unused. That’s the loop the skirt is later worked into — it’s what lets the skirt sit as its own separate flared layer over the body instead of being one continuous surface.
Can I use a different yarn weight?
Yes — the pattern notes you can use any yarn as long as you choose the hook size recommended for it. Just keep in mind the finished 29 cm height is specific to the yarn and hook combination listed, so a different weight will change your final size.
How do I keep the ears from flattening?
Add a small amount of stuffing to each folded ear before sewing it to the head, as noted in the Ear section. A little bit goes a long way — just enough to keep the fold from pressing completely flat.
How long does this pattern take to make?
Given the size and the 44-round head alone, most crocheters spend somewhere around 8–10 hours total across the head, ears, body, skirt and arms. It’s a satisfying multi-session project rather than a quick one-sitting make.
Conclusion

At nearly a foot tall, this Big Kitty makes a real statement — a proper centerpiece plush rather than a shelf accessory. Between the seamless legs-into-body construction and that flouncy front-loop skirt, it’s a satisfying pattern to level up on once you’ve got the basics down. Happy crocheting!