
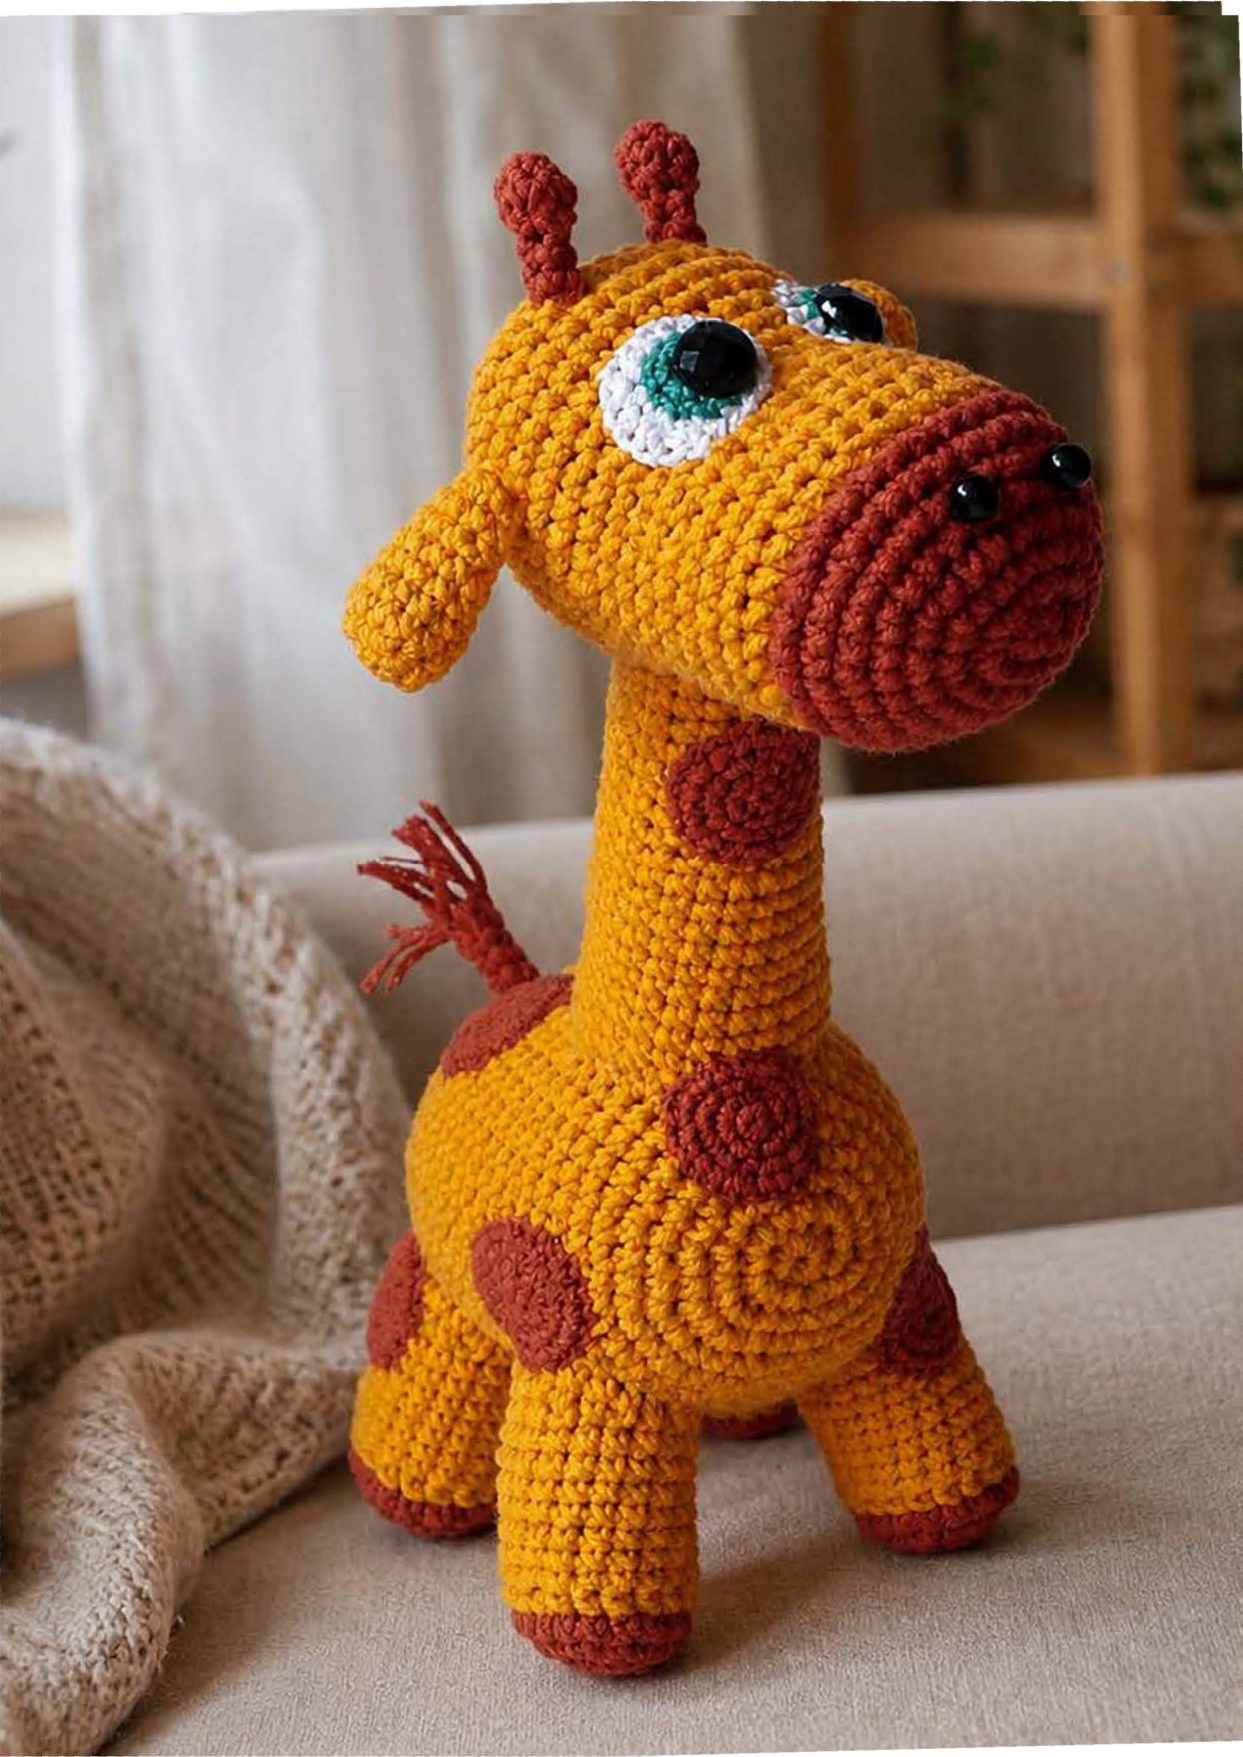
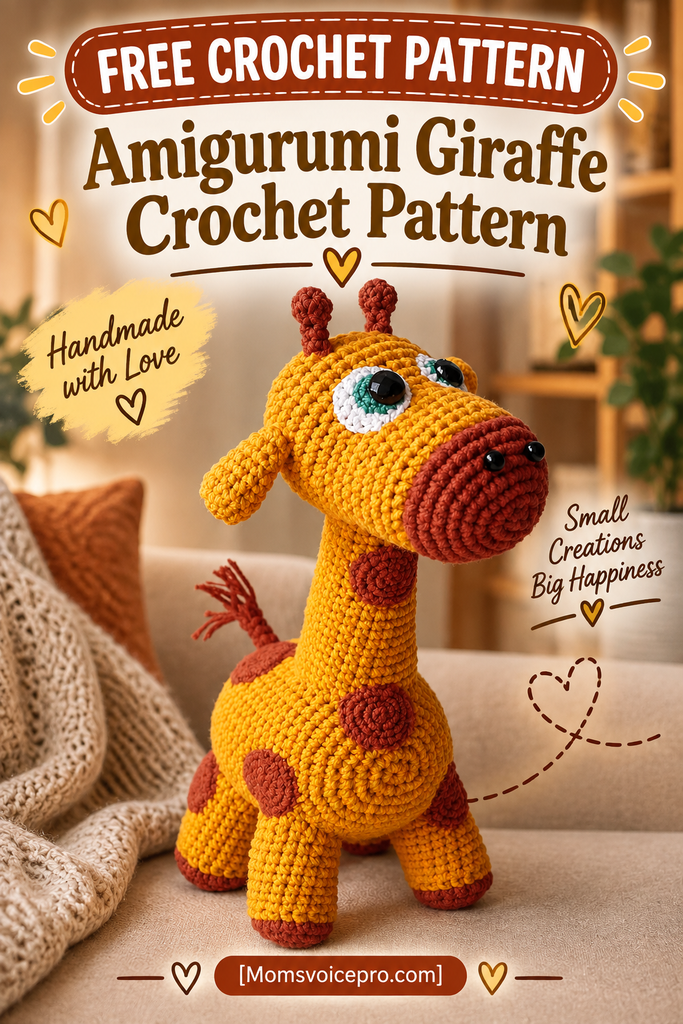
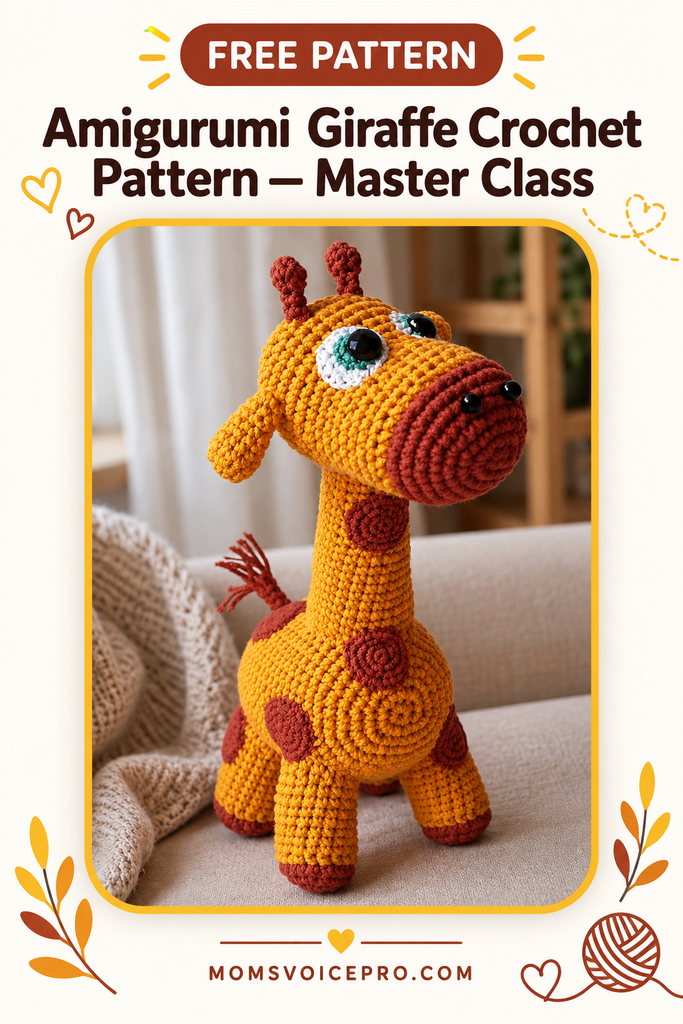
With her long spotted neck, sparkly button eyes, and tiny nubby horns, this amigurumi giraffe might be the most charming animal in the whole herd. She’s worked mostly in single crochet with a few fun techniques along the way — front post stitches for texture, split yarn for delicate spots, and rhinestone-accented eyes that give her real personality.
This is a detailed master class style pattern — every part is explained step by step. Basic crochet skills (magic ring, increases, decreases, working in the round) are all you need to get started.
Table of contents
Materials You'll Need
- Yarn — ALIZE Cotton Gold (55% cotton, 45% acrylic, 330 m/100g) or YarnArt Jeans, in yellow and brown
- A little bit of thin white and blue yarn, for the eyes
- VITA Cotton COCO or similar (at least 200 m/50g), for the eye details
- Black beads, 6 mm diameter, for the nostrils
- Black sew-on rhinestones, 10 mm diameter, for the eye pupils
- Crochet hook, 2–2.5 mm (plus 1.25–1.5 mm for the tiny eye pieces)
- Fiberfill stuffing
- Sewing needle, scissors
All pieces, unless otherwise specified, are worked in a spiral (no joining, no turning).
Stitches and Abbreviations
- ch — chain
- sc — single crochet
- sl st — slip stitch
- inc — increase
- dec — decrease
- 3 sc in one st — 3 single crochets worked in one stitch of the previous round
- ( )*x — repeat the sequence in parentheses x times
Pattern Instructions
Head
We start with brown yarn:
- 8 sc in MR
- (2 × 3 sc in one st, 2 sc) *2 = 16 sc
- (2 sc, 2 inc, 4 sc) *2 = 20 sc
- (3 sc, 2 inc, 5 sc) *2 = 24 sc
- (inc, 3 sc) *6 = 30 sc
- (3 sc, inc, 1 sc) *6 = 36 sc
- 7–8) 36 sc
Make a sl st, cut the yarn, fasten off. Continue with yellow yarn.
- 36 front post single crochet
Front post single crochet is worked by inserting your hook from front to back around the post of the stitch below (rather than under both loops as usual), which creates a raised, ridged texture — this is what forms the color-change line between the giraffe's yellow face and the brown muzzle.
- (dec, 16 sc) *2 = 34 sc
- 34 sc
- (8 sc, dec, 7 sc) *2 = 32 sc
- 32 sc
- (dec, 14 sc) *2 = 30 sc
- 15–16) 30 sc
- (inc, 9 sc) *3 = 33 sc
- (6 sc, inc, 4 sc) *3 = 36 sc
- 19–24) 36 sc
- (dec, 4 sc) *6 = 30 sc
Stuff.
- (2 sc, dec, 1 sc) *6 = 24 sc
- (dec, 2 sc) *6 = 18 sc
- (1 sc, dec) *6 = 12 sc
Stuff.
- 6 dec = 6 sc
Make a sl st, cut the yarn, weave the end through the remaining loops, and pull tight.
Neck & Body
Neck — crochet with yellow yarn:
- Work 18 sc directly onto the head in the round, approximately through 8 rows from the brown nose and into the back
- 2–3) 18 sc
- inc, 17 sc = 19 sc
- 5–6) 19 sc
- 10 sc, inc, 8 sc = 20 sc
- 8–9) 20 sc
- inc, 19 sc = 21 sc
- 11–12) 21 sc
- 11 sc, inc, 9 sc = 22 sc
- 14–15) 22 sc
- inc, 21 sc = 23 sc
- 17–18) 23 sc
- 12 sc, inc, 10 sc = 24 sc
- 24 sc
Make a sl st, cut the yarn, leaving a tail for sewing. Fasten off.
Body — crochet with yellow yarn:
- 8 sc in a magic ring
- (2 × 3 sc in one st, 2 sc) *2 = 16 sc
- (1 sc, 4 inc, 3 sc) *2 = 24 sc
- (inc, 3 sc) *6 = 30 sc
- (3 sc, inc, 1 sc) *6 = 36 sc
- (inc, 5 sc) *6 = 42 sc
- (4 sc, inc, 9 sc) *3 = 45 sc
- 8–22) 45 sc
- (7 sc, dec, 6 sc) *3 = 42 sc
- (3 sc, dec, 2 sc) *6 = 36 sc
- (dec, 4 sc) *6 = 30 sc
Begin stuffing.
- (2 sc, dec, 1 sc) *6 = 24 sc
- 2 sc, 4 dec, 4 sc, 4 dec, 2 sc = 16 sc
Stuff.
- 8 dec = 8 sc
Make a sl st, cut the yarn, and close the opening.
Legs (make 4)
Start with brown yarn:
- 8 sc in a magic ring
- 8 inc = 16 sc
- (inc, 3 sc) *4 = 20 sc
- 20 sc
Make a sl st, cut the yarn, and fasten off. Continue with yellow yarn.
- 20 front post single crochet
- (dec, 8 sc) *2 = 18 sc
- 7–12) 18 sc
Work additional rounds on the sides — since the legs are even, it doesn't matter where you work them. Pull the main yarn loop longer so it doesn't get lost.
Somewhere on the side of the leg, attach a second yarn (from another ball), and starting from the next stitch after the join, work 1 sc, sl st, cut the yarn — but don't fasten off, just pull out the tail. From the first join point, count back 1 stitch, then at the 2nd stitch, attach yarn from another ball, work 5 sc, sl st, and pull out the tail again. Return to the main yarn.
- 18 sc
Make a sl st, cut the yarn, leaving a tail for sewing, and fasten off. Tie the ends of the second yarn inside the leg with knots (between the starting and ending join points).
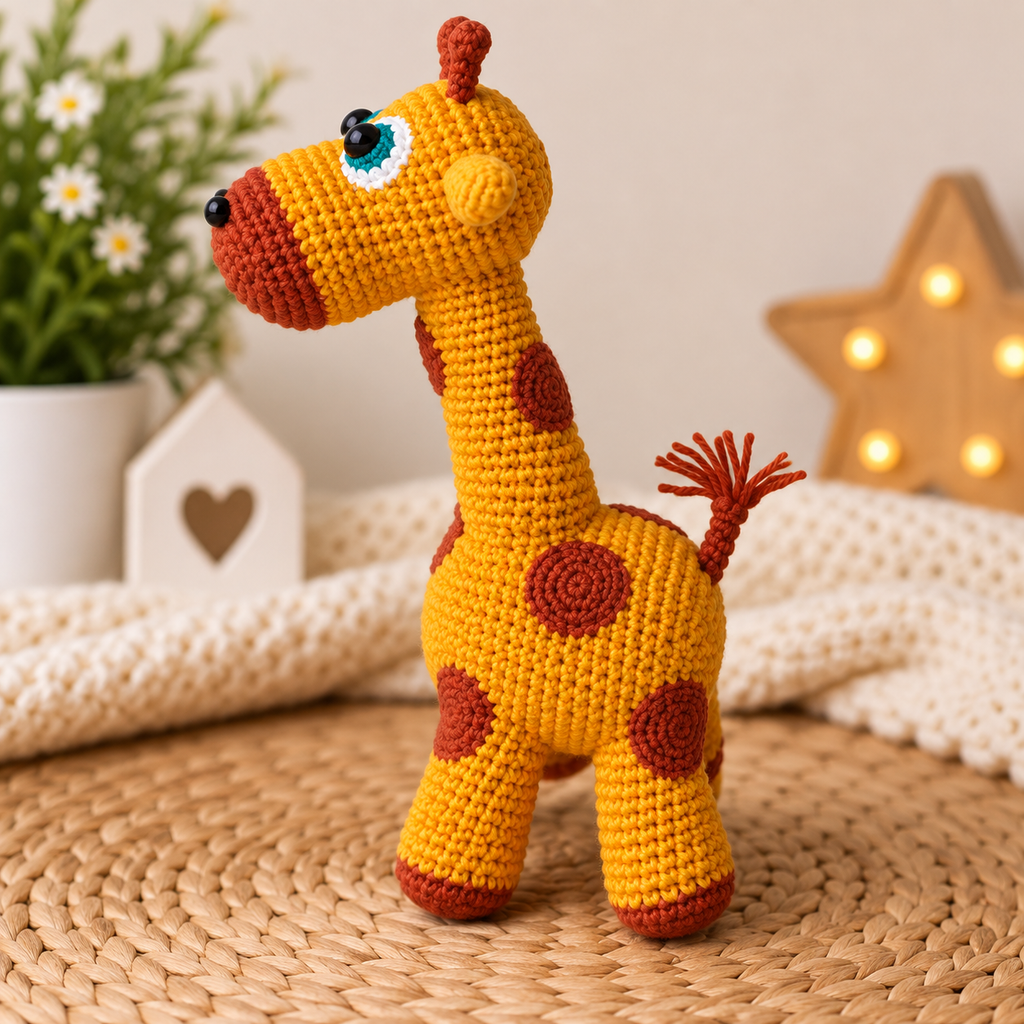
Stuff the legs and sew them on. Stuff the upper side higher when sewing to the body so the legs have a slight tilt. Don't sew all the way to the end — leave a small opening stuffed more firmly, then finish sewing. Attach at about 7 rounds from the start of the torso ring, toward the back, with a slight tilt to both sides. Stuff firmly before finishing sewing.
Tail
Work with brown yarn:
- In a magic ring, work 6 sc with elongated loops
- 2 sc, dec, 2 sc = 5 sc
- 3–6) 5 sc
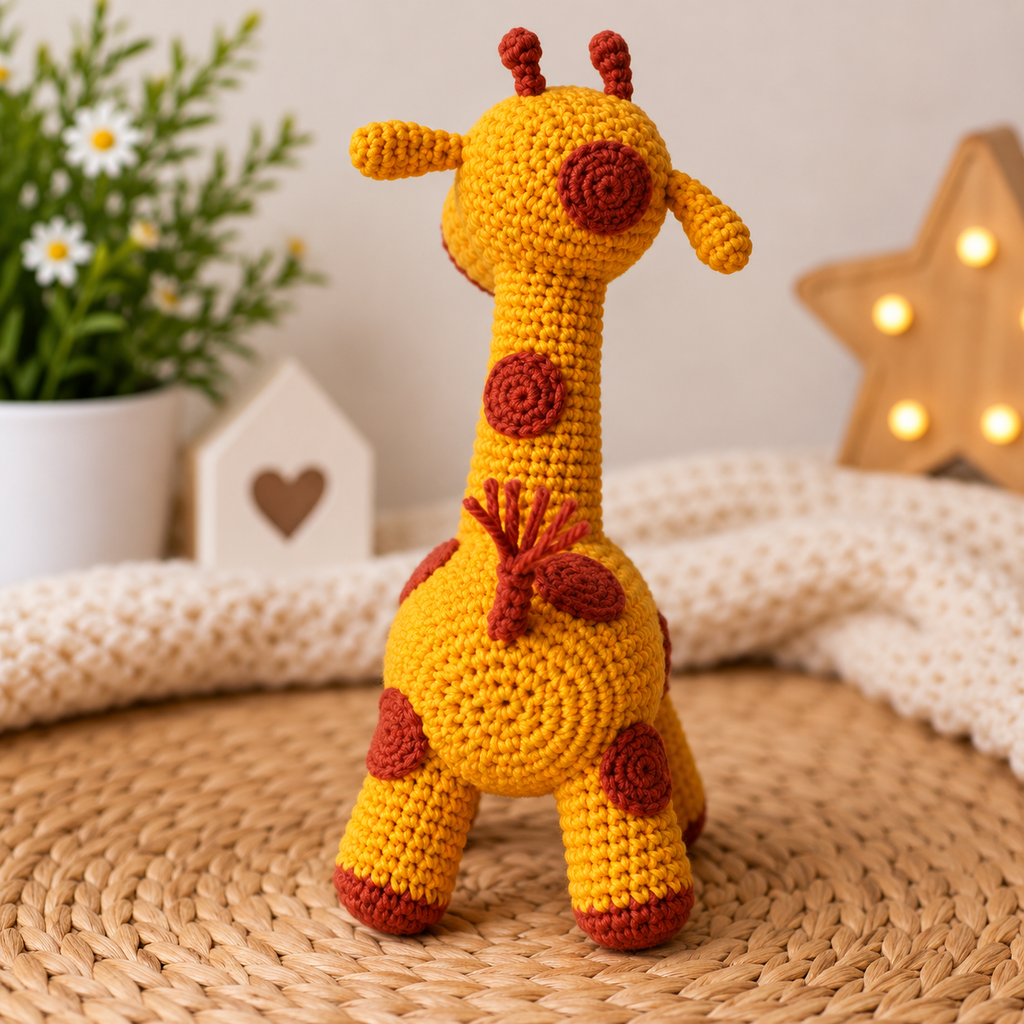
Make a sl st, cut the yarn, leaving a tail for sewing, and fasten off. Stuff the tail and sew it to the upper part of the rump.
Eyes (make 2)
Use thin yarn and a small hook for these tiny pieces.
White part (white):
- 6 sc in a magic ring
- 6 inc = 12 sc
- (inc, 1 sc) *6 = 18 sc
Make a sl st, cut the yarn, leaving a tail for sewing, and fasten off. Sew on 6 rounds from the brown nose, with 2 stitches between the eyes.
Iris (blue):
- 6 sc in a magic ring
- 6 inc = 12 sc
Make a sl st, cut the yarn, leaving a tail for sewing, and fasten off. Sew onto the white part, angled inward.
Sew the rhinestone pupils at the same inward angle — 2 stitches using doubled sewing thread is enough for each one. With each stitch, pull the thread firmly (but carefully) so the rhinestone sits securely. Sew on the beads as nostrils.

Horns (make 2)
Work with brown yarn:
- 6 sc in a magic ring
- 6 sc
- (dec, 1 sc) *2 = 4 sc
- 4–5) 4 sc
Make a sl st, cut the yarn, leaving a tail for sewing, and fasten off. If possible, stuff the horns lightly. Sew them onto the top of the head, approximately 4 rounds from the eyes, with 3–4 stitches between them.
Ears (make 2)
Work with yellow yarn:
- 6 sc in a magic ring
- 6 inc = 12 sc
- 3–4) 12 sc
- (dec, 4 sc) *2 = 10 sc
- 10 sc
- (2 sc, dec, 1 sc) *2 = 8 sc
- 8 sc
- (dec, 2 sc) *2 = 6 sc
Make a sl st, cut the yarn, leaving a tail for sewing, and fasten off. Do not stuff the ears. Sew them below the horns, approximately 6 rounds from the horns.
Spots
Work with brown yarn — split the yarn lengthwise in half and use a small hook for a finer texture:
- 6 sc in a magic ring
- 6 inc = 12 sc
- (inc, 1 sc) *6 = 18 sc
- (2 sc, inc) *6 = 24 sc
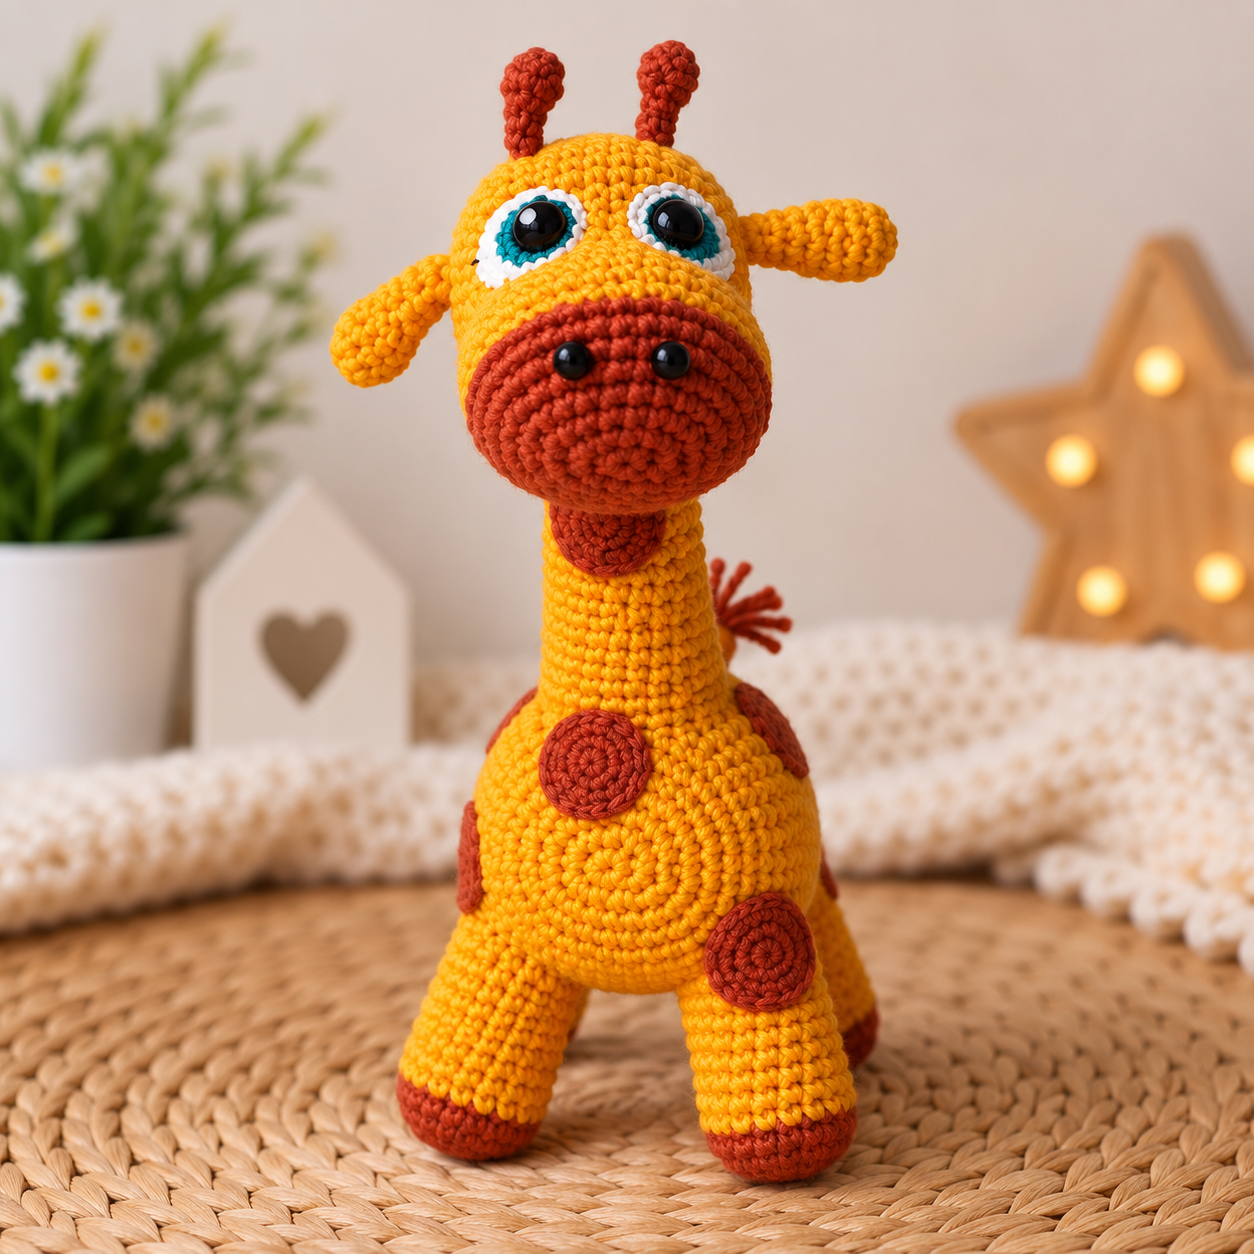
Make a sl st, cut the yarn, leaving a tail for sewing, and fasten off. Sew them on in random locations, making as many as you'd like.
Tips for a Polished Finish
- Take your time with front post stitches — the ridged texture from front post single crochet is what defines the giraffe's face and leg color-blocking, so keep your tension even for a clean line.
- Split your yarn carefully for the spots — splitting the strand lengthwise gives a finer, more proportional spot size relative to the body; a full-thickness strand can make spots look chunky.
- Angle the eyes inward slightly — this small detail is what gives the giraffe her sweet, slightly cross-eyed charm rather than a flat, straight-ahead stare.
- Give the legs a slight tilt when sewing — stuffing the upper side more firmly and tilting each leg slightly, as the pattern describes, makes the giraffe stand more naturally instead of looking stiff.
- Vary your spot placement — scatter spots asymmetrically rather than in a neat grid for a more realistic, playful look.
Frequently Asked Questions
What is front post single crochet, and can I substitute a regular stitch?
Do I need rhinestones and beads, or can I embroider the eye details instead?
Why does the pattern use a separate yarn join partway up each leg?
Can I make the giraffe bigger or smaller?
How long does this pattern take to make?


Conclusion
And there she is — your very own amigurumi giraffe, spots, horns, sparkly eyes and all! This pattern packs in a nice variety of techniques (front post stitches, split yarn, rhinestone details) without ever feeling overwhelming, which makes it a satisfying make whether she's your first giraffe or your fifth amigurumi ever. Thank you for crocheting along — I can't wait to see how yours turns out.
I'd love to see your finished giraffes! Tag me or share your makes online — happy crocheting! 🦒🧡