
Table of Contents
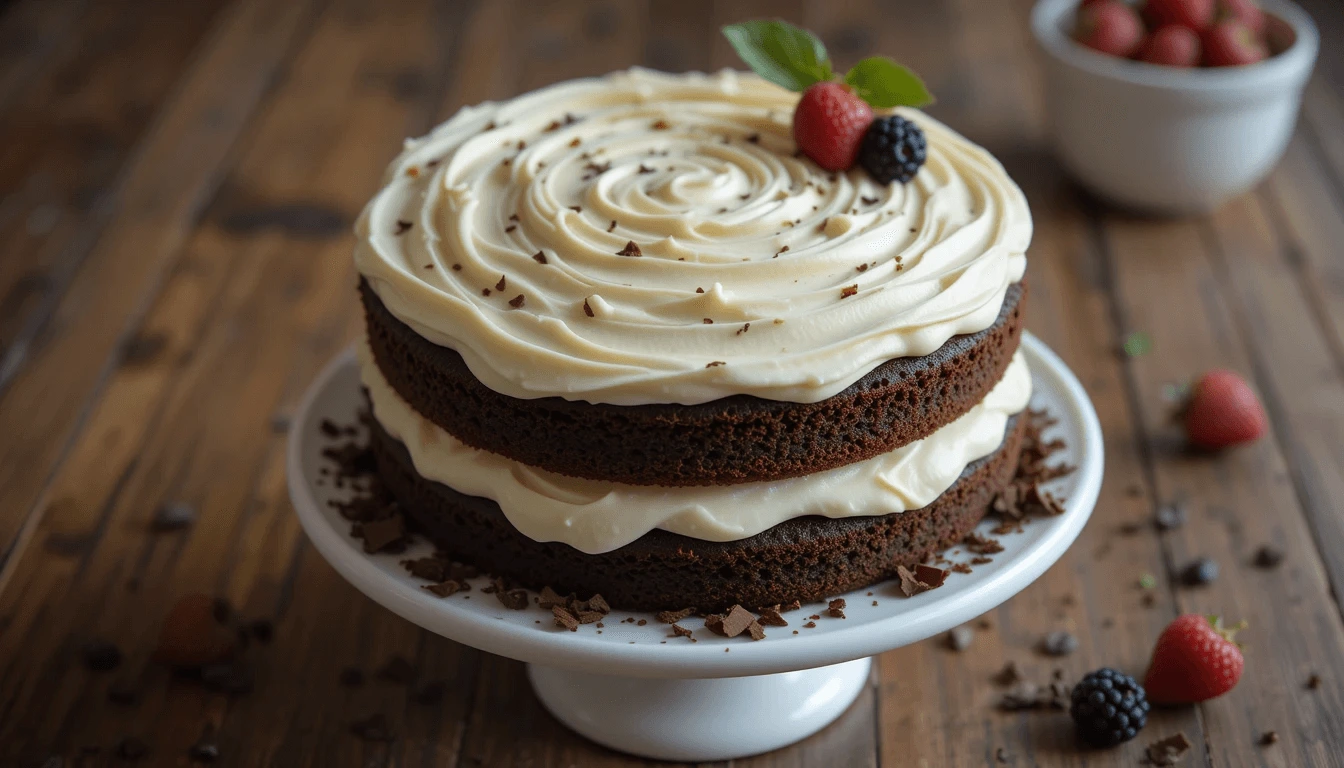
There’s something undeniably magical about the combination of rich, moist chocolate cake layers embraced by velvety cream cheese frosting. This decadent dessert has earned its place as a classic favorite for good reason – it perfectly balances deep cocoa flavors with the tangy sweetness of cream cheese. Today, I’m sharing my tried-and-true recipe that has delighted friends and family for years.
Whether you’re preparing for a special celebration or simply craving something extraordinary to satisfy your sweet tooth, this chocolate cake with cream cheese frosting delivers on all fronts. Ready to create a showstopper? Let’s dive in!
How to Make This Chocolate Cake with Cream Cheese Frosting
The key to achieving a truly remarkable cake lies in following each step with care. Trust the process, and you’ll be rewarded with a dessert worthy of centerpiece status.
Step 1: Bake the Chocolate Cake Layers
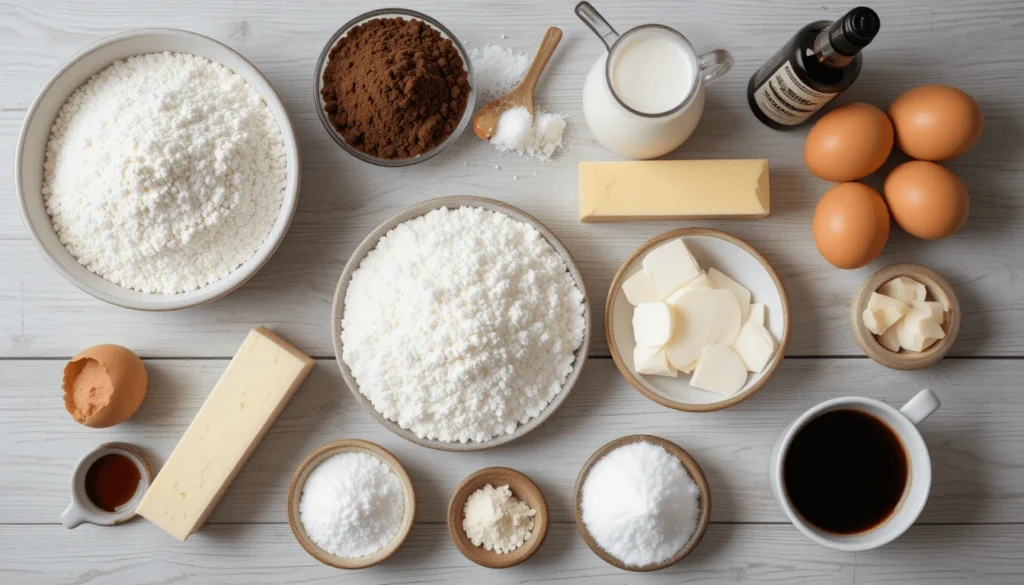
One of the things I love most about this chocolate cake recipe is how easily it comes together by hand – no fancy equipment required! Begin by whisking your dry ingredients in one bowl and your wet ingredients in another. This separation ensures everything incorporates properly without overmixing.
Whisk together the flour, cocoa powder, sugar, baking soda, baking powder, and salt until well combined. In your wet ingredients bowl, blend buttermilk, vegetable oil, eggs, and vanilla extract until smooth. Gradually add the dry mixture into the wet, whisking just until incorporated – a few small lumps are perfectly fine.
Divide your batter evenly between prepared cake pans. I recommend using a kitchen scale for this step to ensure layers of equal height. Before sliding them into the oven, give each pan a gentle tap on the counter to release any trapped air bubbles.
Bake for 23-26 minutes at 350°F, checking doneness with a toothpick – it should come out with just a few moist crumbs attached. Allow the layers to cool in their pans for 10 minutes before inverting onto wire racks to finish cooling completely.
For perfectly level cake layers, you might choose to trim the slight dome from each layer using a serrated knife. This step is optional but helps create that professional-looking finish.
Step 2: Make the Cream Cheese Frosting
While your cake layers cool, prepare your cream cheese frosting. This can even be made days in advance and stored in the refrigerator if you’re planning ahead.
The secret to silky-smooth cream cheese frosting is starting with room temperature ingredients. Cold cream cheese or butter will leave you fighting lumps for ages! Beat the softened butter until fluffy, then add cream cheese and continue beating until completely smooth. Gradually incorporate powdered sugar and vanilla, adjusting the consistency as needed – add a splash of heavy cream if it’s too thick or a bit more powdered sugar if it seems too thin.
Remember to cover your frosting with plastic wrap pressed directly onto the surface if you’re not using it immediately. This prevents that dreaded crust from forming.
Step 3: Stack and Fill the Cake Layers
Before assembling, consider this professional tip: chill your completely cooled cake layers in the freezer for about 20 minutes. Slightly frozen layers are much easier to handle and frost without creating crumbs.
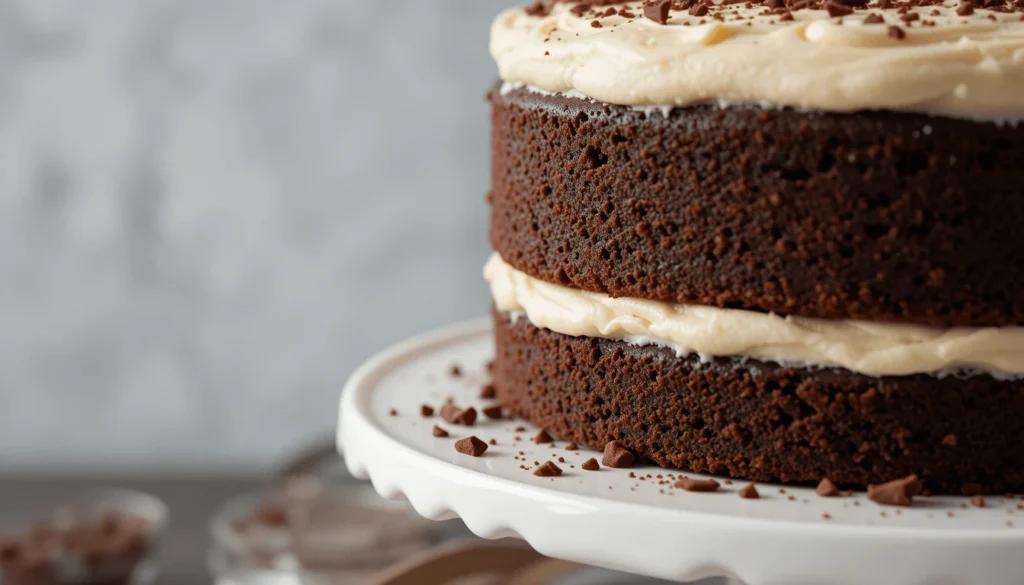
Place a small dollop of frosting on your cake board or serving plate to anchor the first layer. Center your first cake layer and spread a generous, even layer of frosting across the top – aim for about 1/4 to 1/3 inch thickness. Add the next layer and repeat until you’ve stacked all layers.
For the cleanest look, place your final layer upside-down. The bottom of the cake (which was against the pan) is perfectly flat and creates a lovely sharp edge for your finished cake.
Step 4: Crumb Coat the Cake
The crumb coat is your insurance policy against stray cake pieces disrupting your final frosting. Apply a thin layer of frosting across the entire cake, ensuring every bit is covered. Don’t worry about making it pretty yet – this layer’s job is purely functional.
Chill the crumb-coated cake for 10 minutes in the refrigerator or 5 minutes in the freezer until the frosting firms up. This sets the stage for a flawless final coat.
Step 5: Add the Second Layer of Frosting & Decorate
Now’s the time to transform your cake into a masterpiece! Apply a thicker layer of frosting, working from the top down. For a rustic finish, create texture using the back of a spoon or an offset spatula – these natural swirls lend a homemade charm that’s irresistible.
If you’re feeling creative, consider adding chocolate shavings, fresh berries, or even edible flowers to enhance the visual appeal.
Substitutions & Swaps
This recipe offers considerable flexibility to accommodate different preferences and dietary needs:
For the chocolate cake layers:
- The all-purpose flour can be substituted with a good quality gluten-free flour blend (though you may need to adjust other ingredients slightly).
- While I don’t recommend reducing the sugar (it affects texture, not just sweetness), you can experiment with different cocoa powders – from standard to dark or black cocoa for an even deeper flavor.
- Buttermilk alternatives include yogurt, sour cream, or even plant-based milk with a splash of vinegar to create that essential acidity.
- Any neutral oil works well, but avoid strongly flavored options like olive oil.
- For egg allergies, commercial egg replacers can work nicely.
For the cream cheese frosting:
- Salted butter can replace unsalted – just omit the additional salt in the recipe.
- Always use full-fat, brick-style cream cheese for the best texture and stability.
Storage Tips & Make-Ahead Options
This cake is remarkably accommodating for busy schedules. The cake layers freeze beautifully for up to three months when wrapped thoroughly in plastic wrap. The frosting keeps in the refrigerator for up to a month or frozen for three months.
A completely frosted cake stays fresh in the refrigerator for up to five days when stored in an airtight container. For longer storage, the entire frosted cake can be frozen for up to a week.
For leftover slices, press plastic wrap against the cut surfaces to prevent them from drying out.
Final Tips for Success
- Room temperature ingredients truly make a difference in achieving the perfect texture.
- Measure your flour correctly by spooning it into measuring cups and leveling off, or better yet, use a kitchen scale.
- Those few moments spent ensuring even batter distribution between pans will reward you with perfectly matched layers.
- While this recipe creates a stunning layer cake, I don’t recommend using it for cupcakes – I have a specialized chocolate cupcake recipe that’s better suited to that purpose.
I’d love to hear about your experience making this chocolate cake with cream cheese frosting! Drop a rating and comment below, or tag me in your creation photos on social media. There’s nothing more rewarding than seeing this recipe come to life in your kitchen.